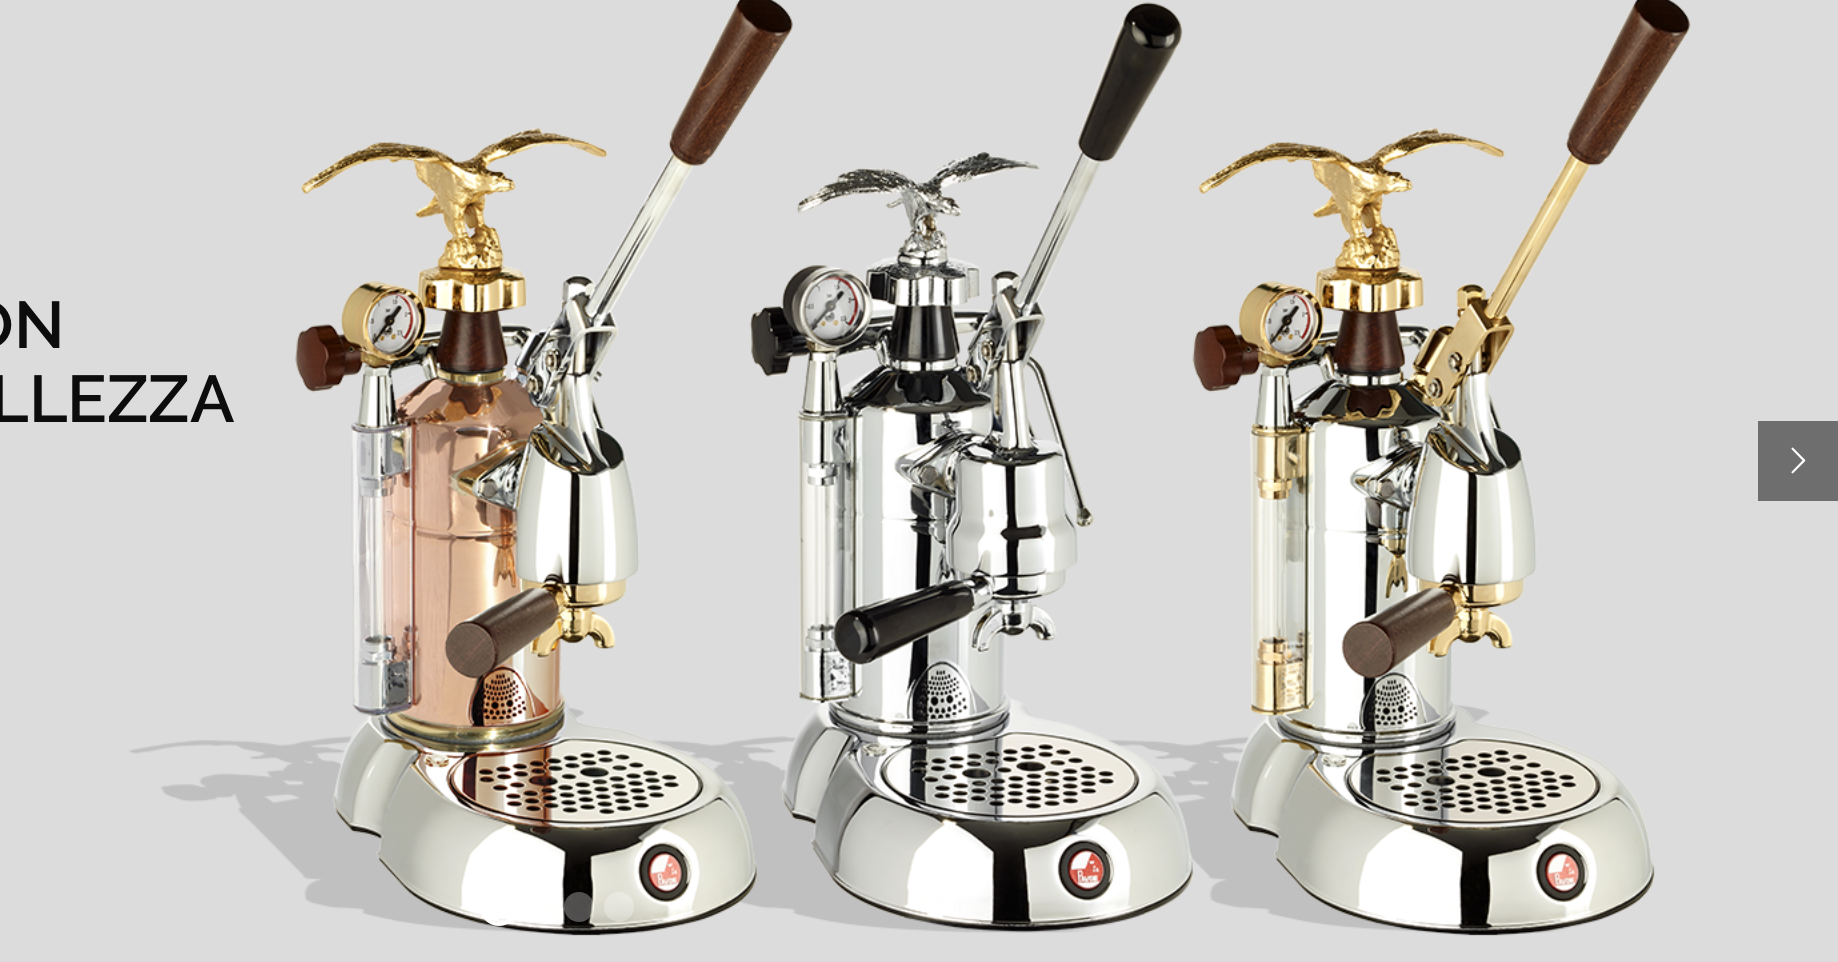
The Pavoni is one of the last Italian brands that still manufacture lever-coffee machines today. The design of the machine is sturdy and simple. A boiler is connected to a piston. This is operated using a lever by the user to create the pressure.
Owning this machine myself, I will give you my “personal protocol” and some tips that will allow you to have good bases to use it.

These are machines that were created in the years 60. Since then they are still marketed and have changed very little. It is very easy to find spare parts to revise them if necessary. The “La Pavoni” are very sturdy because they do not have a pump. Mine For example was built in 2002 and still works. I bought it used.
The “manual” side of these machines is very present and taking. It’s not a machine or just press a button. There you have to think, optimize the variables… And once they are all mastered the coffee is just excellent.
You will understand, we must tame this machine. Through this article you will find some information that could help you if you are struggling.
How to use a Pavoni?
The “La Pavoni” is my first real espresso machine. At first it is a bit complicated to take in hand, because there are several important variables that will have a very real impact on the taste of your coffee. The variables referred to are generalities applicable to other espresso machines.
The essential elements to consider:
- Water temperature: On the “Pavoni” with lever the water temperature is a key factor. Purists will use bottle water.
- The freshness of coffee: The coffee machine We are talking about does not have a pressurized filter. The freshness of the coffee will therefore have an even more important impact on the final rendering of your espresso. It is highly recommended to grind your coffee just before making one. If you ever think about buying an espresso machine (unless the machine has a pressurized filter) you will sooner or later invest in a mill. It is therefore recommended to integrate it from the beginning into your budget.
- The amount of coffee: the amount of coffee is to be adapted according to your tastes, your machine and the coffee used.
- The way coffee is ground: for this machine it is necessary to grind the relatively fine coffee. Another very important factor is the regularity of the size of the molding. This regularity to a real impact on the taste. It is also for this that there is such a big difference of price between the high-end coffee mills and first prices. To the question of whether it’s worth buying a coffee grinder at $400 compared to a small mill first prize at $45, I answer without hesitation “Yes!” but this is another debate. I personally use a Kinu coffee grinder (previously presented in one of my articles) with for setting 1:6.1 (Medium roasting coffee, 80% Arabica, 20% Kapi Royal).
- The way you mug coffee: It’s not the factor that will affect the taste of your coffee the most. But you don’t always think about it. It is important to pack your coffee well, because if it is poorly packed the water will have trouble circulating everywhere on a regular basis and therefore will not extract the coffee in the same way between two uses. Some “Tamper” have a kind of integrated piston that crashes when pressed so as to squeeze the coffee always with the same force. I have never tried it and I am not certain personally that it will have a very significant impact.
- The filter used (1 or 2 cups): Overall it is easier to make coffees with the double filter.

 The reason is that the filter a cup has a “V” shape that makes the extraction on the edges of the filter going to be longer compare to the center. The impact on taste will be a greater bitterness. A double filter does not have this shape, it is flat. The extraction is therefore much more regular on the whole surface of the filter. Personally I use that double filter to make me coffees.
My personal recipe for the use of a “La Pavoni”
Now that you know what the “limiting factors” are for your coffee, here’s my recipe:
- Heating time of my machine: 30 minutes. Small precision, compared to the heating time of my machine, I live in Canada. So the voltage is 110v and I have a 220v coffee machine. This means that instead of having 1000w at 220v, I heat up in 250w and impact a particularly long heating time of my machine. The same machine, on 220v heats up in about 5 minutes.
- 16 g fine ground coffee with Kinu M47. Setting 1:6.1.
- 2-cup filter. I’m packing the coffee properly.
Important steps before placing the Porta filter on the machine:
- Lifting the lever to allow a little water to flow can remove some coffee residue from the previous use and adjust the piston temperature. You can use this water to wet the fabric that will be used to clean the steam nozzle if you want to froth milk.
- Open the steam nozzle to purge the false steam.
- Wait a few seconds for the pressure to return.
Now the porta filter can be placed on the machine:
- Once the porta filter is inserted on the machine, it is necessary to make the coffee immediately. Coffee doesn’t like heat shocks so much.
- Lift the lever. The water enters the filter and allows to start the pre-brewing. The prebrewing time will depend on your personal taste, your coffee. In my case I make a prebrewing of 5 to 6 seconds.
- Then lower the lever. You will have some resistance and that is normal. It is necessary to press about 20 kg on the lever to reach 9 bars of pressure in the piston. Ideally, for a good espresso, according to literature and past optimizations, you have to be able to sink the coffee in about 25 seconds.
Visually, you should have a nice crema.
Then you can, if you want to froth your milk. I already tried to froth the milk before I poured the coffee. I stopped doing this because I think it influences too much on the boiler pressure.
A little video I found on YouTube. The user has exactly the same material as me: same machine and same mill.
The morning routine is rather athletic.
Some tips
The Steam nozzle
Like many others, I found it difficult to take control of the steam nozzle of this coffee machine. This is due to the fact that it has three holes. You can replace the 3-hole nozzle for a 1-slot nozzle if desired. The shot is about $20. Or you can do like me: Butcher two of the holes by pushing a toothpick in. This second method works really well.

Small update
Recently I ended up acquiring tools and so I was able to disassemble it to properly control the condition of my coffee machine. The surprise was total! Despite the descaling I had made, there was still an incredible amount of limestone inside. I tell the details of this mishap through this article.
If you ever have any questions, comments or tips to share, please feel free to comment on the article:).
Leave a Reply to Kareem Kotb Cancel reply