Secrets of Using the La Pavoni Lever Machine

Perfect your espresso mastery with the La Pavoni lever machine.
This article explores the challenges you might encounter at the beginning and offers solutions for achieving exceptional coffee.
You will also discover the importance of quality water and freshly roasted beans to elevate your preparations.
Practice and improve your technique to transform each cup into a true tasting experience.
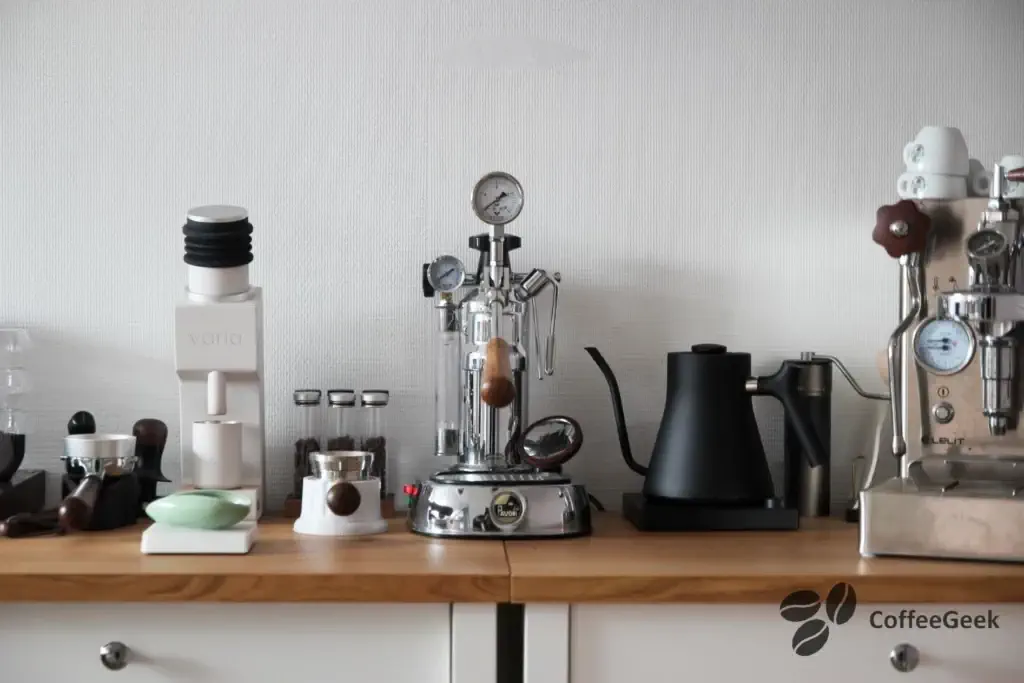
How to use a La Pavoni lever machine? This is a question asked by all baristas seeking to master this machine. La Pavoni lever machines stand out for their sensitivity, which means that the slightest “mistake” instantly translates into perceptible consequences in the cup. The early days with a La Pavoni can often result in failed coffees, but it is crucial not to get discouraged. With practice, it becomes possible to develop your own technique, thus ensuring the success of each coffee.
Essential elements for successful coffee
Quality water
I recommend using bottled or filtered water for preparing your coffee. This gives a more refined flavor to your beverages. Moreover, this water is less hard than unfiltered tap water, thus promoting better preservation of your equipment. To learn more, check out my review of the Brita glass carafe.
Find a filter pitcher on Amazon
Freshly roasted coffee beans
The choice of coffee beans is crucial for the quality of your cup. I recommend buying from a roaster rather than from a supermarket. Coffee from a local roaster is fresher and undergoes slow roasting rather than fast roasting, as in industrial processes. Traceability of origin is also easier.
https://www.coffeegeek.fr/culture-cafe
The different stages that your coffee beans go through before roasting are explained in this article.
Having a good coffee grinder
With a La Pavoni machine, like any other semi-professional or professional machine, using freshly ground coffee is essential. Pre-ground coffee purchased in stores cannot in any way harmonize properly with a La Pavoni. Therefore, the first requirement is to invest in a quality coffee grinder. Two choices are available to you: an electric grinder or a hand grinder.
Electric grinder
There are a large number of electric grinder models dedicated to espresso. Although this is not the main subject of this article, it is possible to find two types of burrs:
- Flat burrs
- Conical burrs
Hand grinder
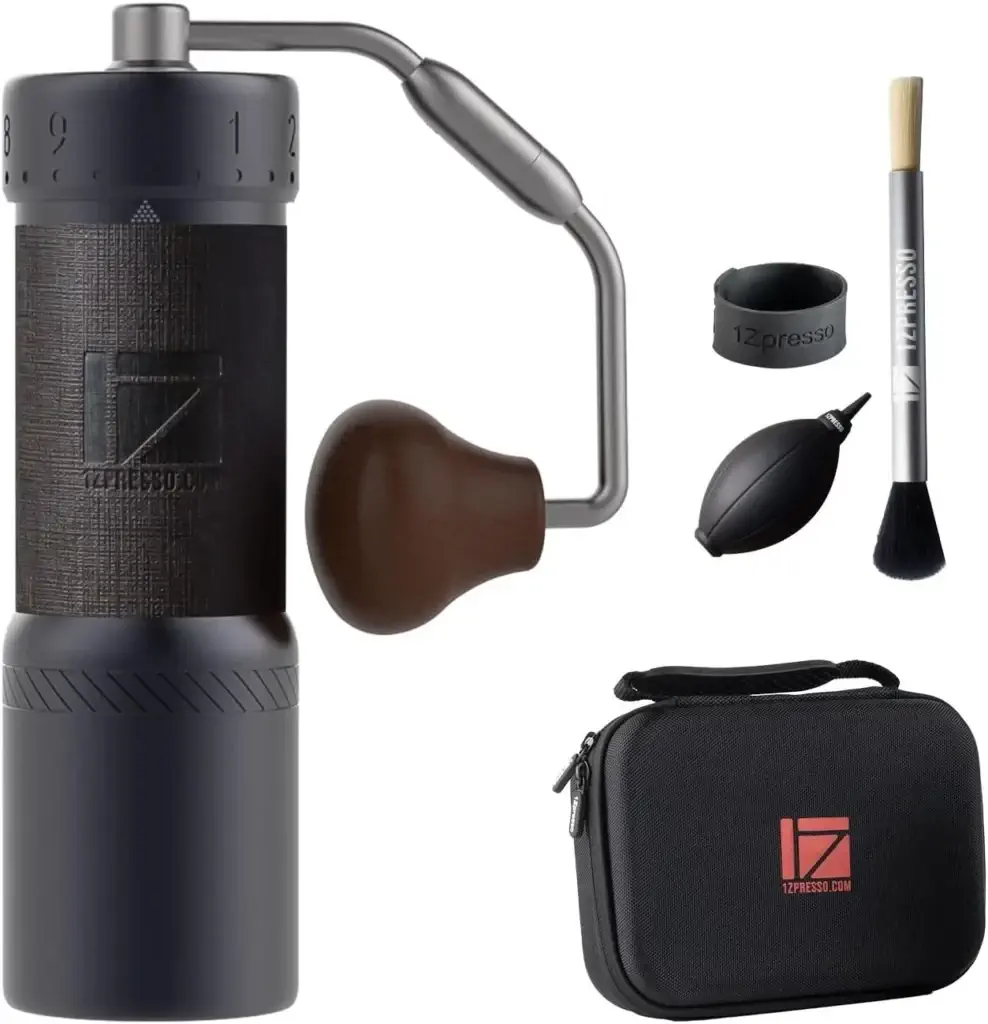
Except for very rare exceptions, almost all hand grinders are equipped with conical burrs. For espresso, it is not recommended to opt for a grinder with a burr that is too small, as this would considerably extend the grinding time. The ideal is a burr of at least 47 mm.
Fine adjustment is essential for espresso. You will have three possible adjustment positions on hand grinders:
At the time of writing. Given that Kingrinder has stopped manufacturing its grinders, in my opinion, the best hand grinder for espresso is the 1Zpresso J ultra
Bottom adjustment dial: Located at the burr level, it has limited adjustment capability. For espresso, the ideal setting is often between two clicks. Examples: El Comandante C40 and Timemore Chestnut X. However, I do not specifically recommend them for espresso, as they are more suited to gentle extraction methods.
Middle adjustment dial: Positioned on the grinder body, it has the same problem as bottom-adjustment grinders for espresso. The ideal setting is frequently between two clicks.
Top adjustment dial: This is the optimal option for espresso, offering a very wide adjustment range. Several brands offer grinders with these features, at different price points. Among the main ones, we can mention the Kingrinder K4 and K6, as well as the 1Zpresso. However, I do not recommend the Timemore S3 for espresso.
Weighing the coffee: the key to consistent espresso
Weighing your coffee is essential for making a successful espresso. Don’t panic, even though it’s an indispensable accessory, we can find scales in all price ranges. The only condition will be to choose a scale that has a precision of at least 0.1g, as this will be our tolerance scale when weighing the coffee.
Personally, I use the Timemore Nano Scale Mirror scale.
For small budgets, the simplest option is to go for small jewelry scales, entry-level prices are around 10€ and we can find them on Amazon.
For a slightly higher budget, we can consider scales that have a timer. This timer will help you measure your extraction time for espresso / brewing time for V60 / AeroPress.
For even higher budgets, there will be scales with a timer and modes. For example, automatic timer triggering at the start of extraction (when the first drops fall into the cups), or auto-tare, etc…
Discover the Secrets of the La Pavoni Lever
Optimize your La Pavoni with proper preheating
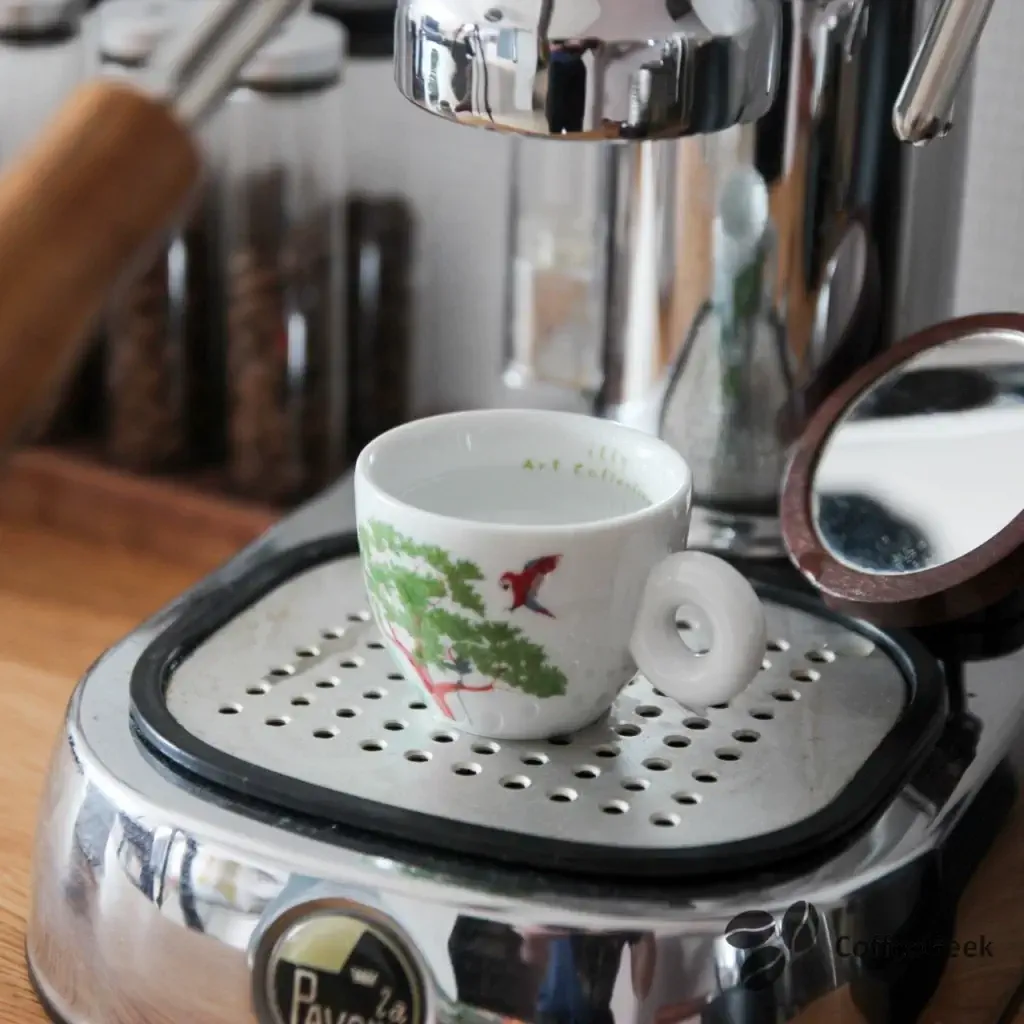
Preheating on a La Pavoni (and on any coffee machine) is essential. Although La Pavoni requires preheating, it is crucial to preheat all elements used to extract espresso: the machine, the portafilter and the cup. Water temperature is an extremely important factor in coffee extraction. If one of the necessary elements is cold, the temperature of the water and coffee will be affected. For example, even if the machine and portafilter are hot, a coffee extracted into a cold cup will see its taste greatly altered.
Two situations regarding the portafilter:
With spouts: It is essential to preheat it.
Bottomless: Preheating is not mandatory.
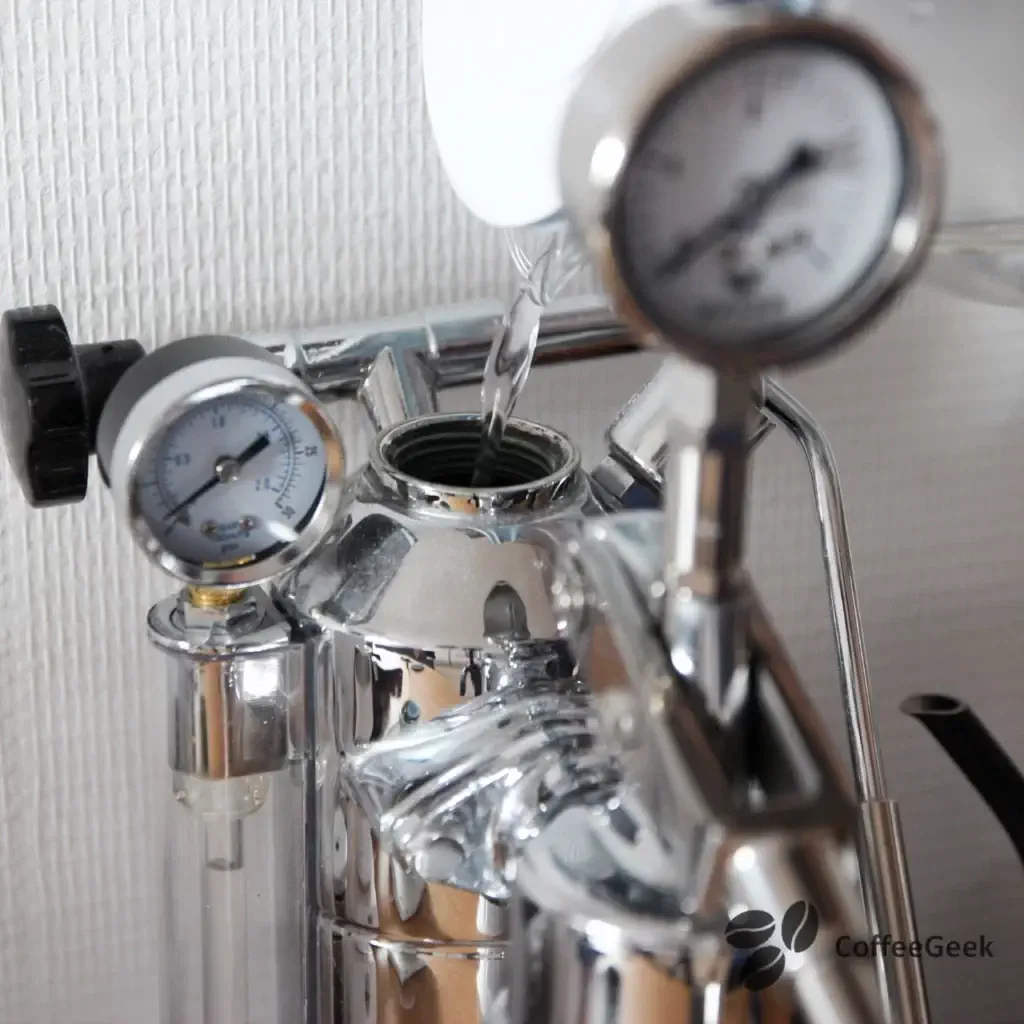
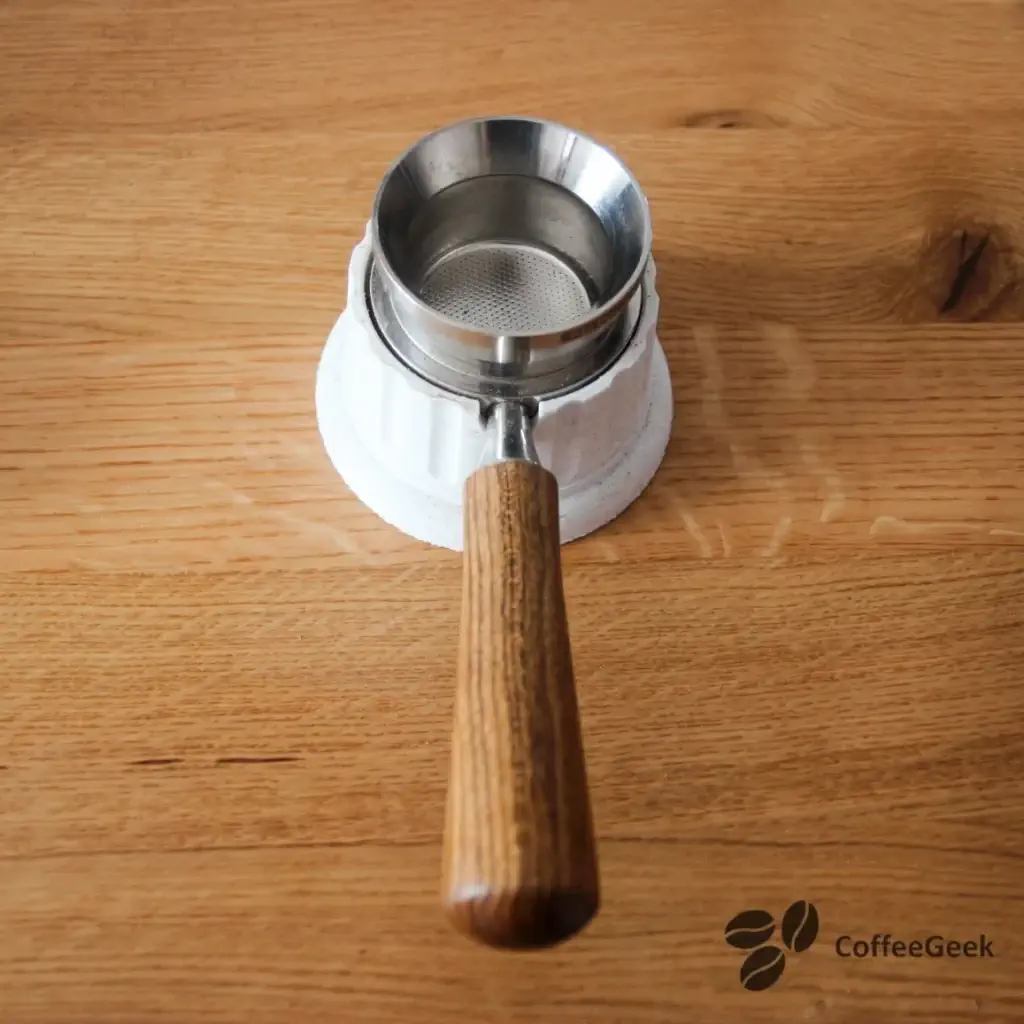
To preheat the portafilter, attach it to the machine while it is heating. Thermal conduction will warm it up. Then, let a little water flow through the portafilter towards the end of the preheating to perfect the heating.
Rarity of Beautiful Collectible Espresso Cups
Discover the fascinating world of espresso cups, particularly egg-shaped models that combine style and functionality to enhance every sip. This article traces the history and characteristics of these unique pieces, while highlighting the famous illy Art Collection, which showcases the talent of renowned artists. Let yourself be guided by this feature to find the perfect cup, combining attractive design and optimal performance.
Read more...To preheat the cup, run hot water through your La Pavoni. This completes the preheating of the machine, particularly the piston which takes longer to heat up, the portafilter, and also heats the cup.
Grinding your coffee to the right grind size
Now that the elements are preheated, we can start preparing the coffee. First, weigh the coffee, moisten it to avoid clumps, grind it, then add it to the portafilter to tamp it. We’ll go through everything step by step.
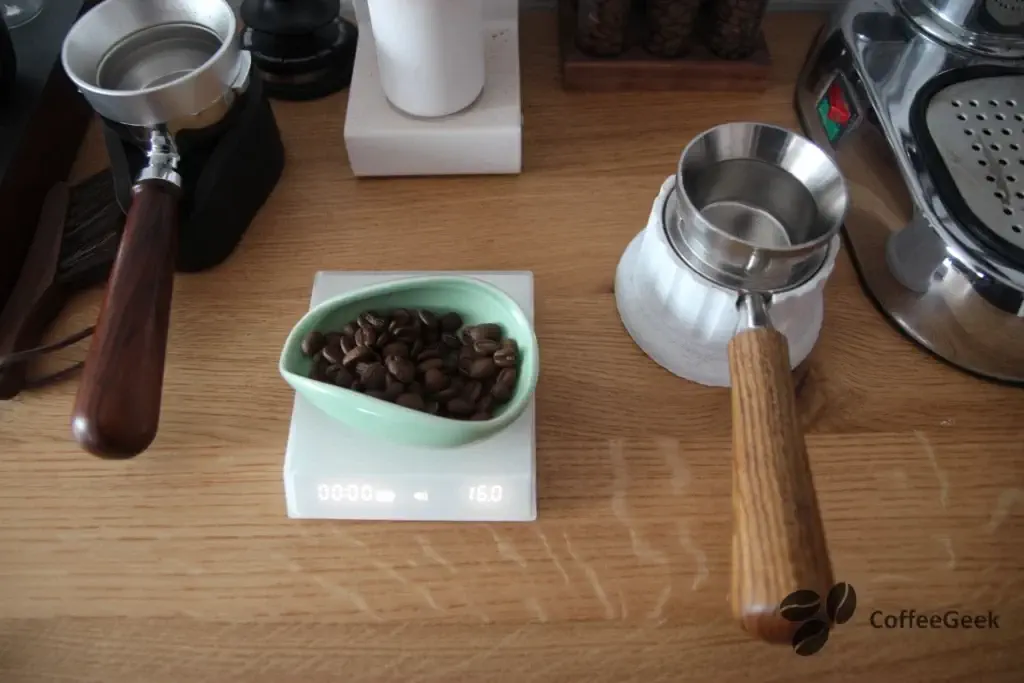
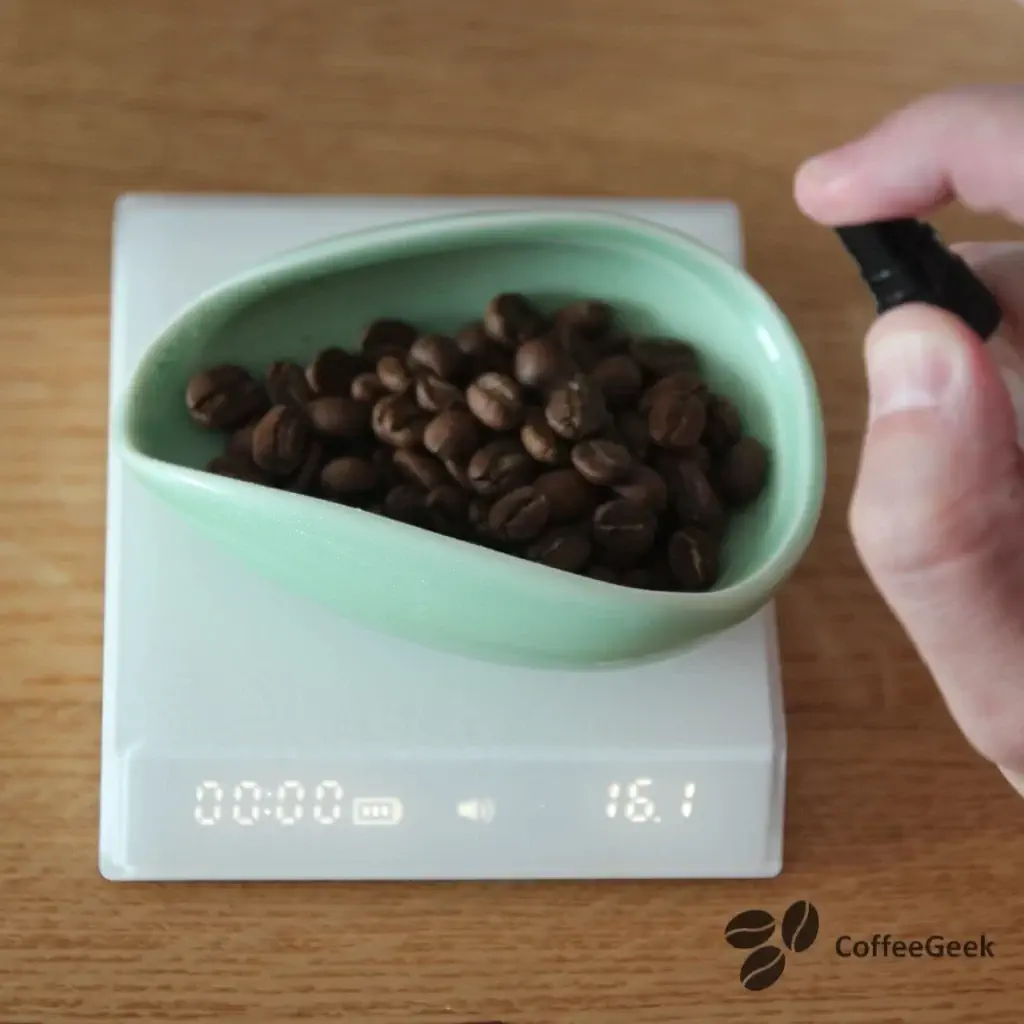
This is the RDT technique The first step is to weigh your coffee. Personally, I prepare my espressos with 16 g of coffee, but you can easily increase to 18 g. It all depends on the water/coffee ratio, which I’ll explain in a future article. Do some tests to determine the amount of coffee and water that suits you. Note that to use your machine’s double filter, you’ll need at least 14 g of coffee.
Fighting Channeling for a Better Espresso
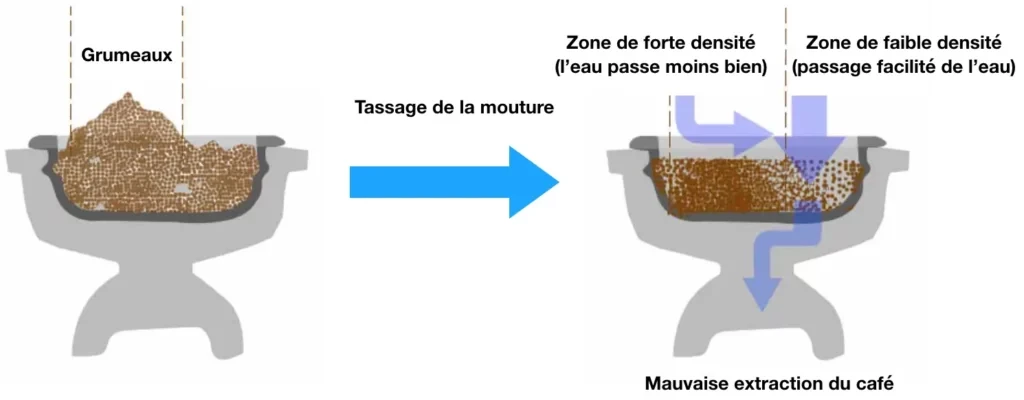
Channeling in espresso is a crucial phenomenon to understand for any coffee enthusiast or professional. It occurs when part of the hot water flows through the ground coffee unevenly, creating preferential paths through the grounds. This often results in an unbalanced extraction, producing inferior quality coffee with inconsistent flavors and aromas. To achieve an optimal espresso, it’s essential to master the techniques for preventing and minimizing channeling, thus ensuring a uniform extraction and a fully satisfying tasting experience. However, this topic will not be covered in detail in this article. I invite you instead to consult my other article specifically dedicated to channeling in espresso.
Tips to Avoid Channeling
Channeling is a phenomenon of imbalanced water flow through the coffee grounds. It is therefore an issue only related to espresso extractions. Indeed, water will always take the path of least resistance. Let's discover how to avoid this phenomenon.
Read more...The image illustrates the channeling phenomenon in espresso, where hot water passes through the ground coffee unevenly, creating preferential paths through the puck. This unbalanced extraction can result in inconsistent flavors and aromas in the cup. To avoid channeling, follow two essential recommendations: buy or make a WDT and tamp straight. These are the two main causes of channeling in espresso.
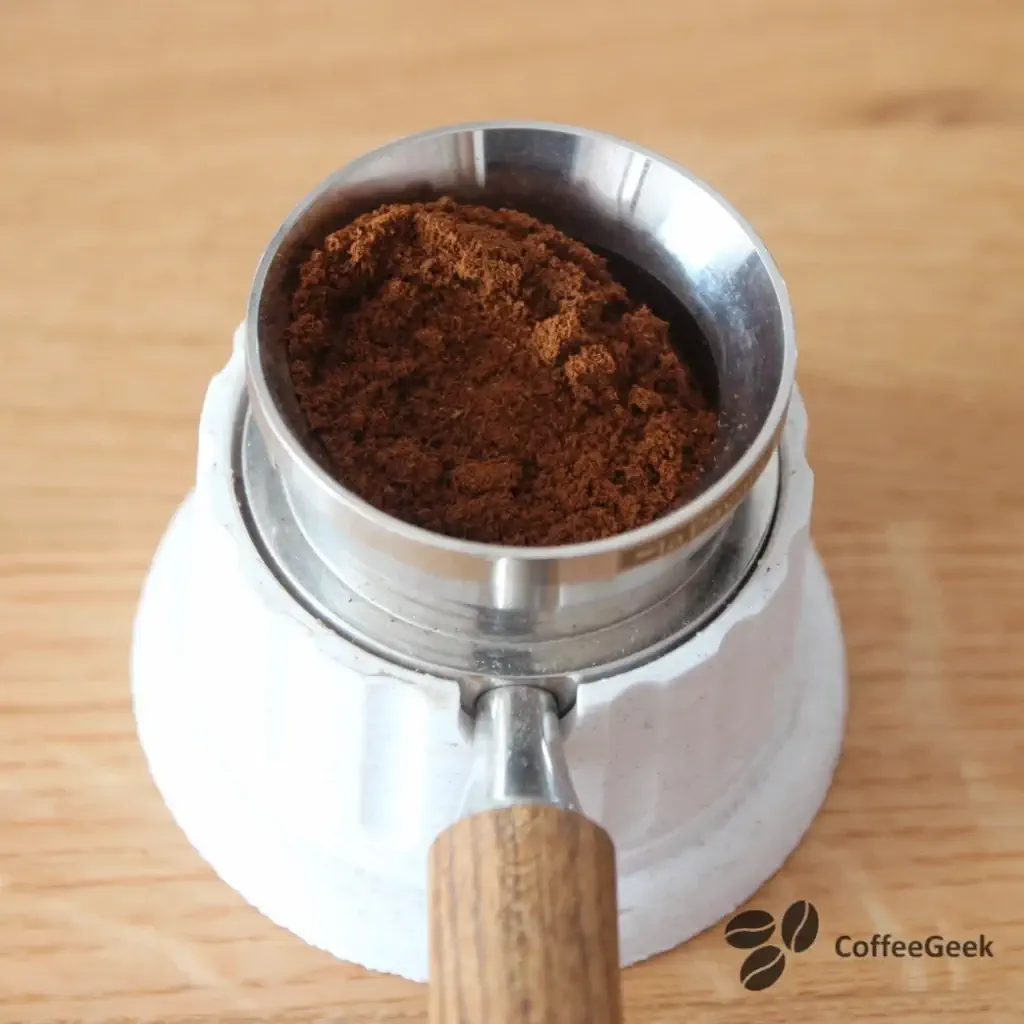
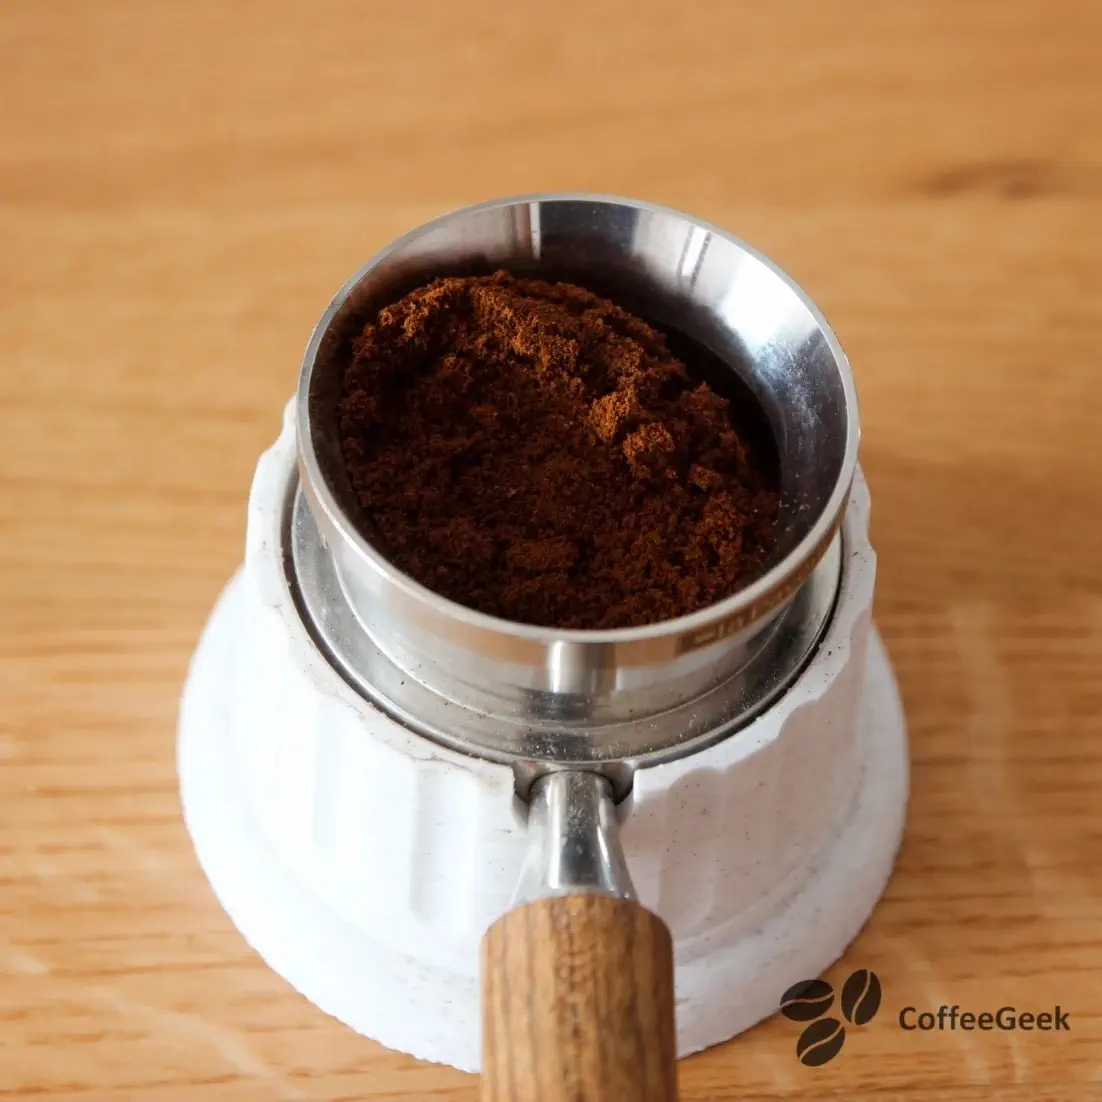
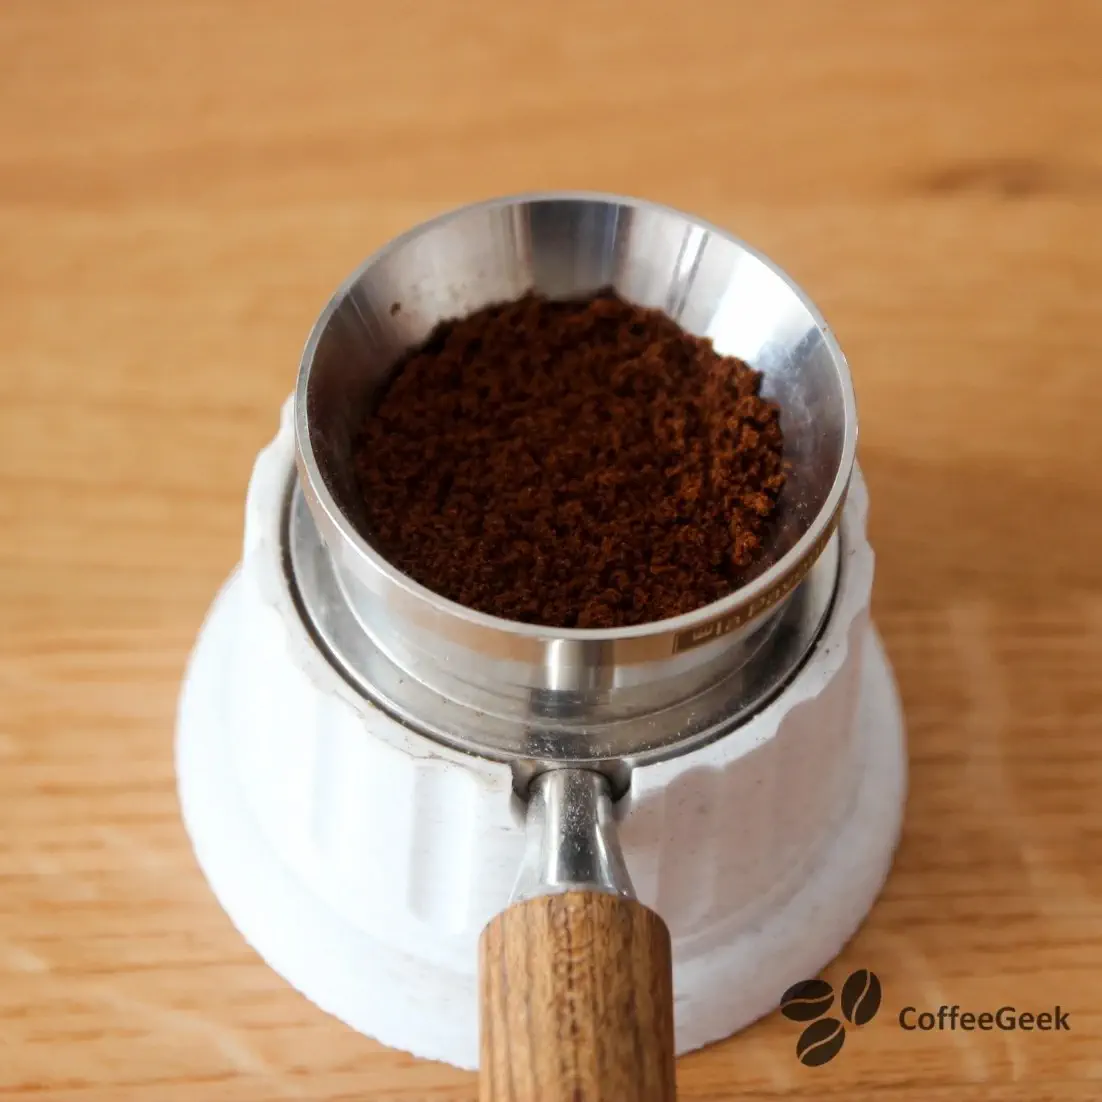
I pour the ground coffee into the portafilter basket of the La Pavoni. In the illustration, I’m using a bottomless portafilter. Since the basket of a La Pavoni Europiccola measures 51 mm in diameter, I recommend using a small funnel to avoid getting coffee everywhere.
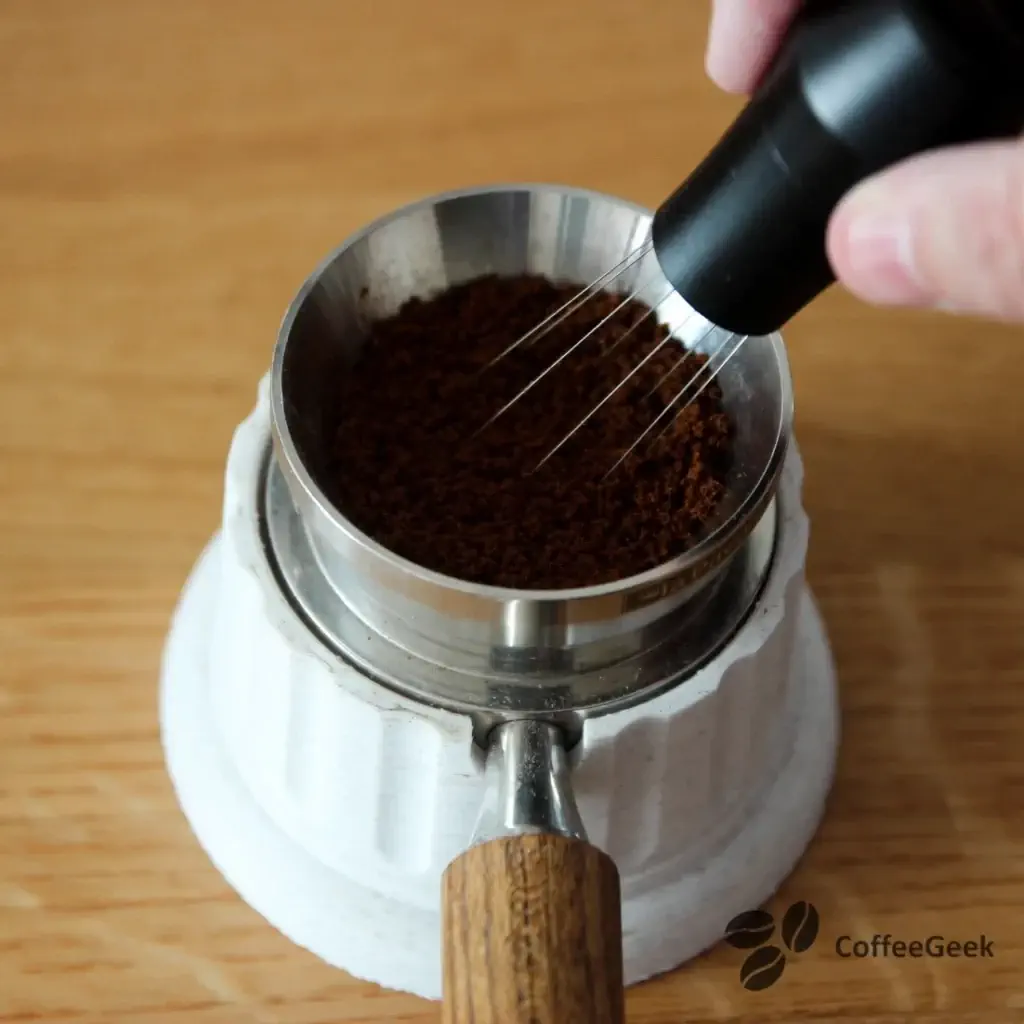
This step is very important as it will help prevent the channeling phenomenon. I break up any clumps and distribute the coffee evenly in the basket using a WDT.
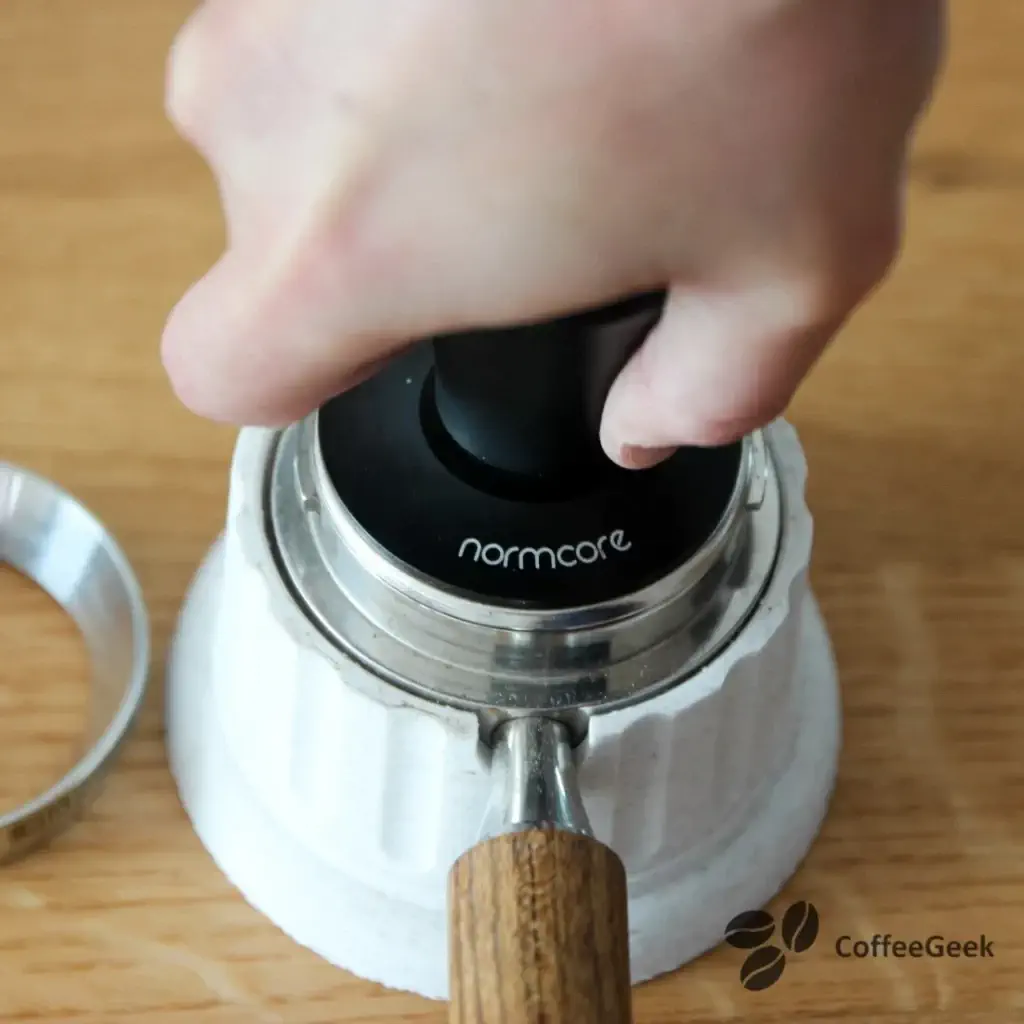
Next, I tamp using a tamper. Personally, I use a tamper that has a guide to help tamp straight. Little tip: using a 51.5 mm diameter tamper helps avoid having leftover coffee around the edges of the filter.
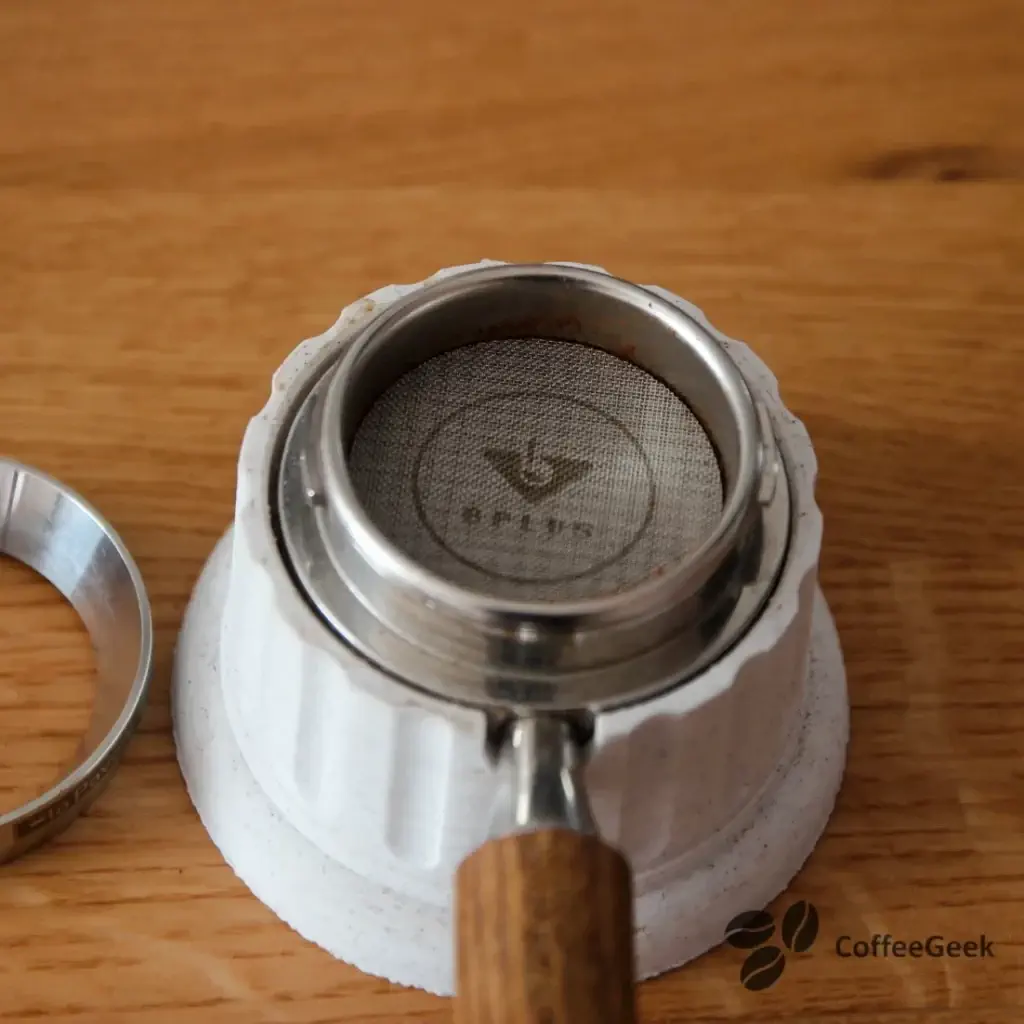
Finally, I apply a puck screen on the tamped coffee. The puck screen will have several effects: it reduces channeling and prevents the machine’s shower screen from getting dirty with coffee grounds. Although not mandatory, I find this accessory truly essential.
Pulling an espresso with a La Pavoni
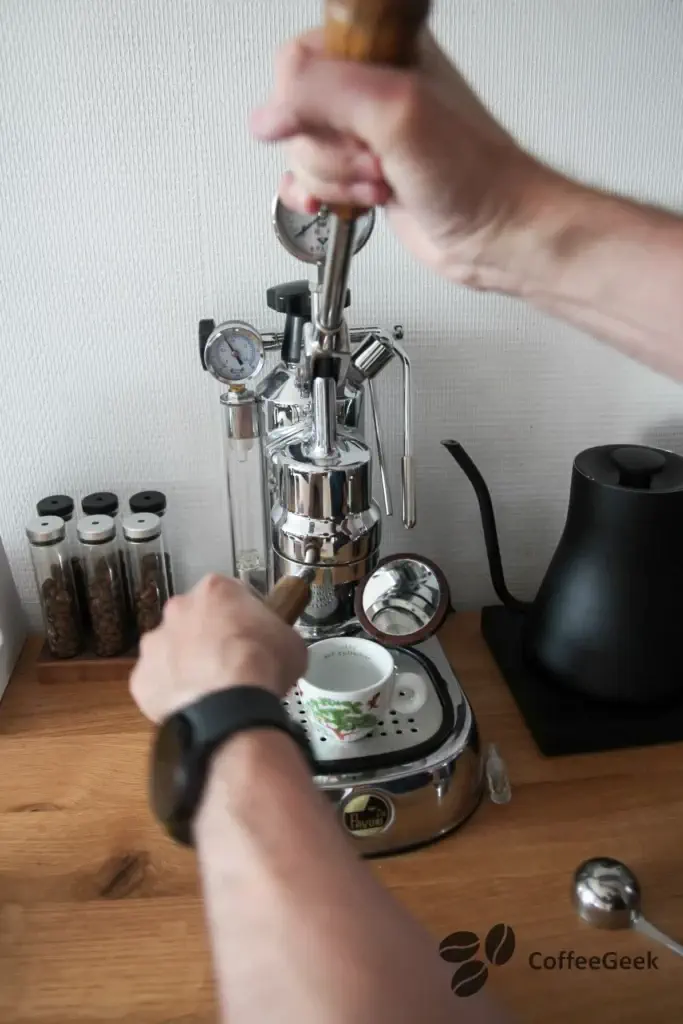
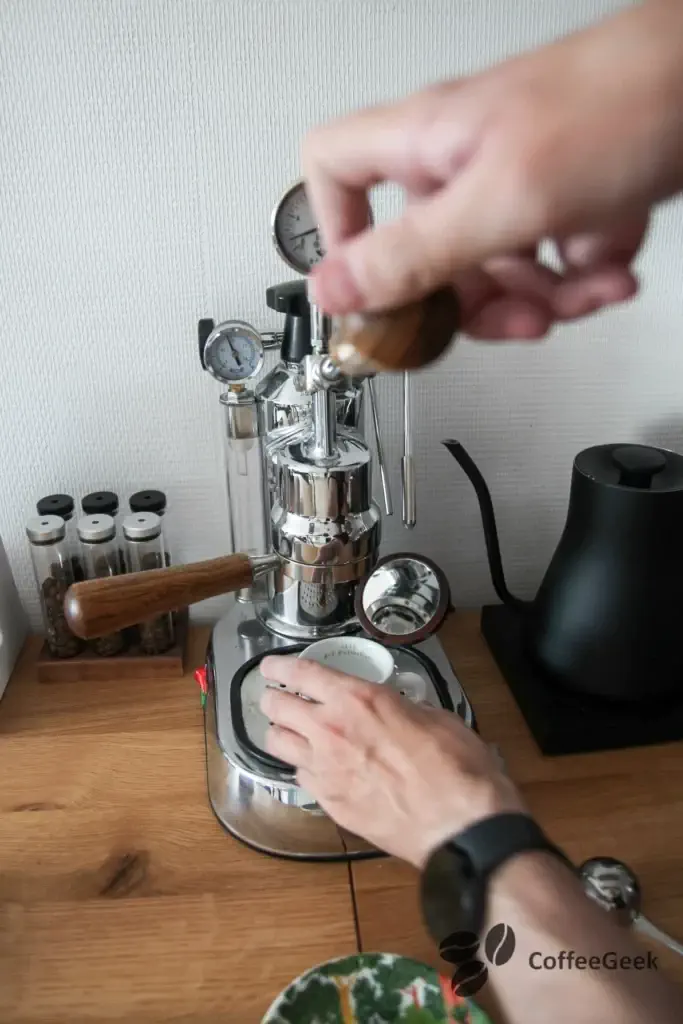
A La Pavoni uses a piston that must be raised using the lever to load the chamber (of the piston) with water before starting the extraction. Thus, to prevent a vacuum from being created and the suction effect from breaking the coffee puck, I prefer to raise the lever three-quarters of the way before attaching the portafilter. In case you prefer to attach the portafilter before raising the lever, raise the lever slowly. Otherwise, this vacuum effect will break the puck and cause channeling.
Next, I attach the portafilter to the machine then finish raising the lever to fill the piston chamber with water. After a few moments, I put a little weight on the lever (a little more than the weight of my hand) to perform a pre-infusion. This pre-infusion will last a few seconds (5 to 7 seconds) and I stop it when a few drops of coffee have fallen into the cup. Thus, the coffee puck is well loaded with water.
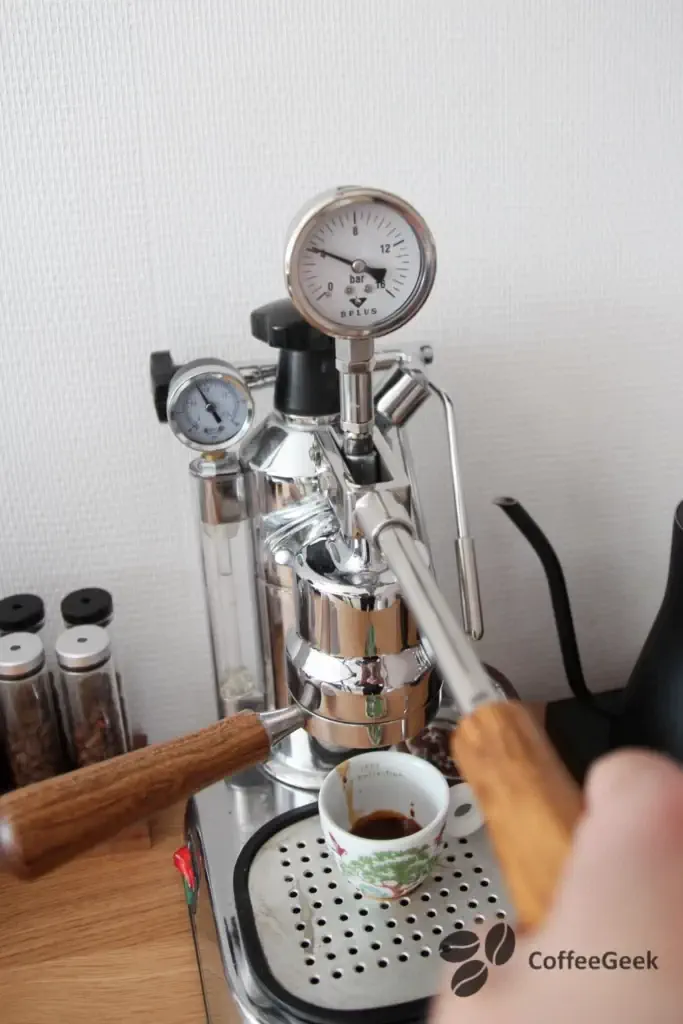
Once the pre-infusion is complete, I slowly raise the lever to reload water into its chamber. Then, I begin the extraction.
To perform the extraction and reach 9 bar of pressure, I use my pressure gauge which allows me to measure the pressure in the piston chamber. If you don’t have such a gauge, you need to apply about as much pressure as when you tamp the coffee. Approximately 12 kg on the lever to reach 9 bar of pressure.
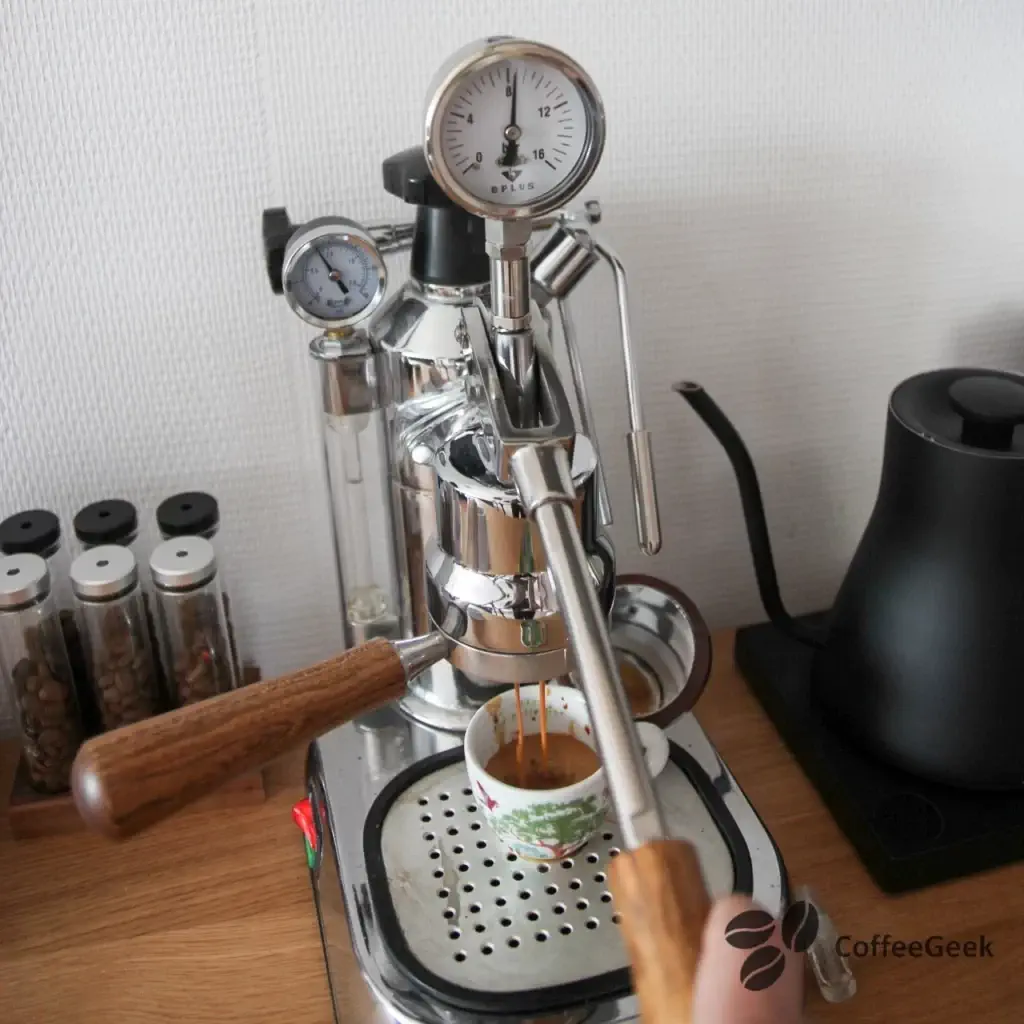
Adjust the amount of water according to the ratio you’re looking for. Aim for an extraction between 25 and 30 seconds. If your extraction is too fast or too slow, you’ll need to adjust the amount of coffee or grind finer (change one parameter at a time).
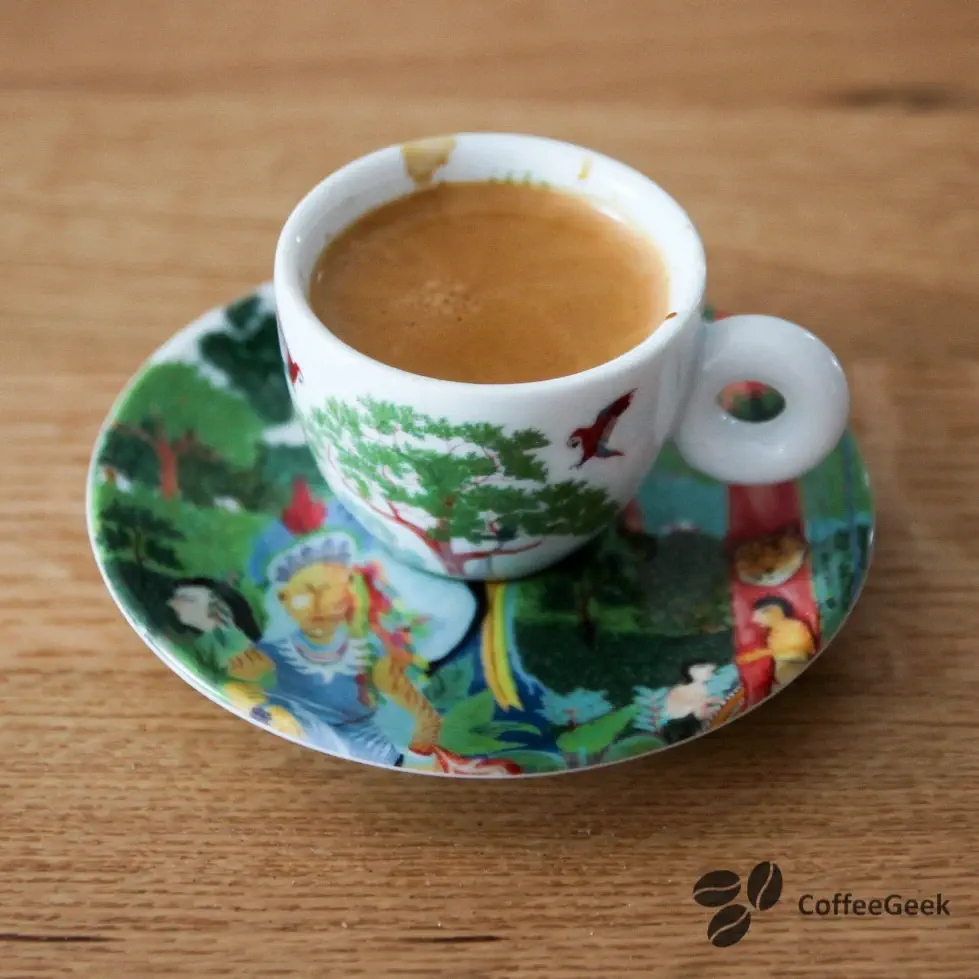
And here’s the result.
Rarity of beautiful collectible espresso cups
Discover the fascinating world of espresso cups, particularly egg-shaped models that combine style and functionality to enhance every sip. This article traces the history and characteristics of these unique pieces, while highlighting the famous illy Art Collection, which showcases the talent of renowned artists. Let this guide help you find the perfect cup, combining attractive design and optimal performance.
Read more...Common problems when extracting an espresso
| Problem | Possible Solutions |
|---|---|
| Lever lowers without resistance | Coffee grind too coarse: grind finer. Coffee quantity too low: increase the amount of coffee. Coffee not freshly roasted and/or ground: replace the coffee |
| Lever stays stuck at the top and difficult to lower | Coffee grind too fine: grind coarser. Coffee quantity too high: reduce the amount of coffee |
| Sour coffee | Water temperature insufficient: check that the water is hot enough |
| Not enough water in the cup | Gently lift the lever a second time to increase the amount of water |
| Coffee flows unevenly / splashing | Channeling problem: read the following article |
| Coffee with burnt taste | Water temperature too high: let the machine cool down if turned on too long or used for several coffees in a row |
Conclusion
I hope I was able to help you master your La Pavoni. Several attempts will allow you to tame this machine which, admittedly, is sometimes really temperamental. Whatever the case, this machine is wonderful: very easy to maintain, very sturdy, indestructible, and really beautiful.
Find La Pavoni accessories on Amazon
Another article that might interest you: how to maintain a La Pavoni (gasket replacement, piston lubrication, etc.).
How to maintain a La Pavoni?
Discover how to extend the lifespan of your La Pavoni espresso machine through regular maintenance. In this article, I share practical tips based on my experience as well as a video tutorial that will guide you step by step through the disassembly, cleaning, and reassembly of the boiler and pistons.
Read more...Feel free to ask questions, provide additional information, or even simply let me know if you enjoyed the article (which represents a lot of work) in the article’s comments section. I’ll be delighted to read and respond to you.
