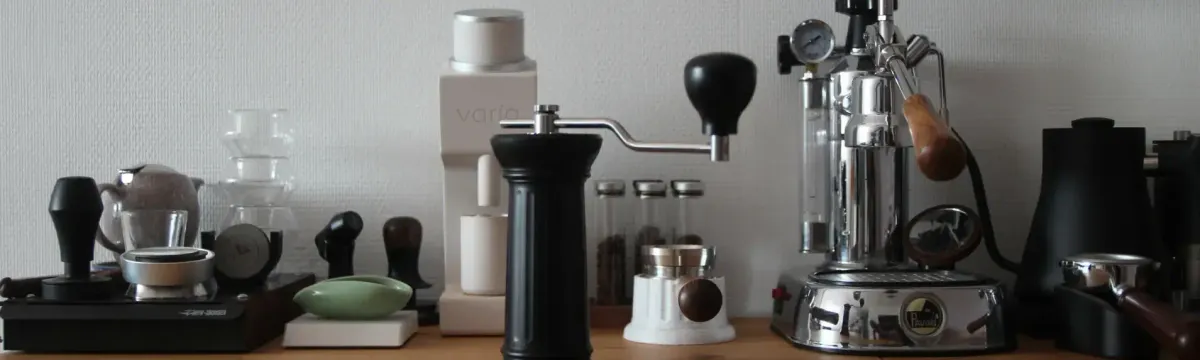

Discover the Apollo coffee grinder from BPlus, a remarkable creation by Arthur, the brand's founder, that will delight coffee enthusiasts. In this article, I share my experience and recent impressions of this iconic model, while comparing it to the Kinu M47 Classic. Immerse yourself in the world of coffee and learn what sets the Apollo apart from other grinders on the market.
My BPlus Apollo coffee grinder has been with me almost since the creation of my first coffee blog: coffeegeek.co. At that time, I had written an article comparing it to the Kinu M47 Classic in this article.
Today, after trying a large number of coffee grinders, some of which I've presented to you throughout my articles, I want to retest and update my impressions of the BPlus Apollo.
Bplus: The Mastermind Behind the Apollo
The Apollo coffee grinder was imagined, designed, and manufactured by Arthur, the founder of BPlus. Originally from Taiwan, Arthur is a coffee enthusiast, both a roaster and an inventor. Within his company, several innovative projects have emerged, often directly related to La Pavoni machines, for which he represents the brand in Asia.
During one of his travels, he was inspired by a column from a Roman temple to design his grinder. At the time, when I saw the photos on social media, I fell in love with this grinder. So, I was able to get it fairly quickly after its availability and compare it to the Kinu M47 Classic that I owned at that time.
I didn't know it yet at the time, but my article comparing the Kinu M47 Classic and the BPlus Apollo made quite a stir on the Internet. Indeed, Kinu has a sort of fan boys who claimed that BPlus had completely copied the Kinu M47, which was not the case at all. My article, with its point-by-point comparison of the two grinders, demonstrated this by chance.
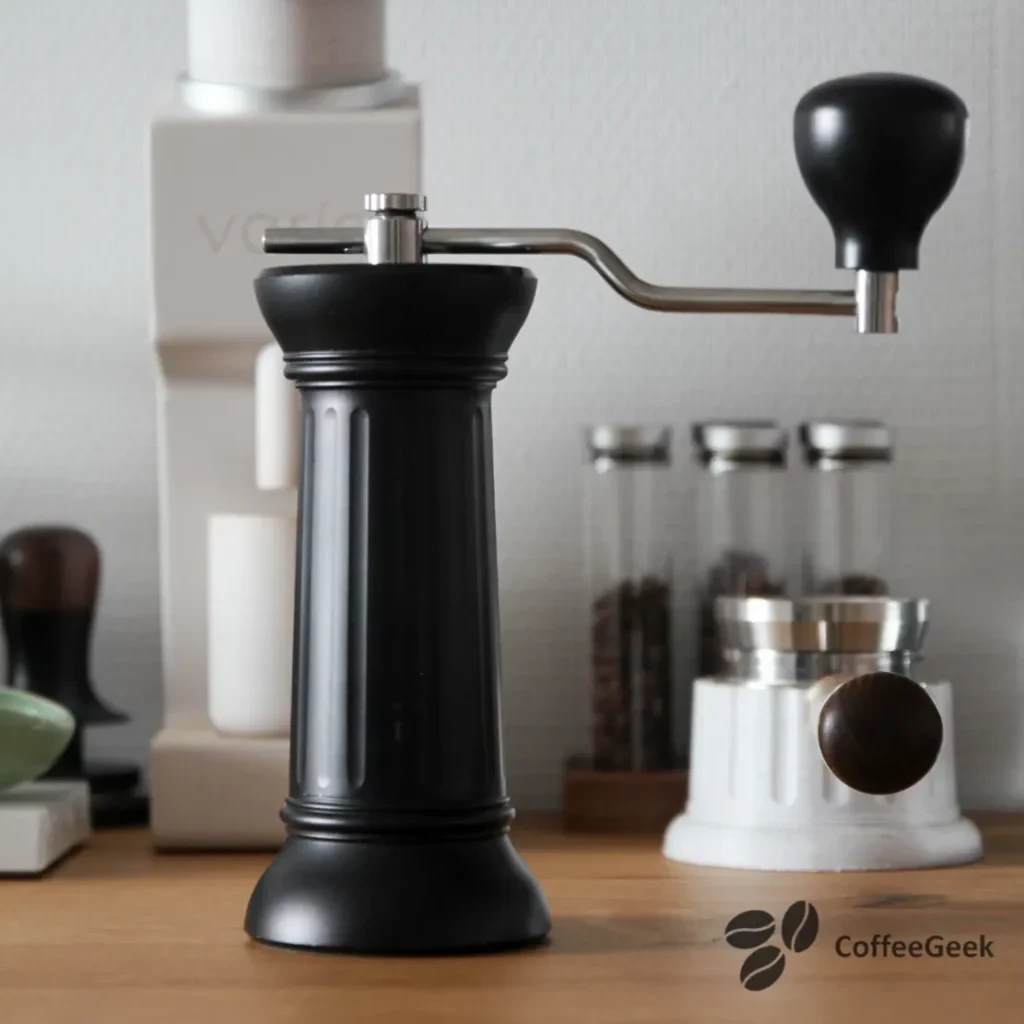
The unique style of the Apollo coffee grinder
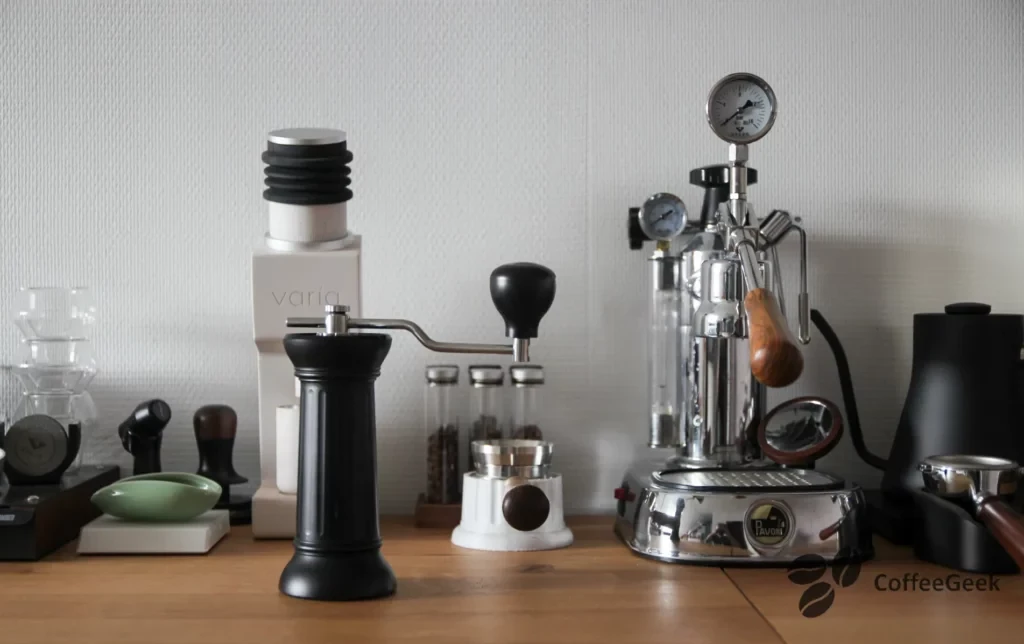
Unlike what can be found with competitors (Timemore, 1Zpresso, Kingrinder…), who offer grinders made of several elements assembled together, the Apollo is so to speak carved from a solid block using a CNC machine. Thus, when you hold the Apollo coffee grinder, it is heavy and you have a feeling of solidity when handling it. I have owned it for several years and I never tire of it.
Personally, I have the black model. But there are other colors available.
But let's come back a bit to the details that make this grinder totally unique in my eyes. In fact, when I'm not using it, it also serves as decoration.
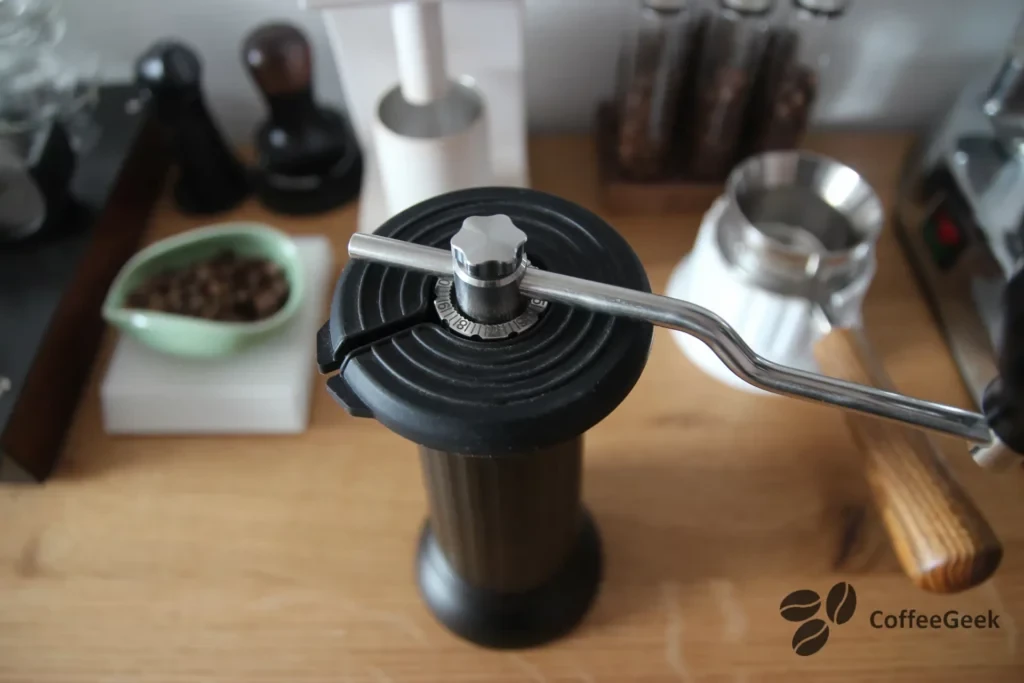
The crank
The crank on this grinder is not retractable and the knob is large, made of metal, offering an excellent grip. I emphasize this point because I tested the coffee grinder from MHW 3Bomber, Kinu and also the Timemore S3, which offer a much smaller crank knob. Personally, I find that the grip is less comfortable when the latter is too small.
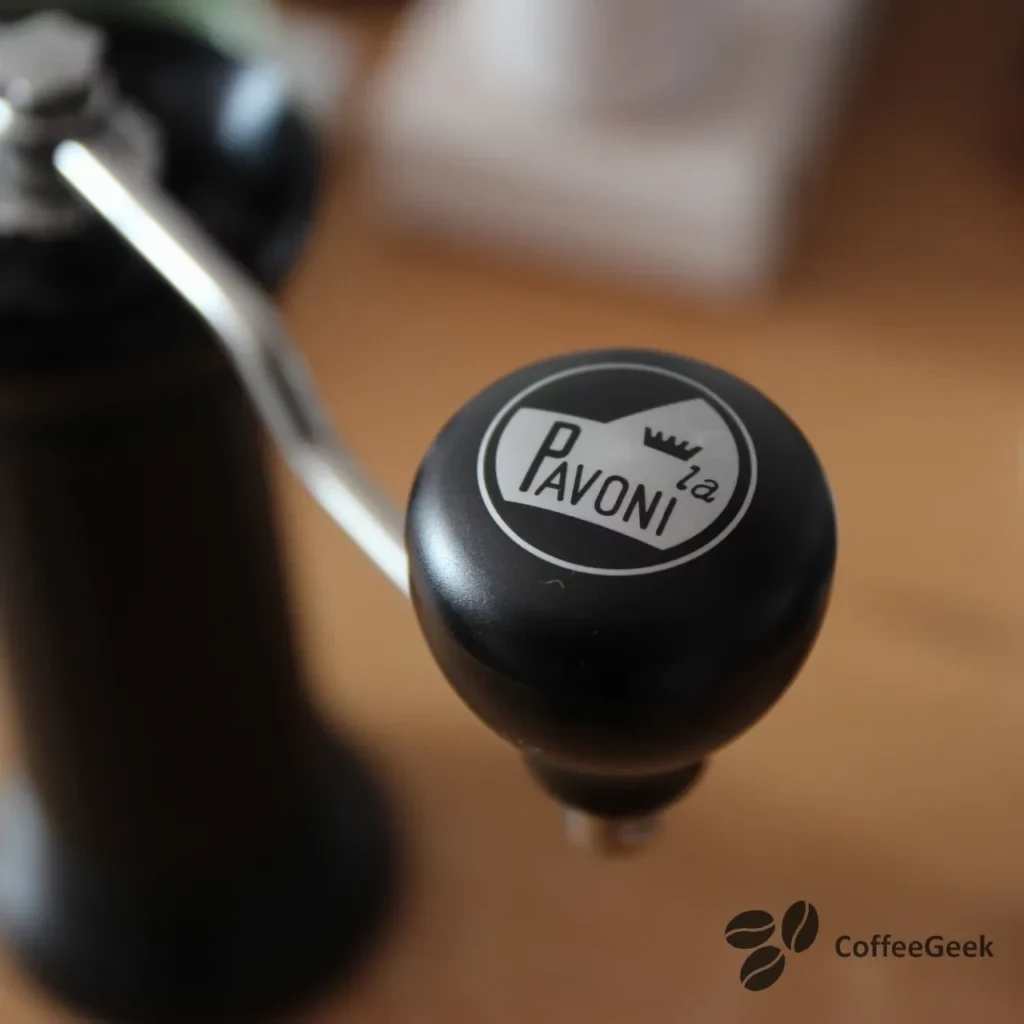
A laser engraving "La Pavoni" recalls the connection between BPlus and La Pavoni.
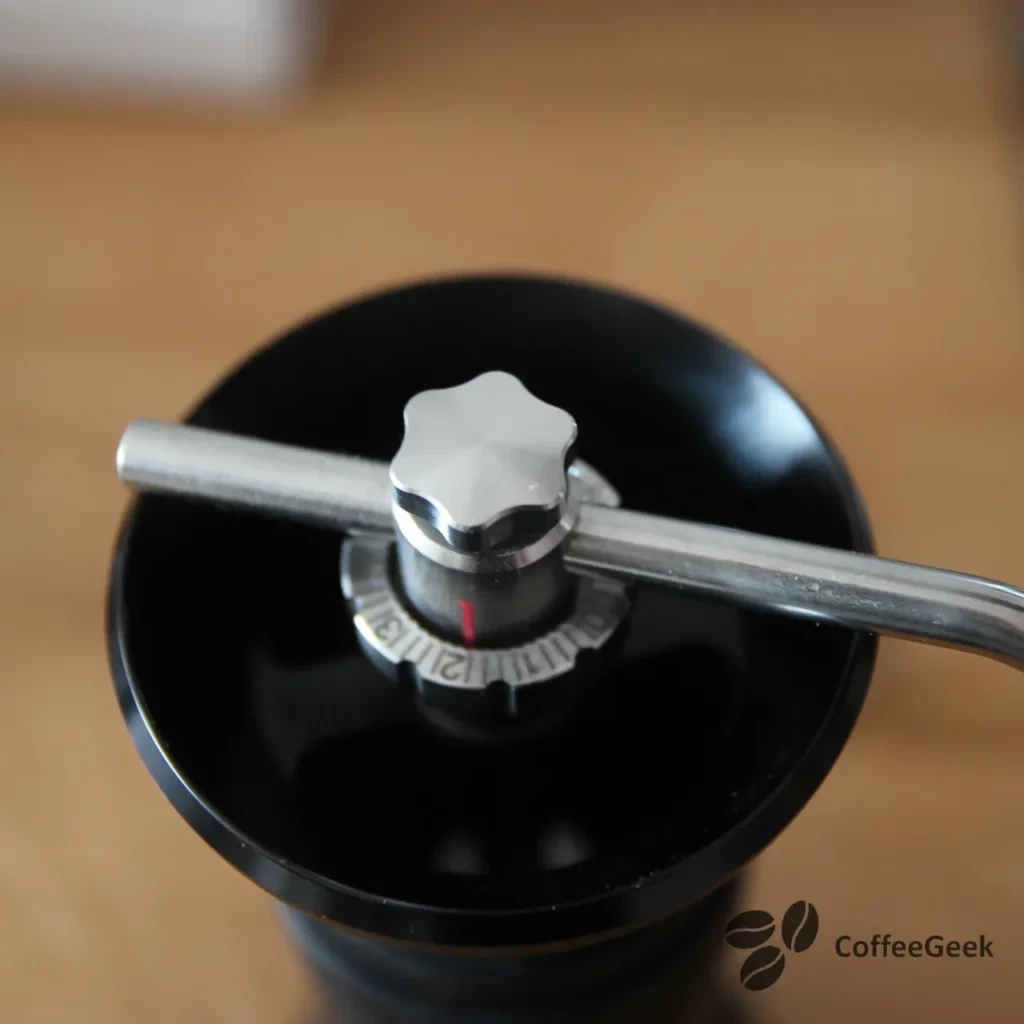
The adjustment dial
The adjustment dial is located at the top of the grinder, at the level where the crank attaches to the shaft that rotates the moving part of the burrs. It is a dial that allows very precise grind adjustment. I never had the feeling, when using it, that the ideal setting was between two clicks.
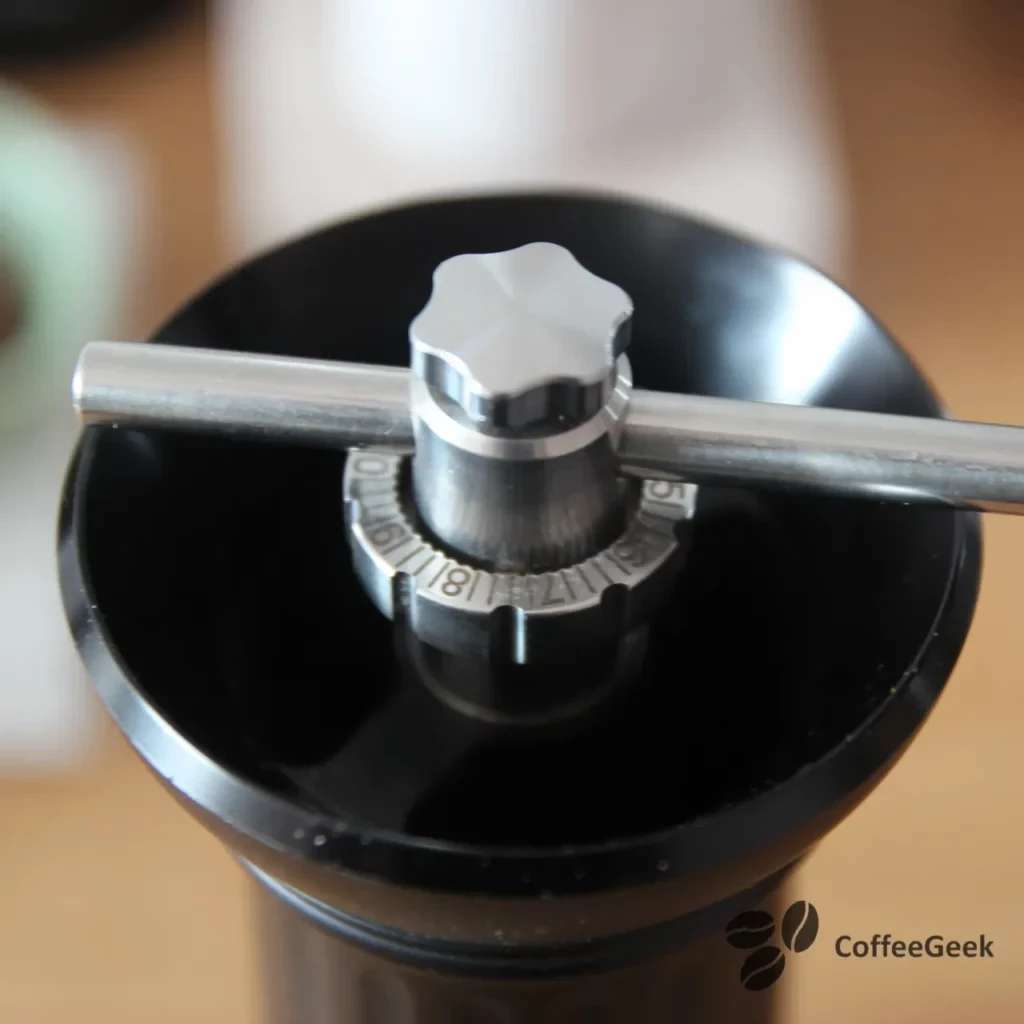
In fact, the majority of coffee grinders adjusted from the top (except rare exceptions, like the Timemore S3) allow a sufficiently fine adjustment for espresso extraction. Other criteria, such as the shape of the burrs, also influence the quality of the grind.
Conversely, grinders whose adjustment is located at the bottom offer less fine adjustment with a larger gap between the burrs at each click. For example, during my test of the El Comandante C40, I found that it was not very convincing for espresso extraction. When using it, I found myself several times with an ideal setting between each click.
Thus, generally speaking, grinders with bottom adjustment are better suited for slow extractions with coarse grinds, while grinders with top adjustment are designed for espresso-type extractions.
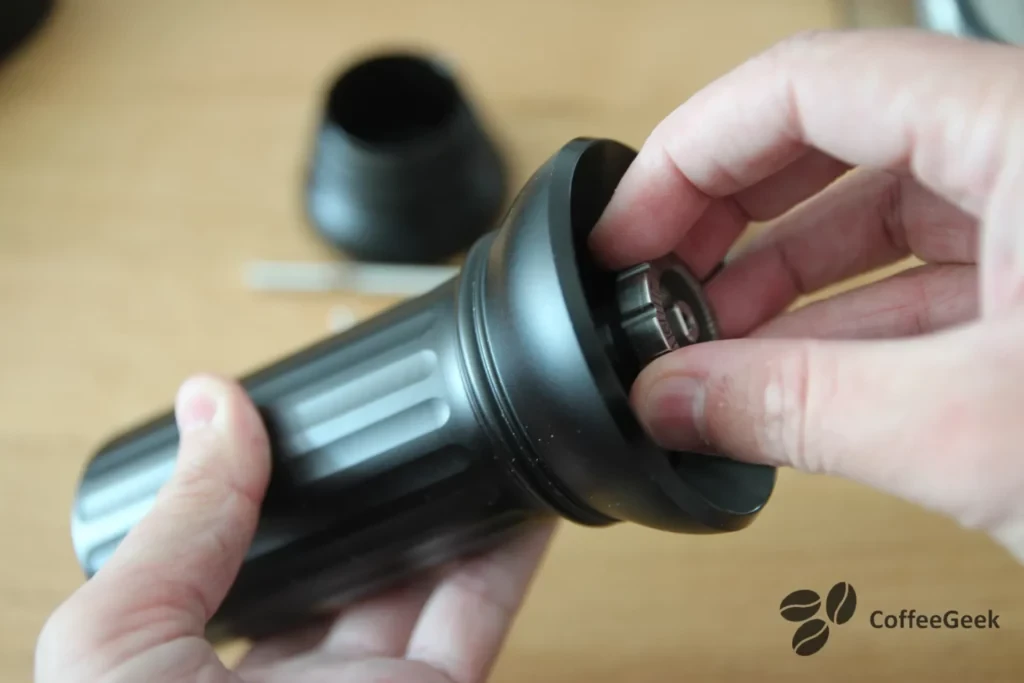
The Cap
While most coffee grinders currently available on the market have a removable crank, attached to the cap, here with the Apollo, we have a non-detachable crank, with a silicone cap to be placed before use.
We can of course use the grinder without the cap, but coffee bean fragments may escape. Personally, I prefer to use the cap provided by BPlus even though I find that it doesn't match well with the coffee grinder's design.
The Apollo Coffee Grinder Body
I already mentioned in the introduction of this article that the grinder was heavily inspired by a Roman temple column. Thus, this grinder evokes Italy, the country of espresso and coffee.
I don't know how much it costs to produce a single one of these grinders, but the fact that it is machined from solid material by a CNC machine takes a lot of time. Some time ago, I spoke with Arthur and questioned him a bit on this subject. Apparently, he sells the Apollo practically at cost. This means that he continues to produce this coffee grinder essentially out of passion rather than seeking profit. This is also why his coffee grinders are often out of stock.
Anyway, let's get back to the point. The fact that the grinder body is narrower at the top but ends with a funnel has a dual advantage. The funnel helps pour coffee into the grinder while preventing the grinder from slipping during use.
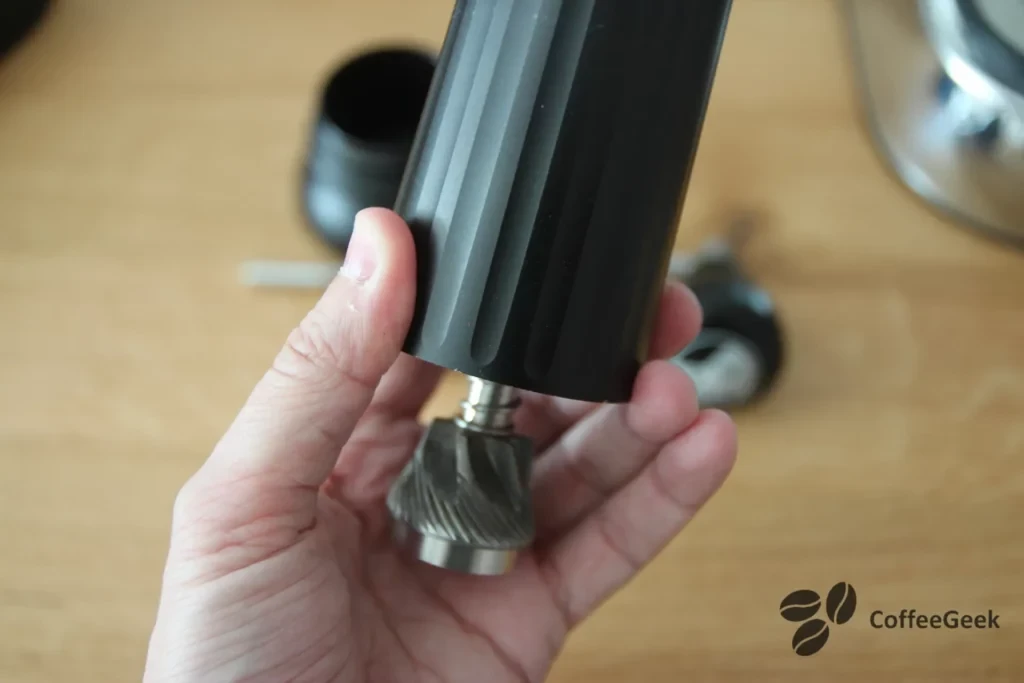
The Apollo burr
The Apollo burr is manufactured by the Italian company Itamil. It's the same burr found in Kinu grinders and certain 1Zpresso models, and probably in other grinder brands as well. This burr offers excellent cup results for espresso extractions. It has a diameter of 47 mm and is made from an extremely hard alloy, which gives it significant longevity. Since I've owned this grinder (since mid-2018), I've put kg of coffee through it without observing any signs of wear. Moreover, since the grinder is disassemblable, it will be easy to replace the burrs if needed.
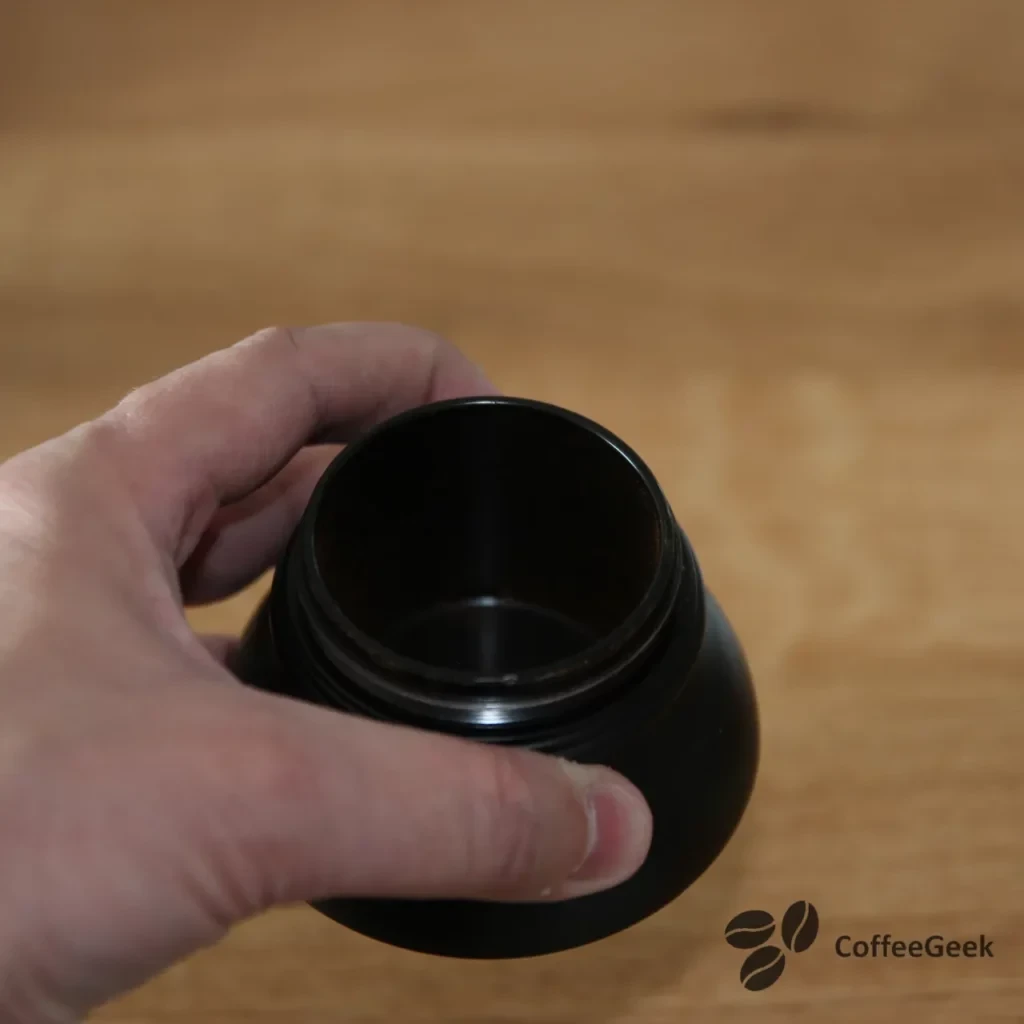
The catch cup
The catch cup is also machined from solid material. It's quite heavy, with a low center of gravity and a wide base, which allows the grinder to remain very stable on the work surface.
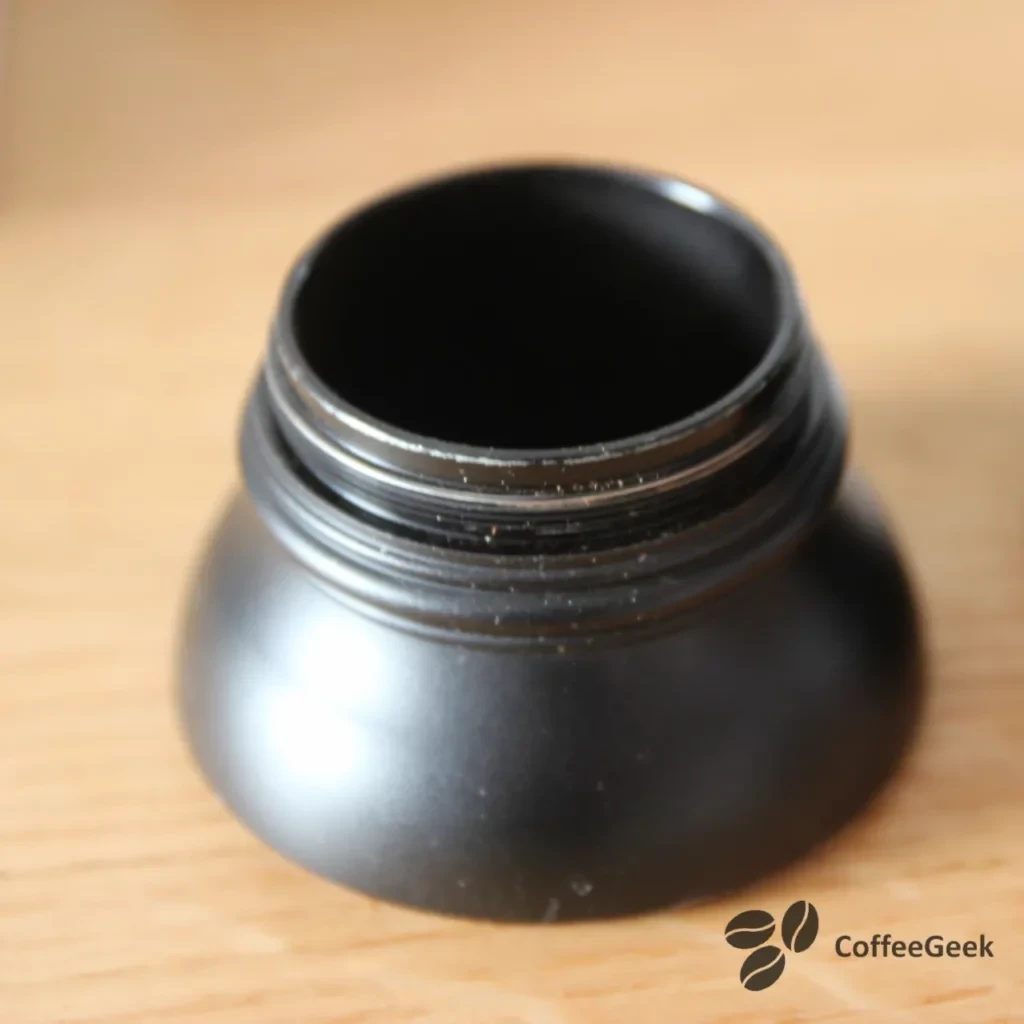

The inside of the container is perfectly straight. There is no rim that could retain coffee, as I have observed on other coffee grinders. Also, the container is 58 mm wide, making it directly compatible with most filters (this is the standard professional format). Finally, it attaches to the base by screwing it on. The threading is much finer than what you find for example on the Kingrinder. I was initially worried about stripping the threads. But, I have owned this grinder since 2018, I have used it many times and I have not had any problems in this regard.
Under the container, there is rubber to avoid damaging the countertop.
Espresso extraction with the BPlus Apollo and La Pavoni
Preparing espresso coffee with a La Pavoni was covered in detail in the following article. Therefore, some steps will be skipped in order to focus on the coffee grinder.
Secrets of Using the La Pavoni Lever Machine
Perfect your espresso mastery with the La Pavoni lever machine: heating, pressure, and technique for consistently excellent shots.
Read the article →
Tutorial article explaining the general basics for making a successful espresso coffee with a La Pavoni coffee machine
The first step will be to weigh the coffee then, add a few drops of water to the coffee beans before grinding them. This is the RDT technique, which consists of reducing static electricity, an important factor in retention.
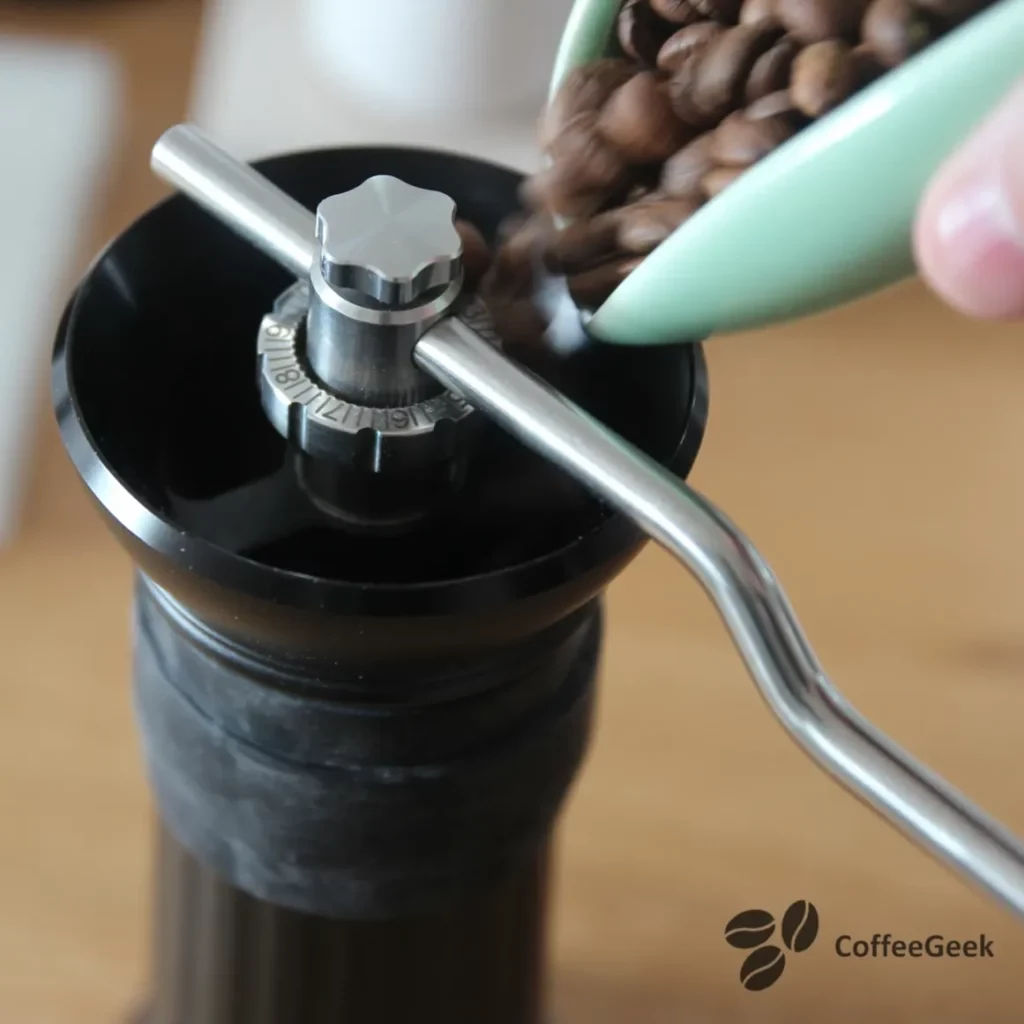
I pour the coffee beans into the grinder. The hopper, an integral part of the grinder's design, allows you to pour all the beans at once without spilling any.
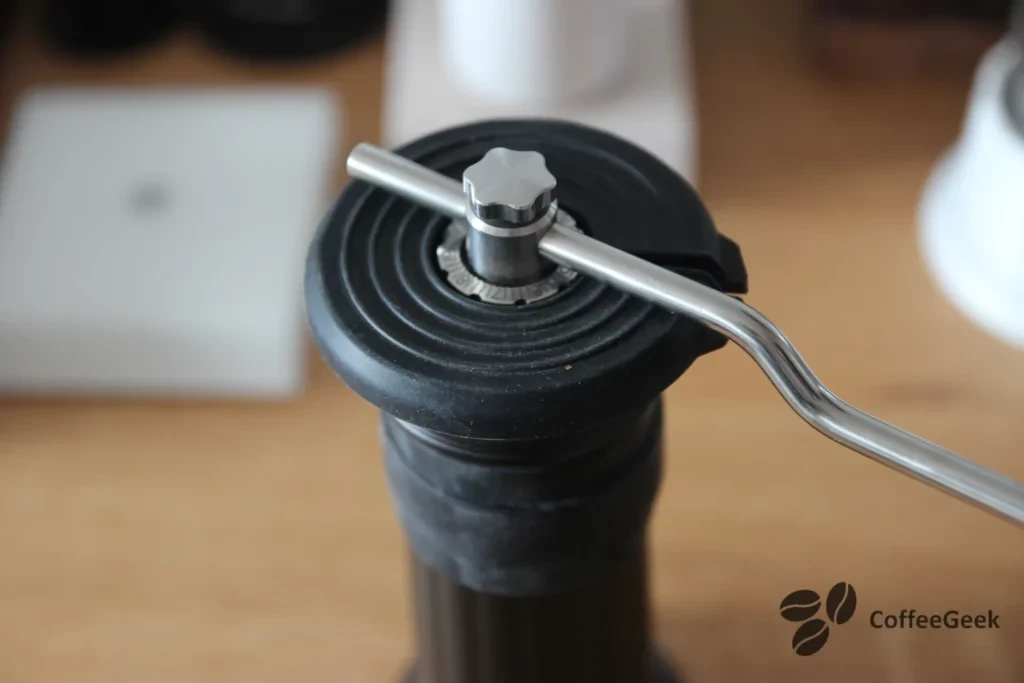
I don't forget to add the silicone plug. Adding this plug is not mandatory but helps prevent coffee beans from escaping when grinding the coffee.
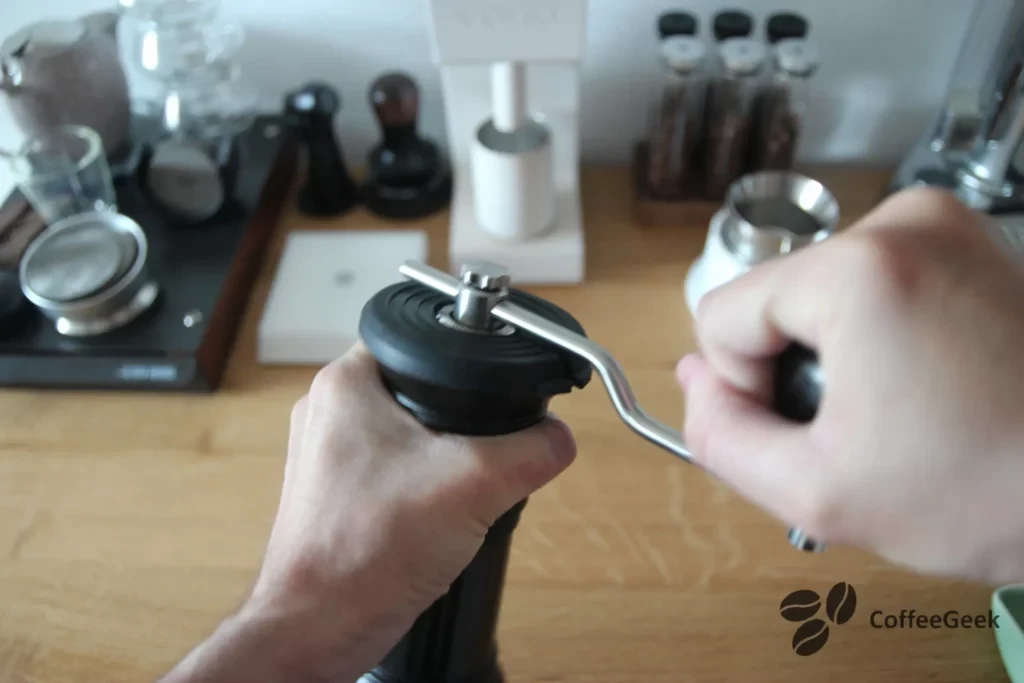
Next, I grind the coffee. Among all the coffee grinders I've tried, this is one of the fastest for grinding the same quantity of coffee. This speed generates a certain torque during grinding. BPlus has provided rubber bands to place around the grinder for a better grip. These bands make the grinder easier to handle, but they slightly detract from the beauty of the Apollo's design.
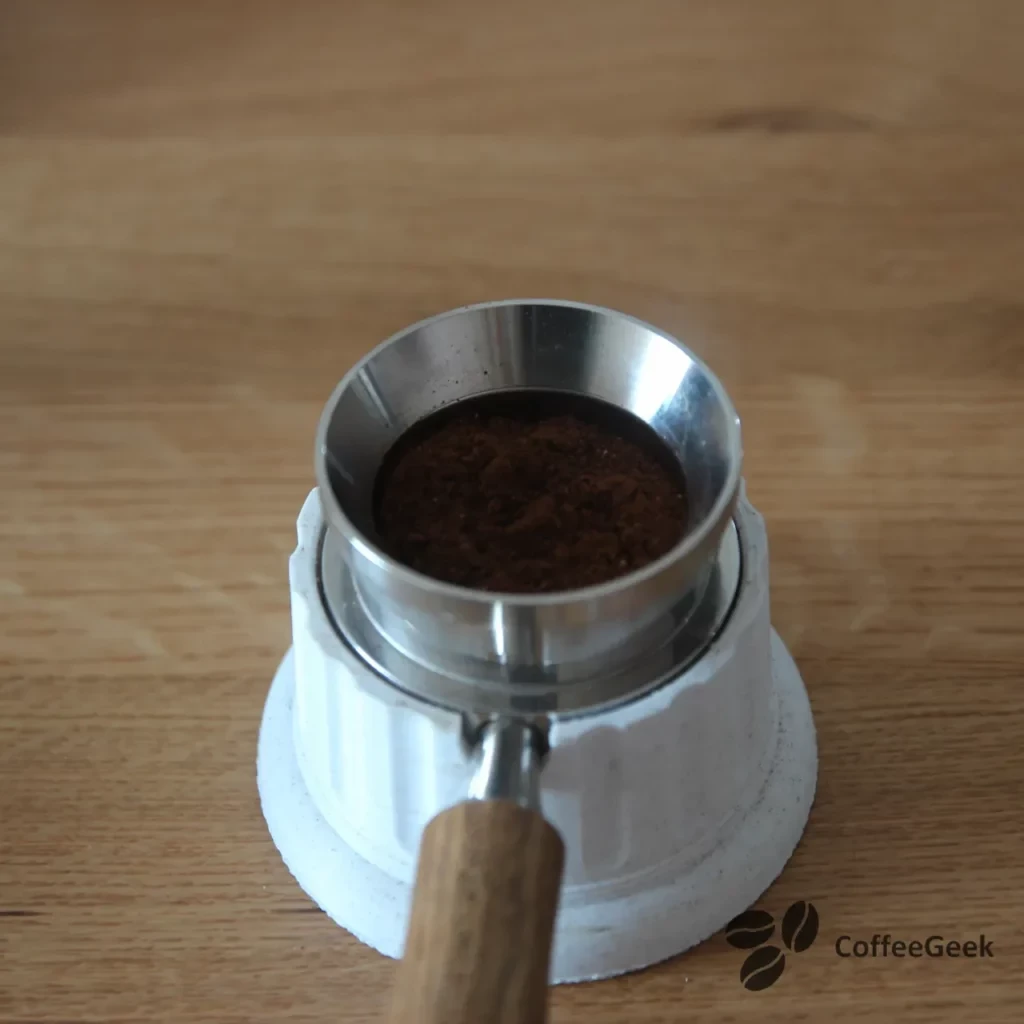
After a few dozen seconds, I've finished grinding my coffee. I pour it into the portafilter of the La Pavoni and distribute the coffee using my WDT. This is a very important step in making an espresso, as it helps avoid the phenomenon of channeling.
4 tips to avoid channeling with a bottomless portafilter
Discover how to avoid channeling during your espresso extractions with a bottomless portafilter.
Read the article →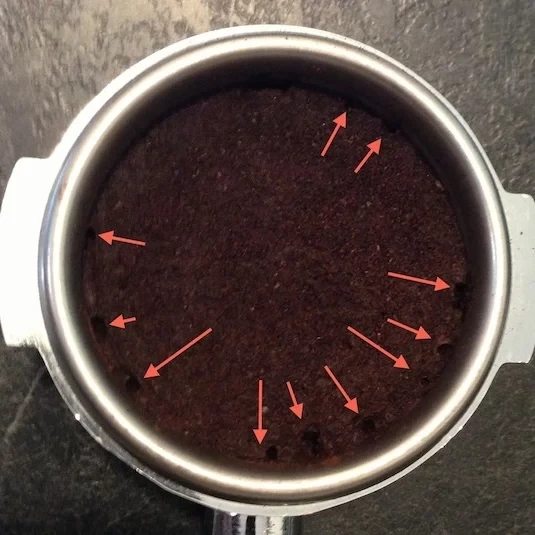
Coffee retention in the Apollo grinder
Now that the coffee is tamped and I've placed the puckscreen, I can show you the retention of the Apollo. It is extremely low.
Let's start with the container. After pouring the coffee into the portafilter, there is nothing left, no coffee, except for a slight powder, which is completely normal.

Next, let's look at the burr outlets. These do not show any significant retention of coffee.
The low retention of the Apollo coffee grinder is excellent. In truth, several hand grinders have very low coffee retention, particularly at the burr outlet level. Where there can be a difference between coffee grinders is at the container level. Some brands have opted for components or shapes that create coffee retention. I'm thinking particularly of Kinu which, at the time when I owned it (this may have changed since), had a lip inside the container. This inevitably led to coffee retention.
My espresso prepared with the BPlus Apollo grinder
And here is the espresso coffee that I made with the coffee ground by the Apollo and extracted with my La Pavoni.
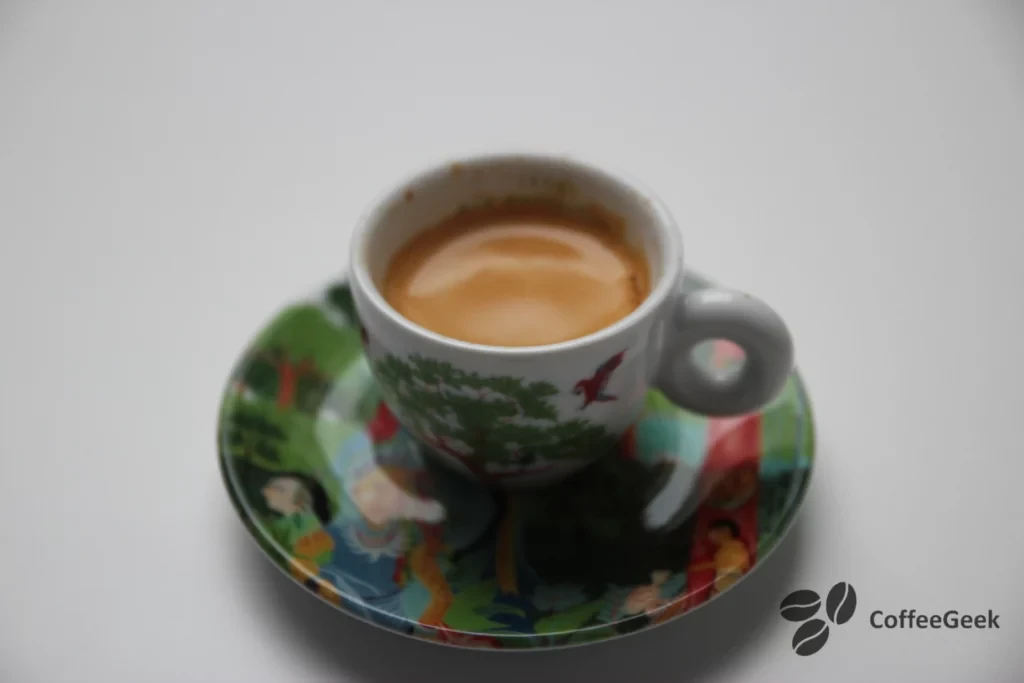
Cup illy art collection.
How to disassemble the Apollo grinder?
Unlike some manual coffee grinders available on the market, the Apollo was designed to be easily disassembled, which allows for easy cleaning. Let's proceed together with disassembling the grinder:
To start, I recommend you note the setting of your grinder. Then, unscrew the screw holding the handle and remove it.

Next, remove the metal element used for adjustment.
To unscrew the nut containing the adjustment numbers, first remove the container and hold the burr with your fingers. Then, you can remove the nut.
Remove the burr and the central shaft.
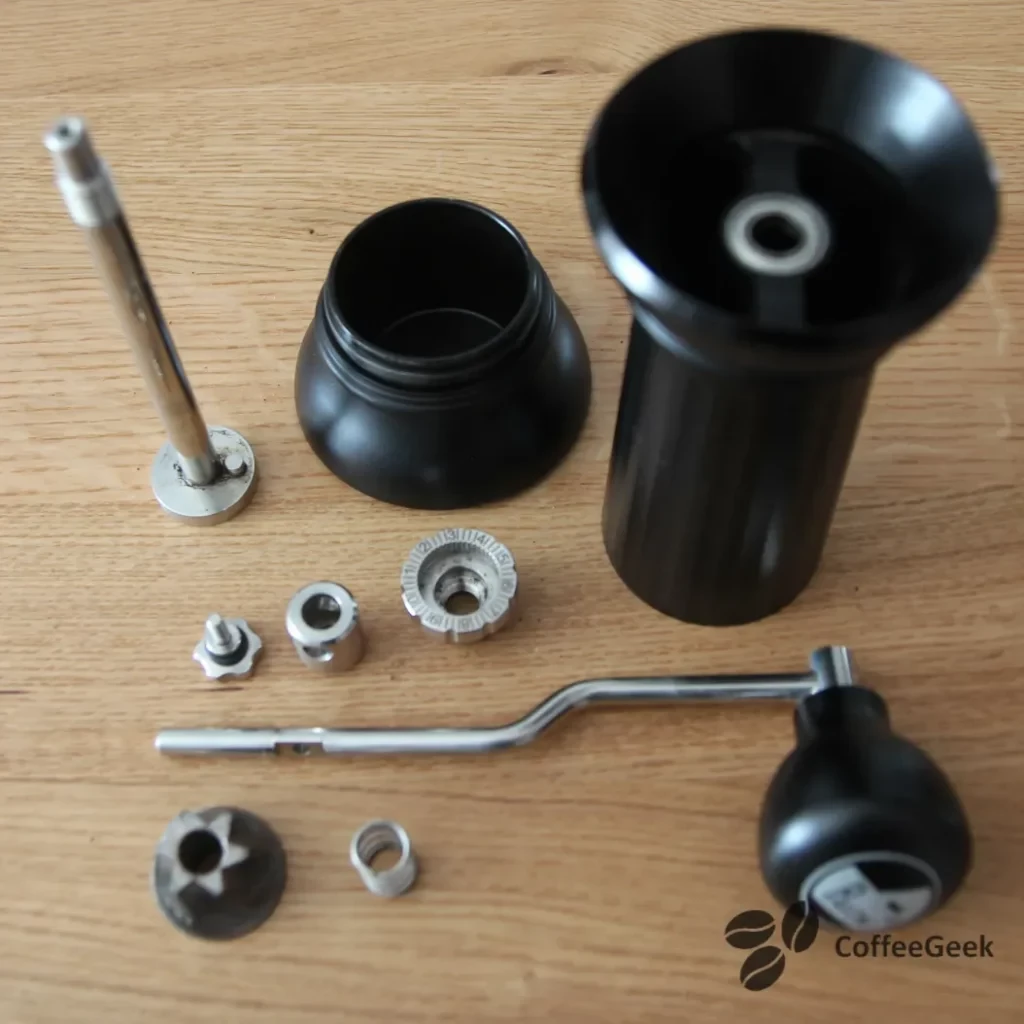
Here is everything that can be disassembled on the Apollo without using tools.
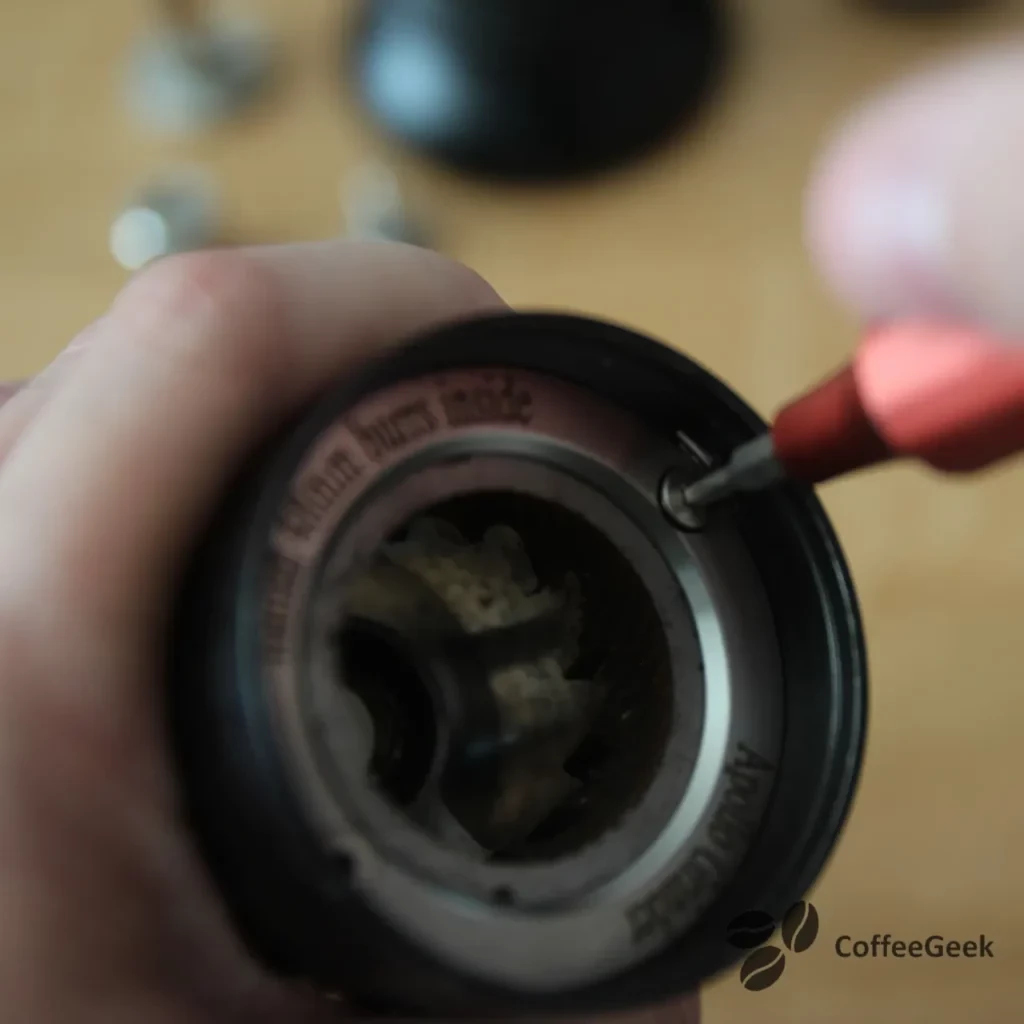
To disassemble the fixed part of the burr, there are two screws to remove. To do this, you will need an Allen key.
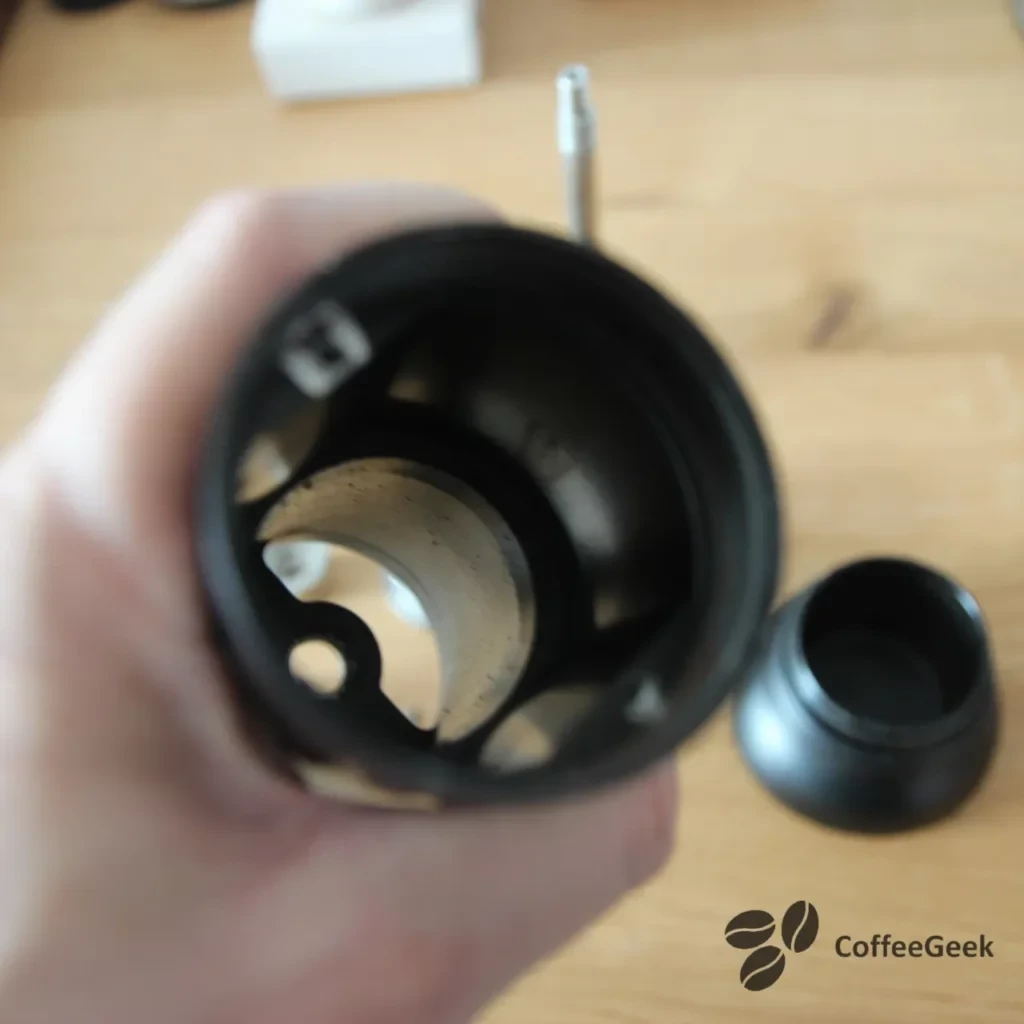
Once the stationary part of the burr is removed, we can easily access the inside of the grinder to clean it.
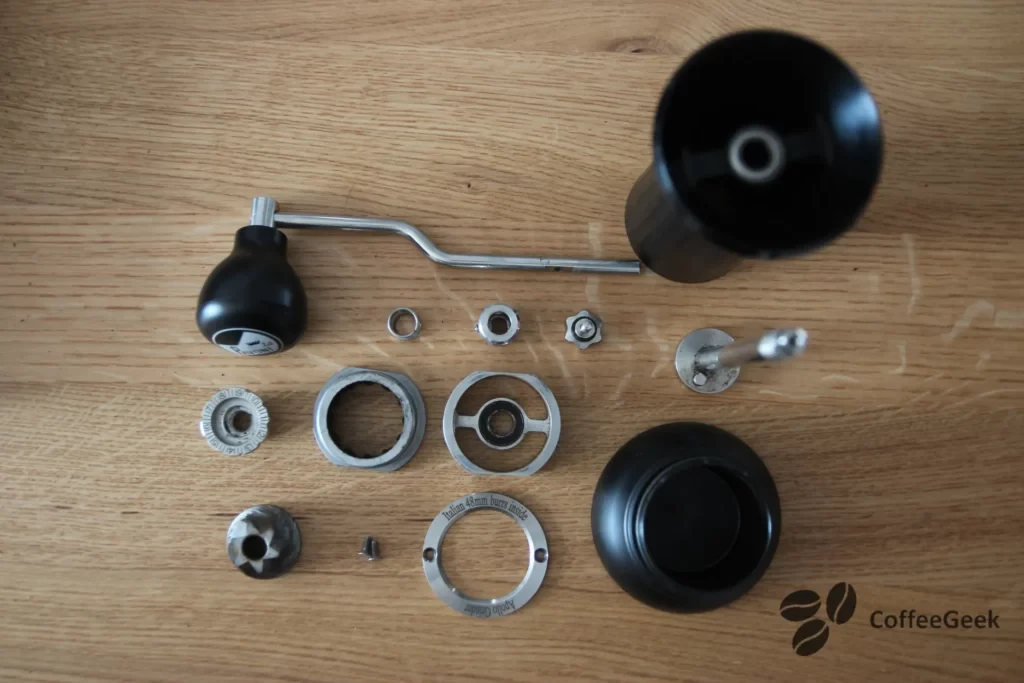
Here is the Apollo fully disassembled.
Conclusion
To conclude, while the market is currently flooded with more and more coffee grinders, does the Apollo still have its place? From my point of view, absolutely. Not only have a few improvements been made to this grinder since I've had it in my possession, but it was also manufactured by an enthusiast who seeks to produce quality rather than quantity. Admittedly, the Apollo may be perfectible on certain points, such as the cap which is not attached to the handle as its competitors do. However, when not in use, the Apollo has a design that allows it to be a true decorative object.
At the time of writing, I have owned about ten different manual coffee grinders. I sold them all, except the Apollo.
- Quality materials
- Made in one piece, machined from solid using a CNC machine
- Paint quality that hasn't changed over several years
- Fineness of adjustment, totally suited for espresso
- Presents very low retention
- Overall design truly successful
- Burr quality
- Speed for grinding
- The cap, somewhat disrupting the design if left on
- The silicone rings for better grip on the grinder during use