How to Maintain Your La Pavoni: Step-by-Step Guide

Learn how to effectively maintain your La Pavoni coffee machine to ensure its durability, optimal performance, and the preparation of an exceptional espresso.
In this guide, I share my personal experience and an official tutorial video that will guide you step by step to disassemble, clean, and reassemble the boiler and pistons of your La Pavoni.
La Pavoni lever coffee machines are renowned for their robustness and longevity. But like any appliance, they require regular maintenance.
It is recommended to perform this maintenance every 6 months to avoid breakdowns and preserve the quality of your extractions.
In this article, we will cover:
- the necessary equipment for maintenance,
- the steps to disassemble your La Pavoni,
- the complete cleaning of each part,
- and finally, the reassembly and lubrication to restore your machine to like-new condition.
Secrets of Using the La Pavoni Lever Machine
Perfect your espresso mastery with the La Pavoni lever machine: heating, pressure, and technique for consistently excellent shots.
Read the article →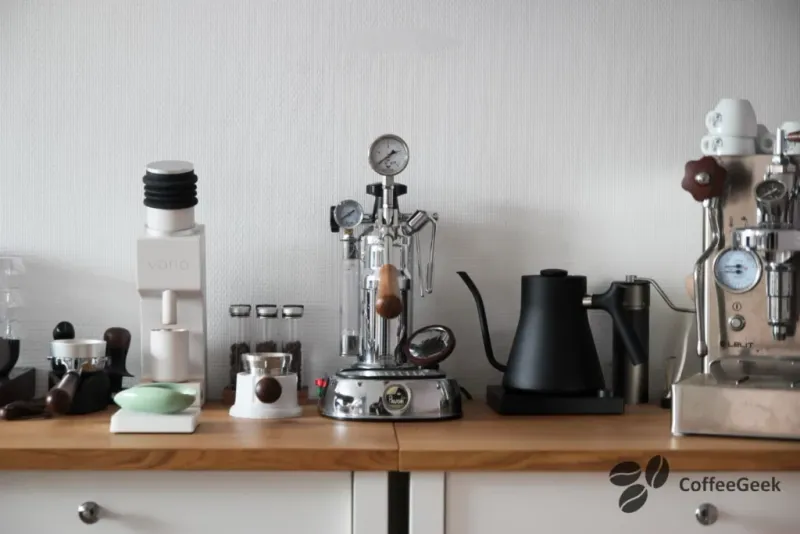
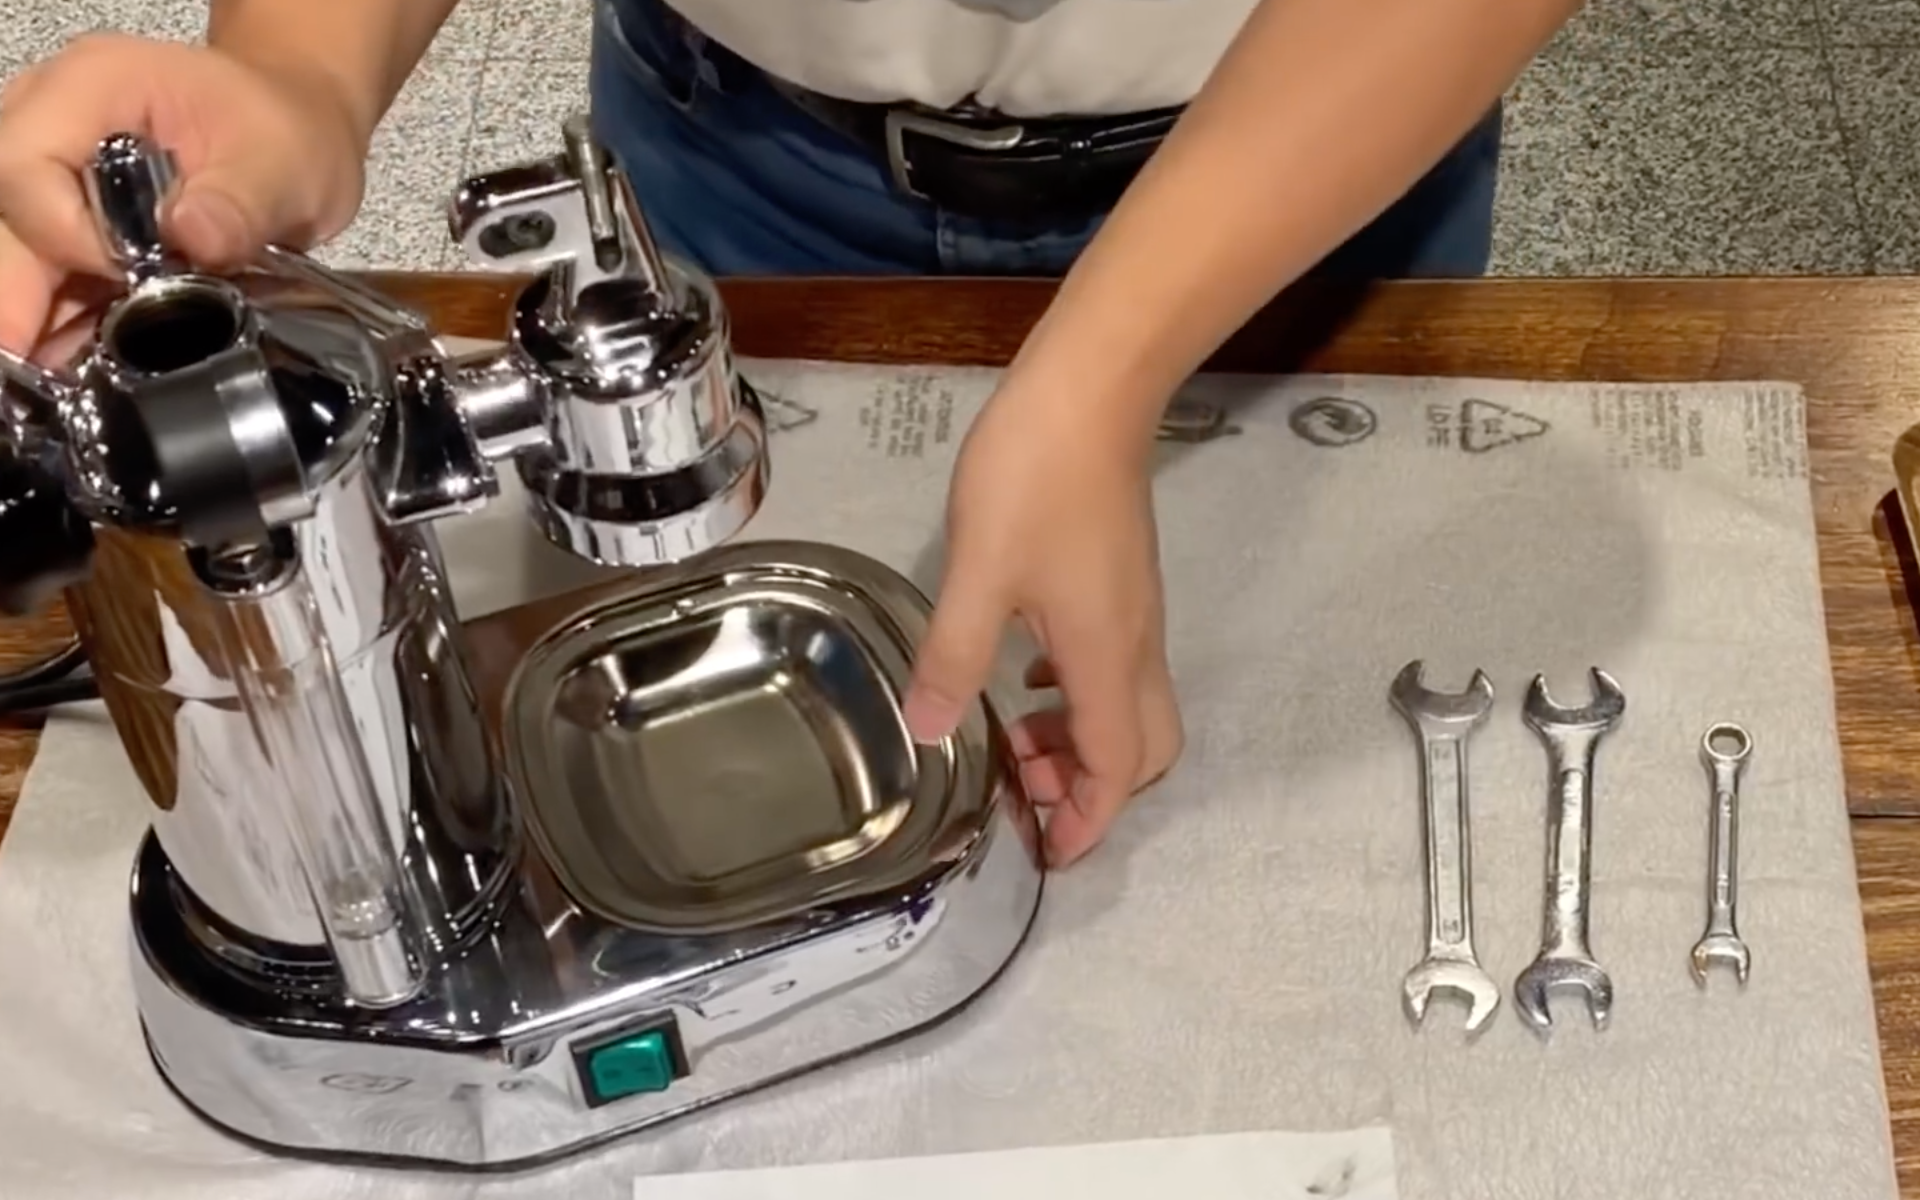
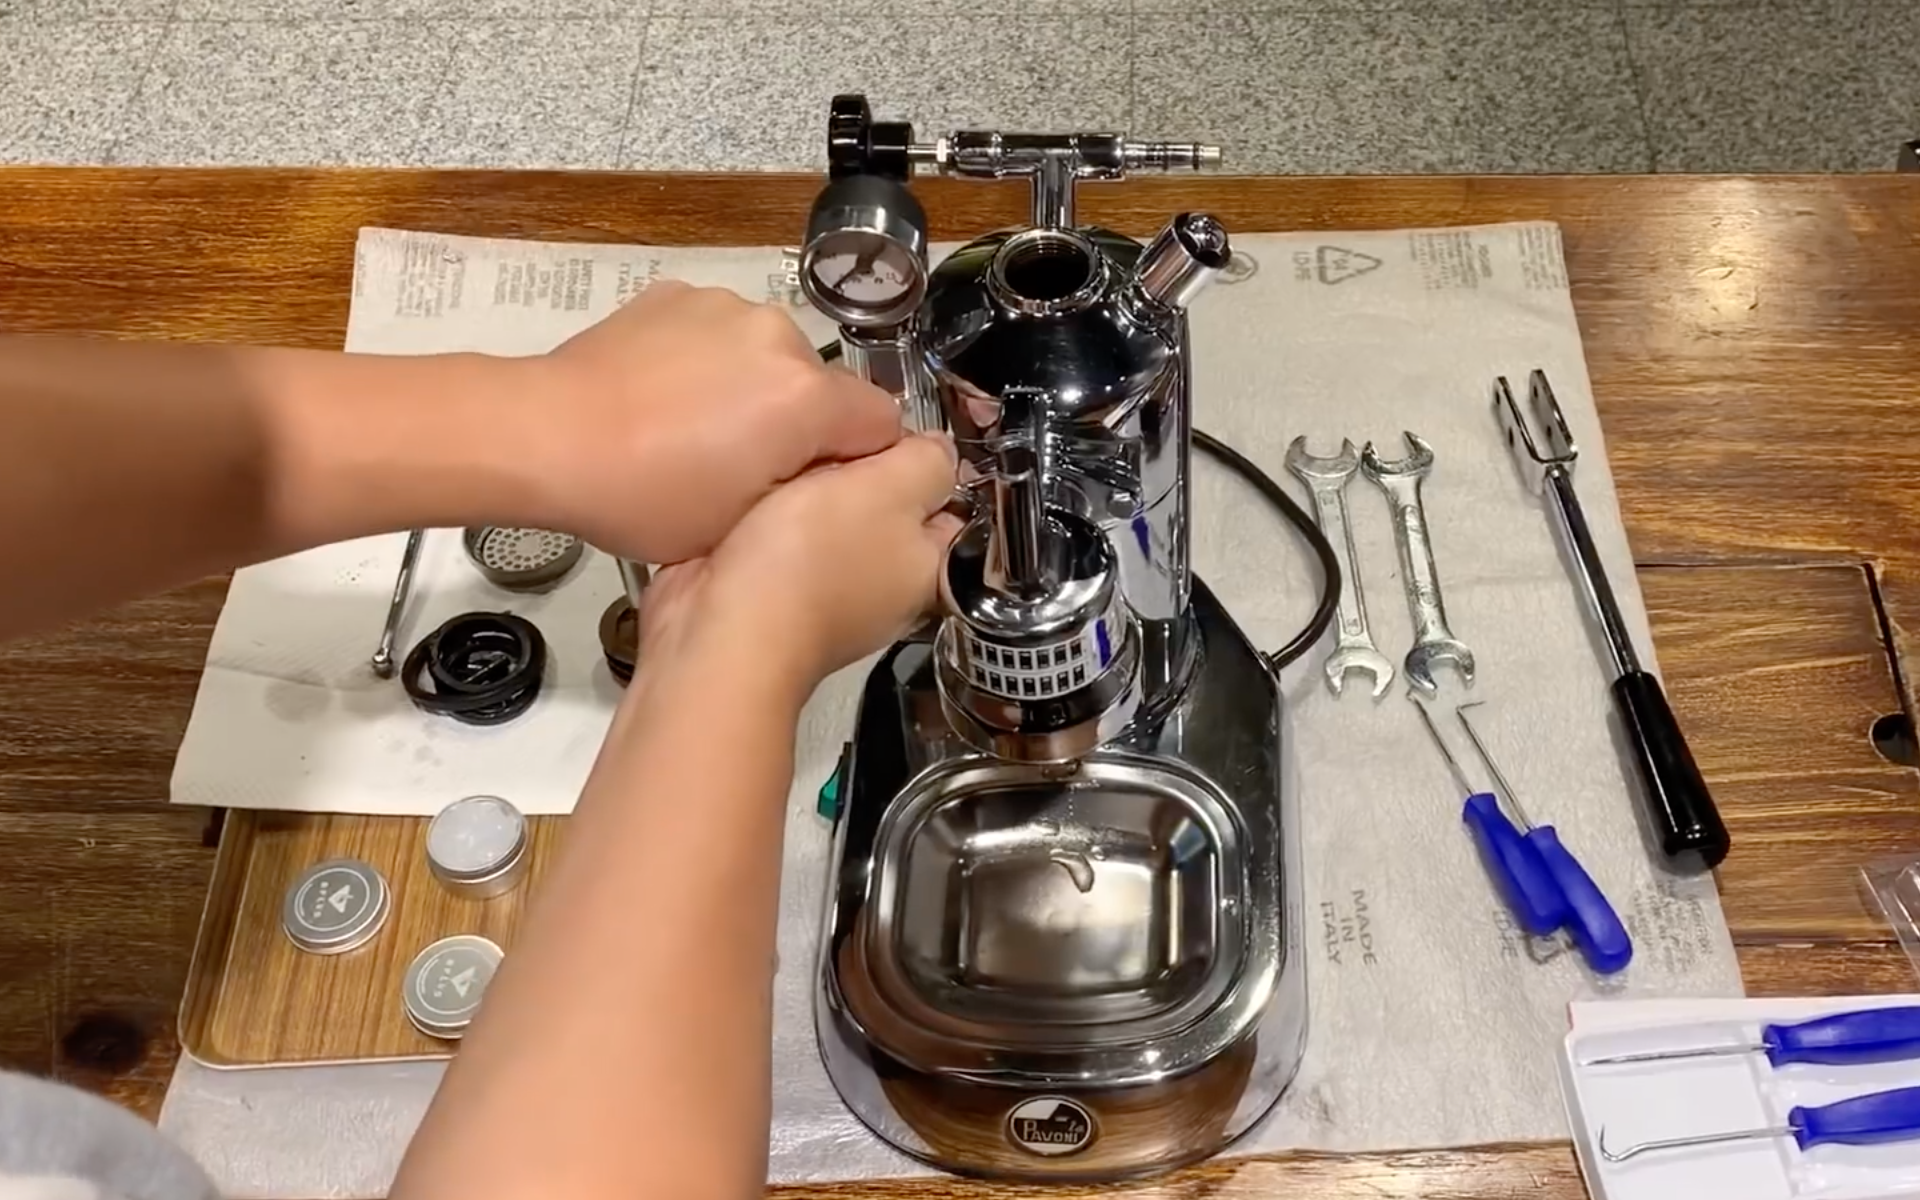
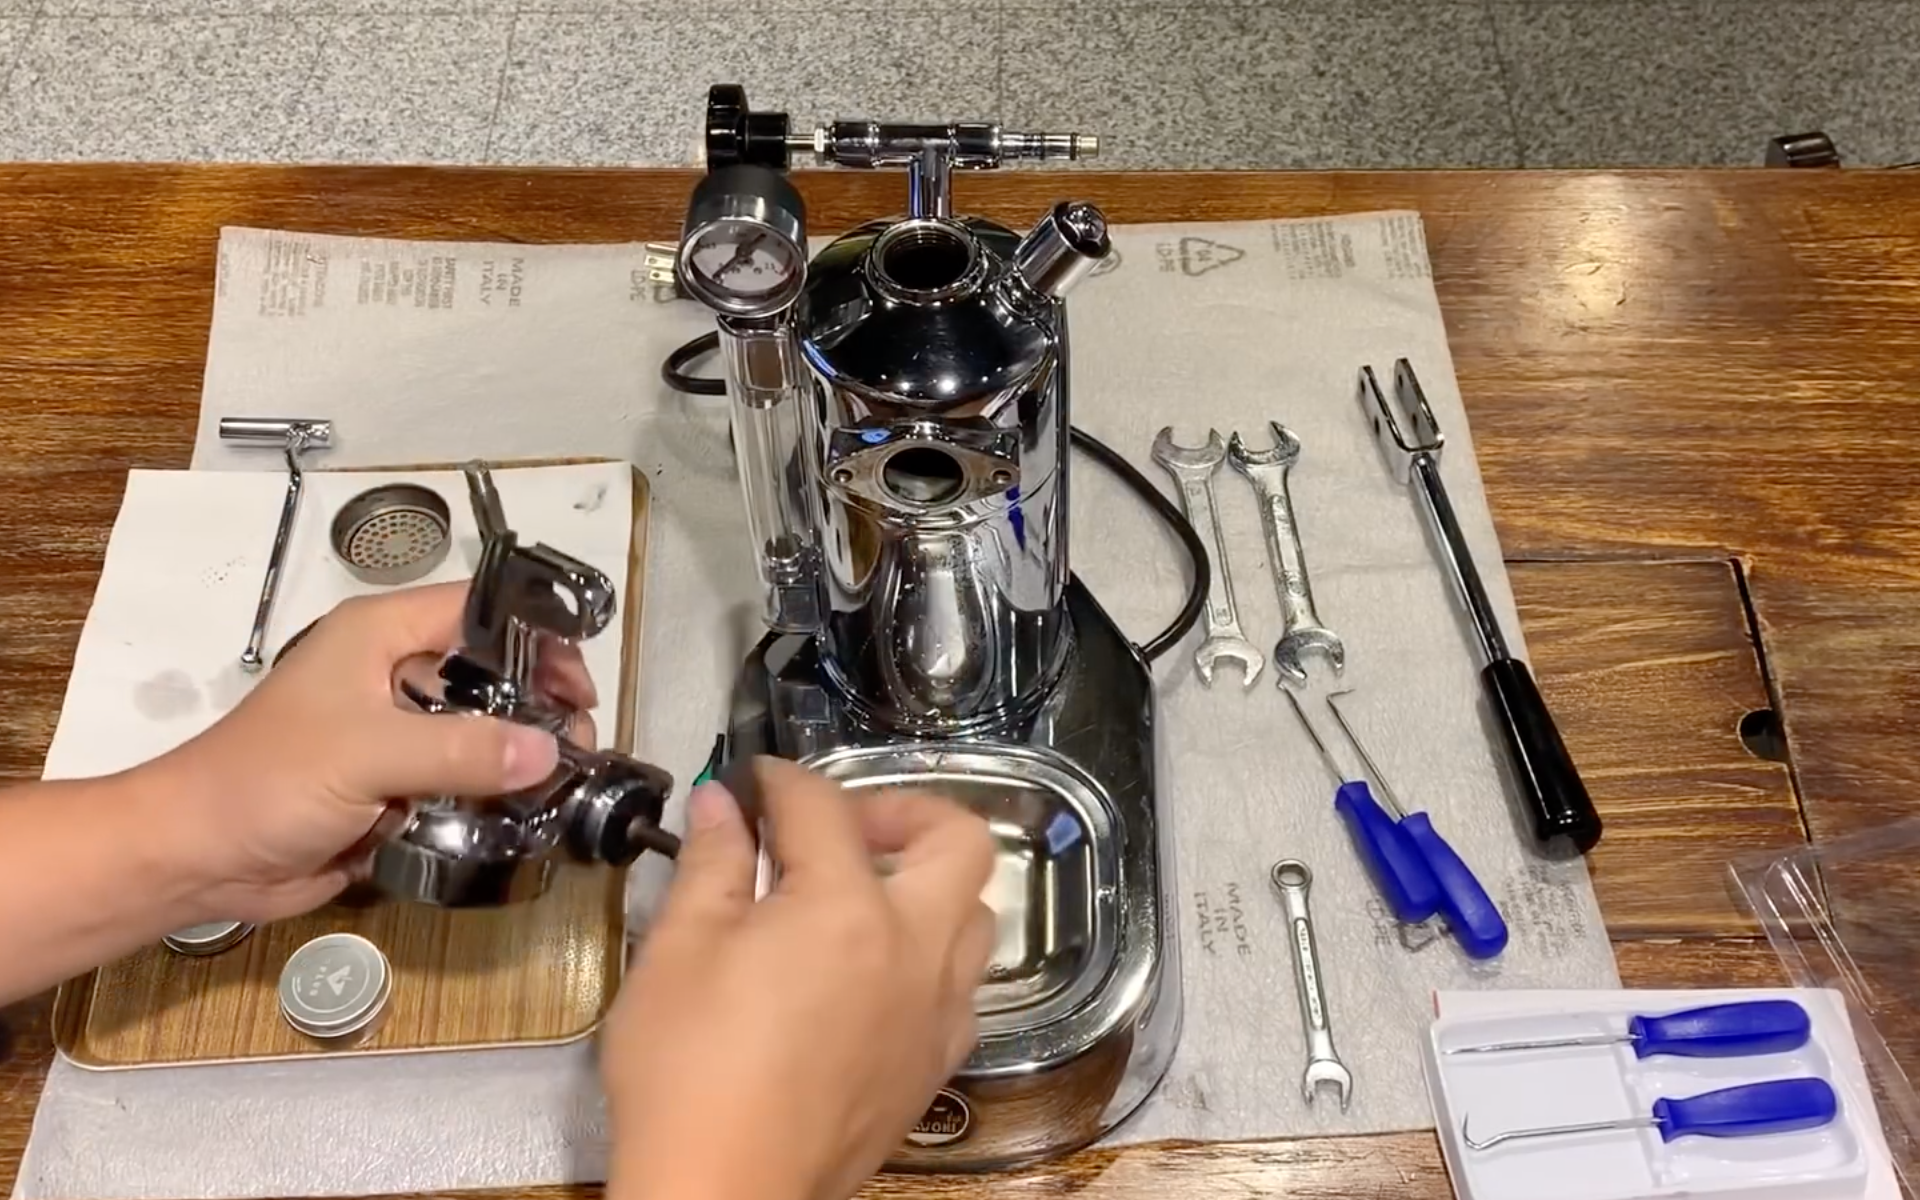
Equipment needed for La Pavoni maintenance
- 14mm open-end wrench (x2): to unscrew the lever nuts and safely disassemble the piston.
- Food-grade grease: to lubricate the piston and its seals and ensure smooth movement.
- La Pavoni gasket set: essential if your gaskets are worn.
- Descaling tablets: to remove limescale from the boiler.
- Screwdriver: to disassemble certain parts.
- Gasket pick: to extract gaskets without damaging them.
- White vinegar: ideal for descaling the copper tube and dissolving limescale deposits.
How to disassemble a La Pavoni?
- Unplug the machine and let it cool down before draining the water from the boiler.
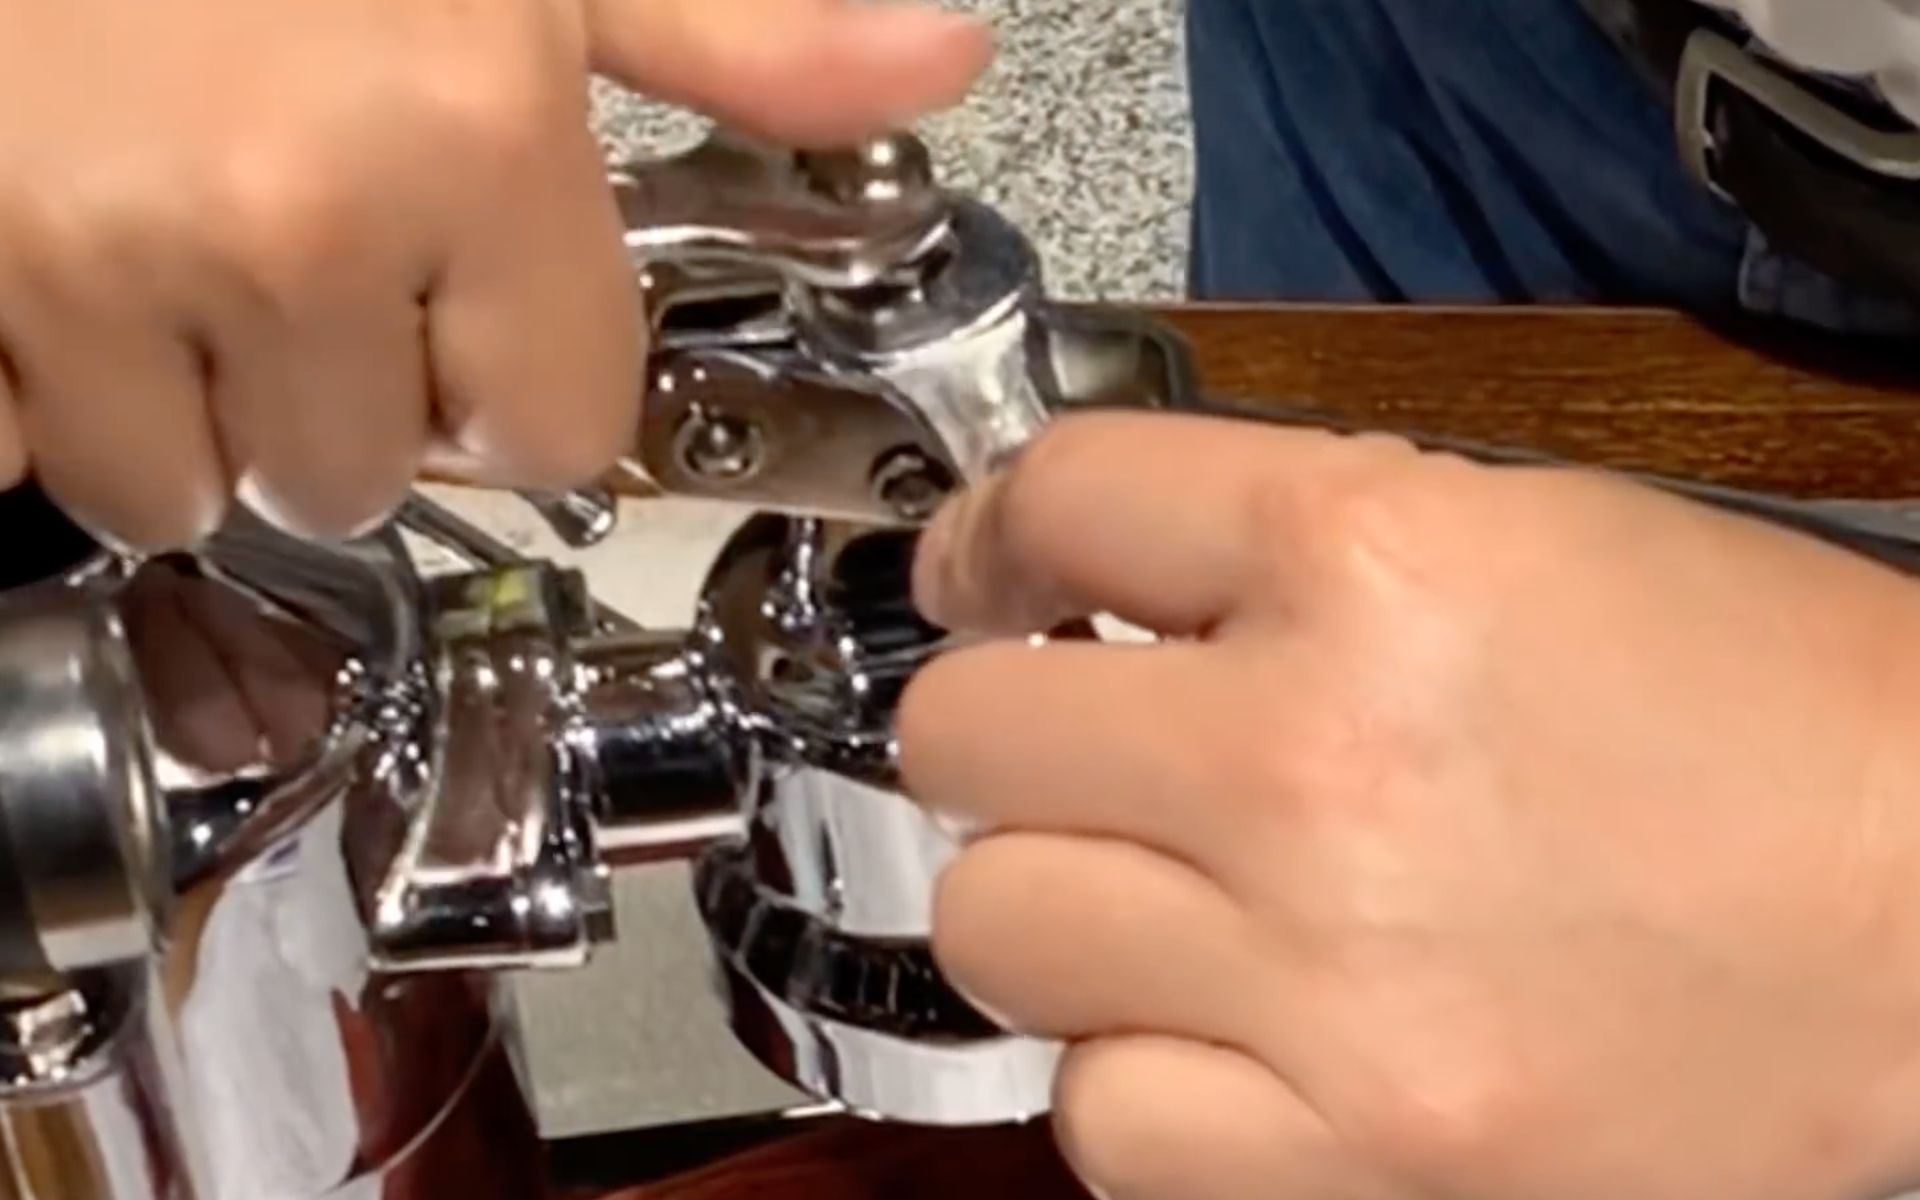
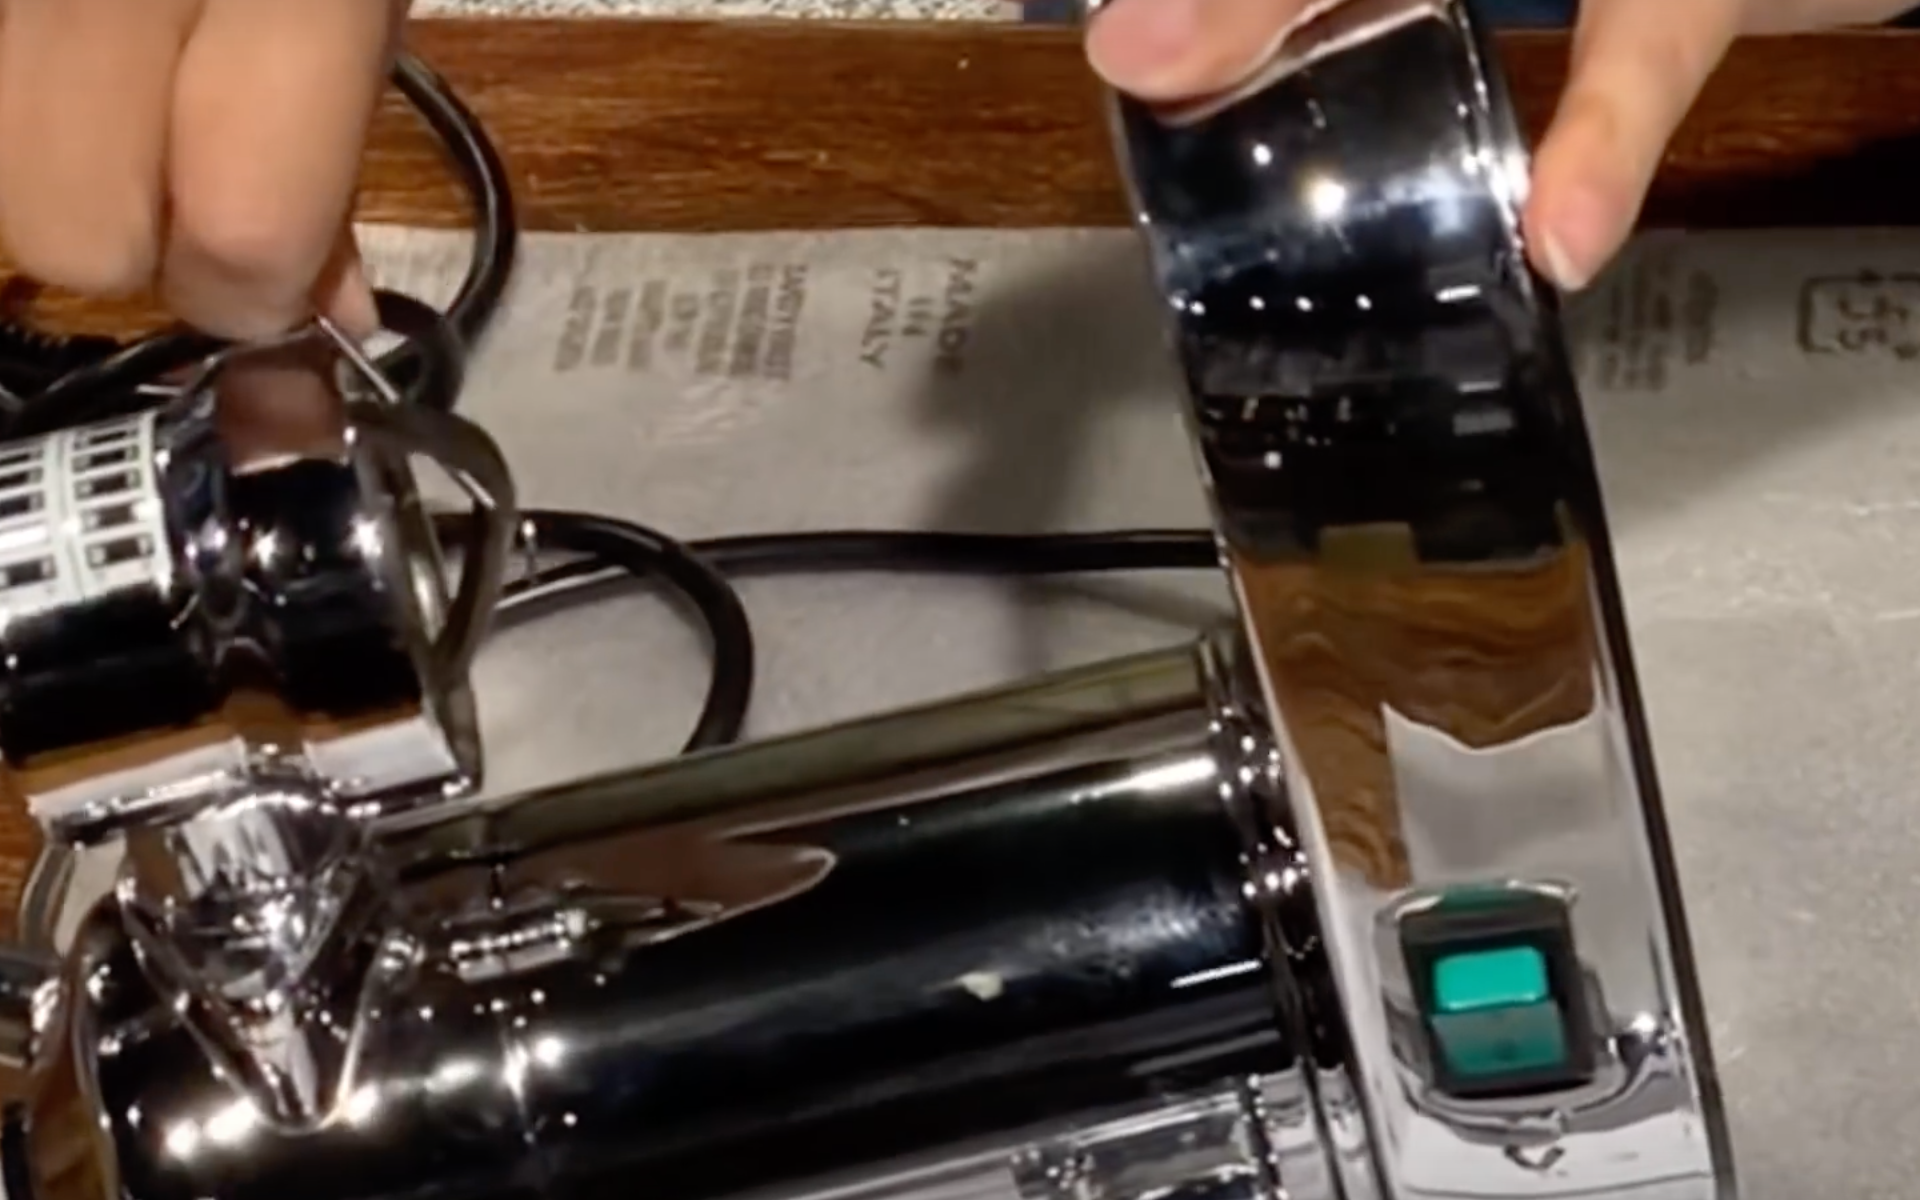
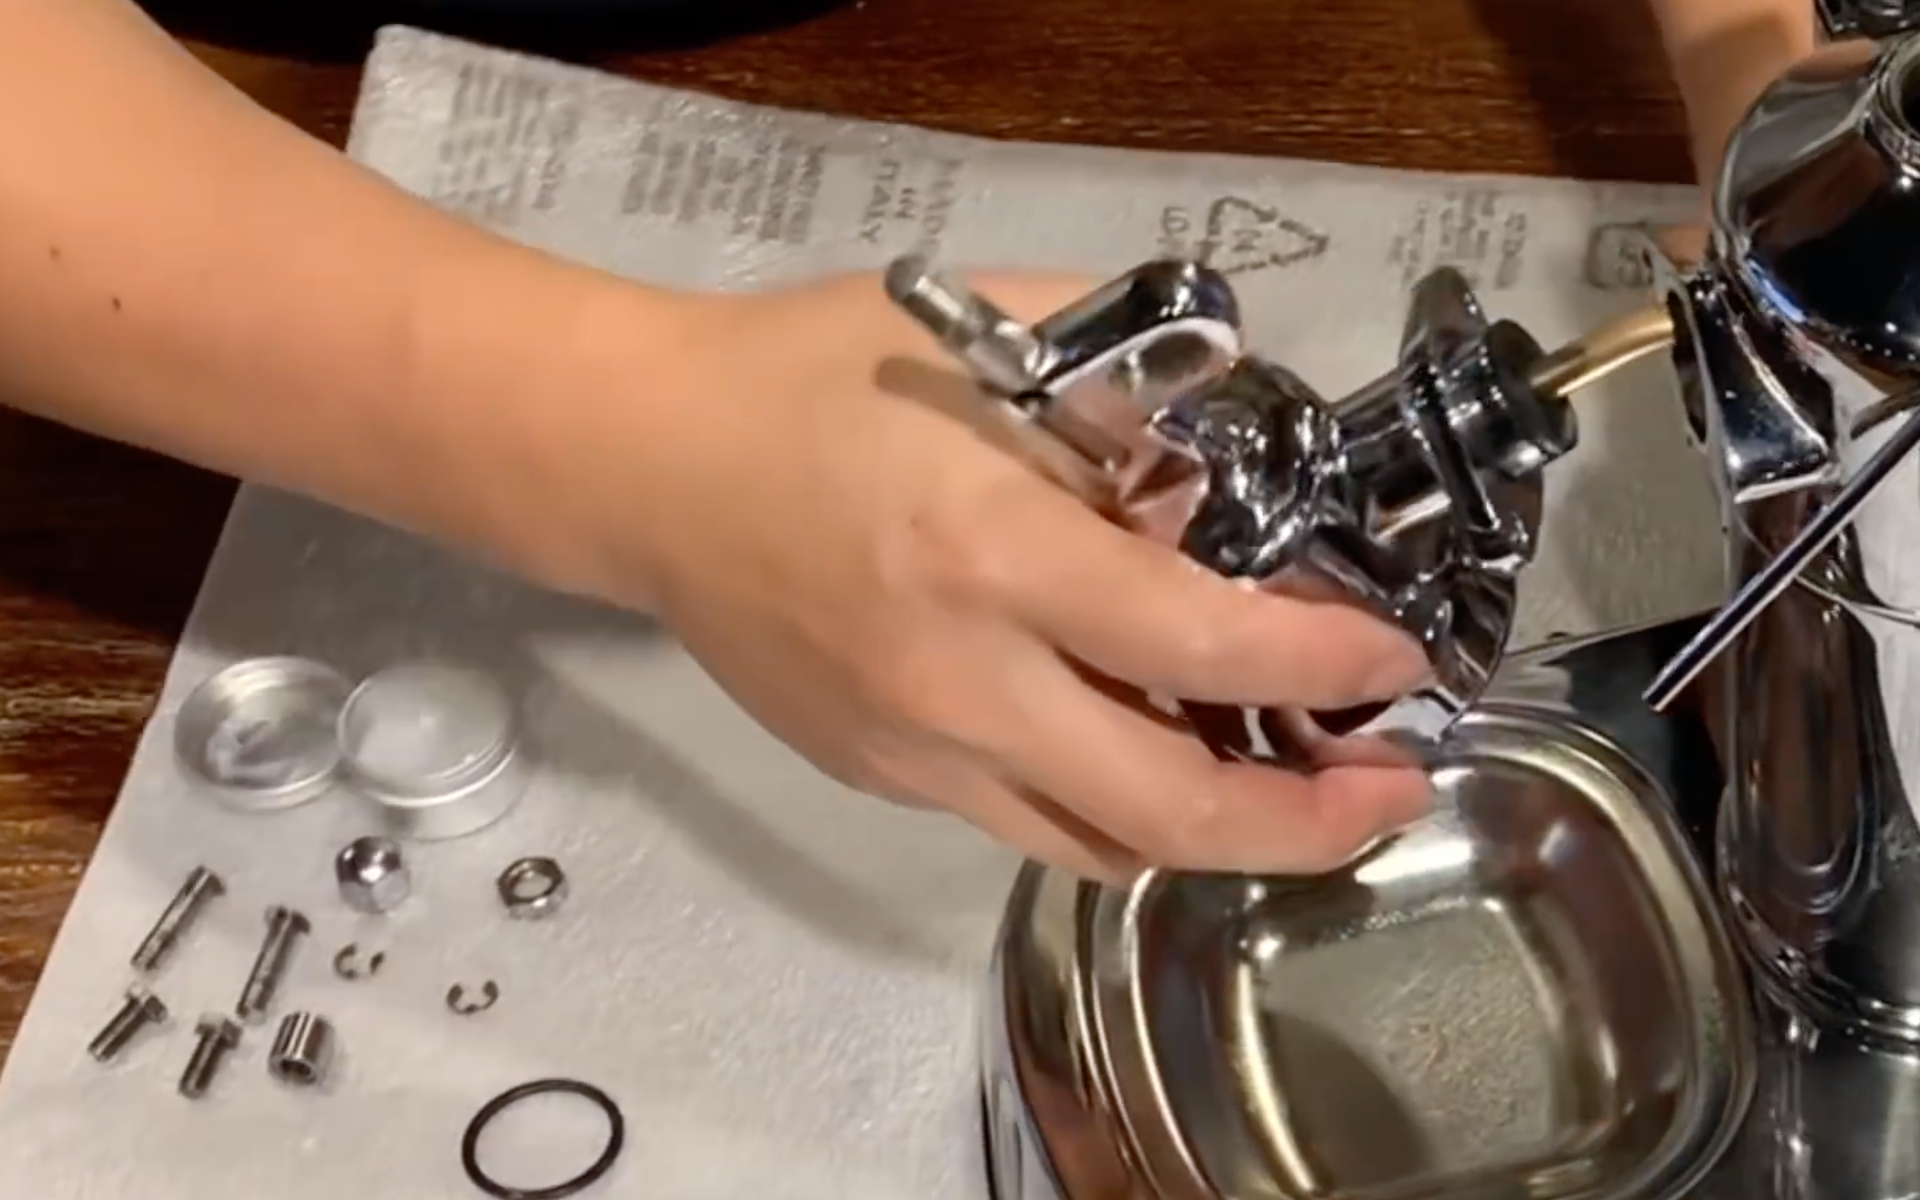
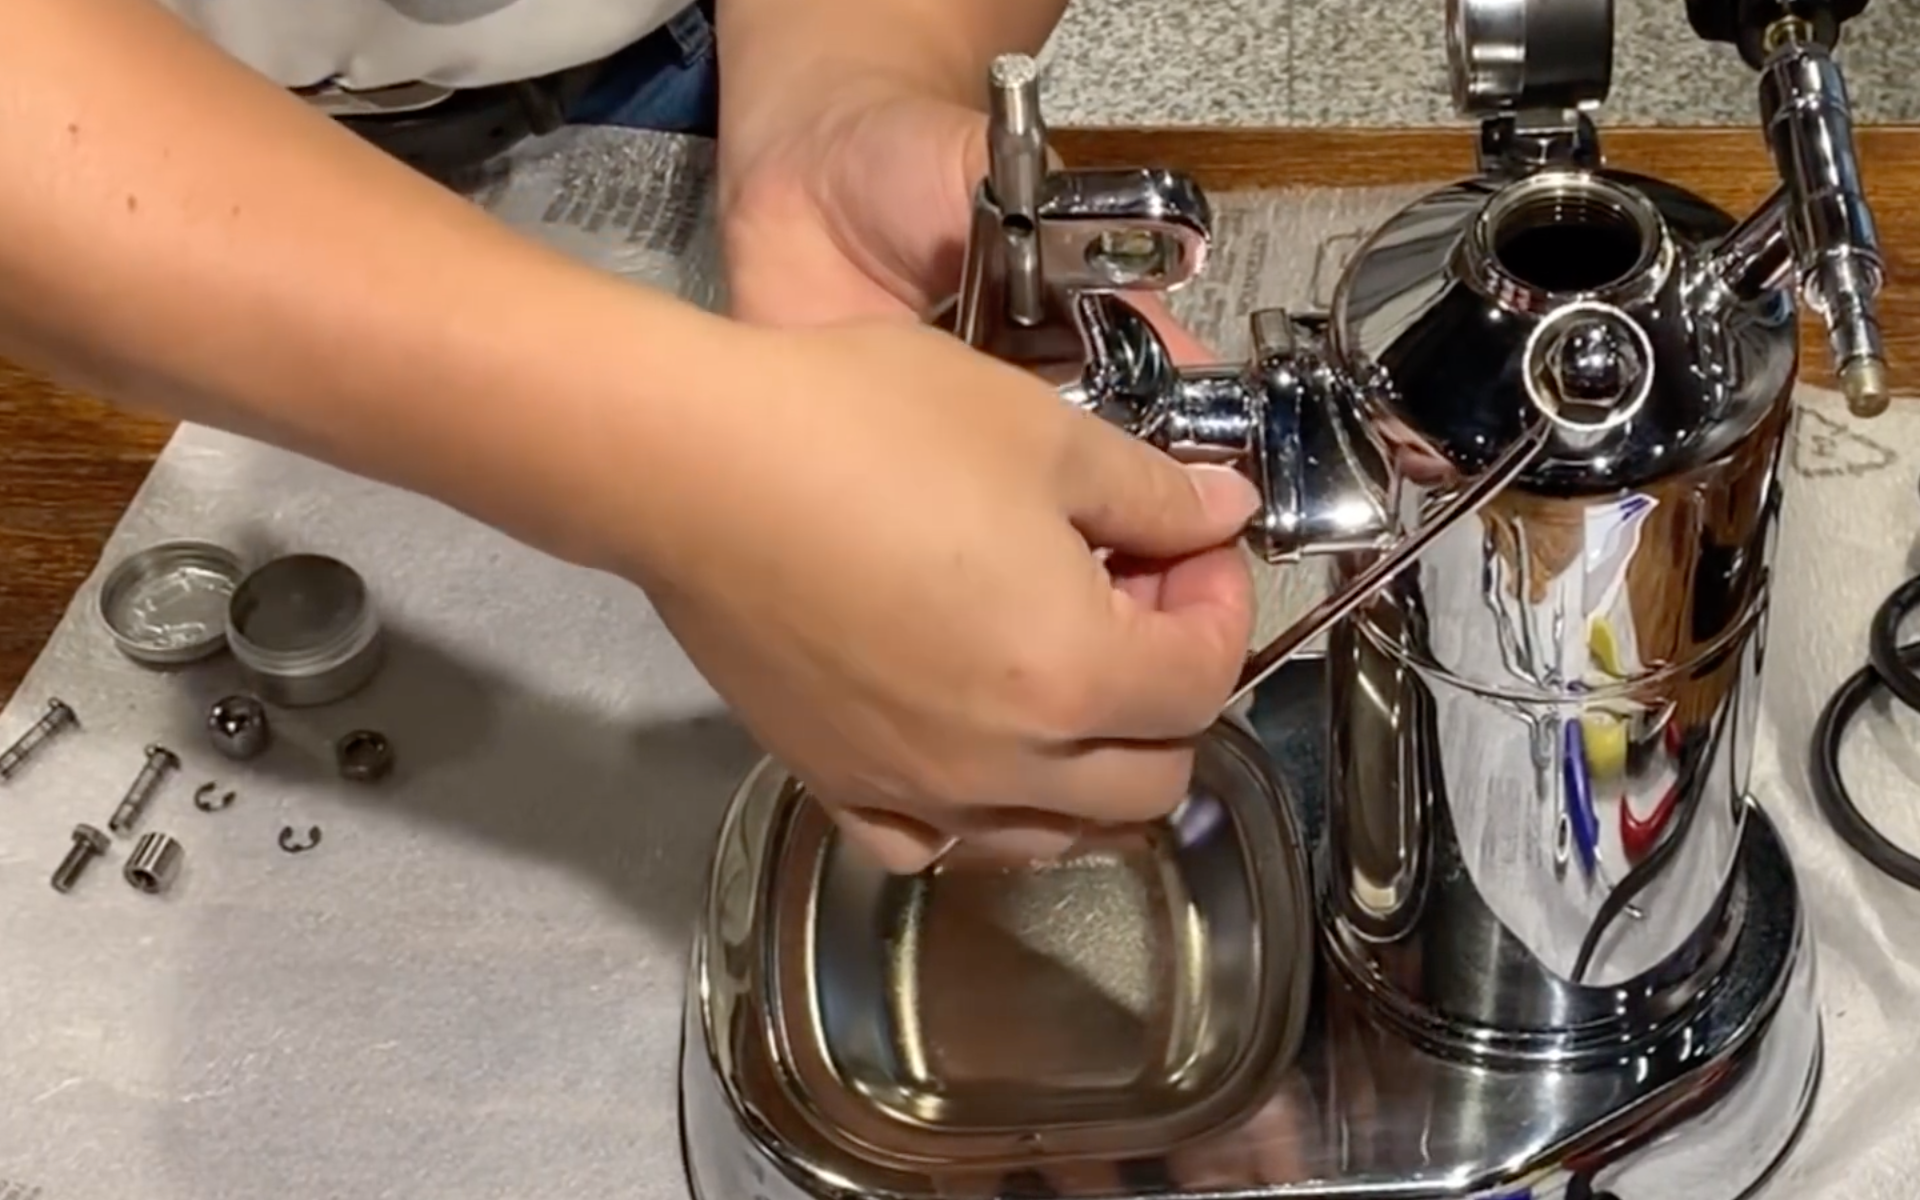
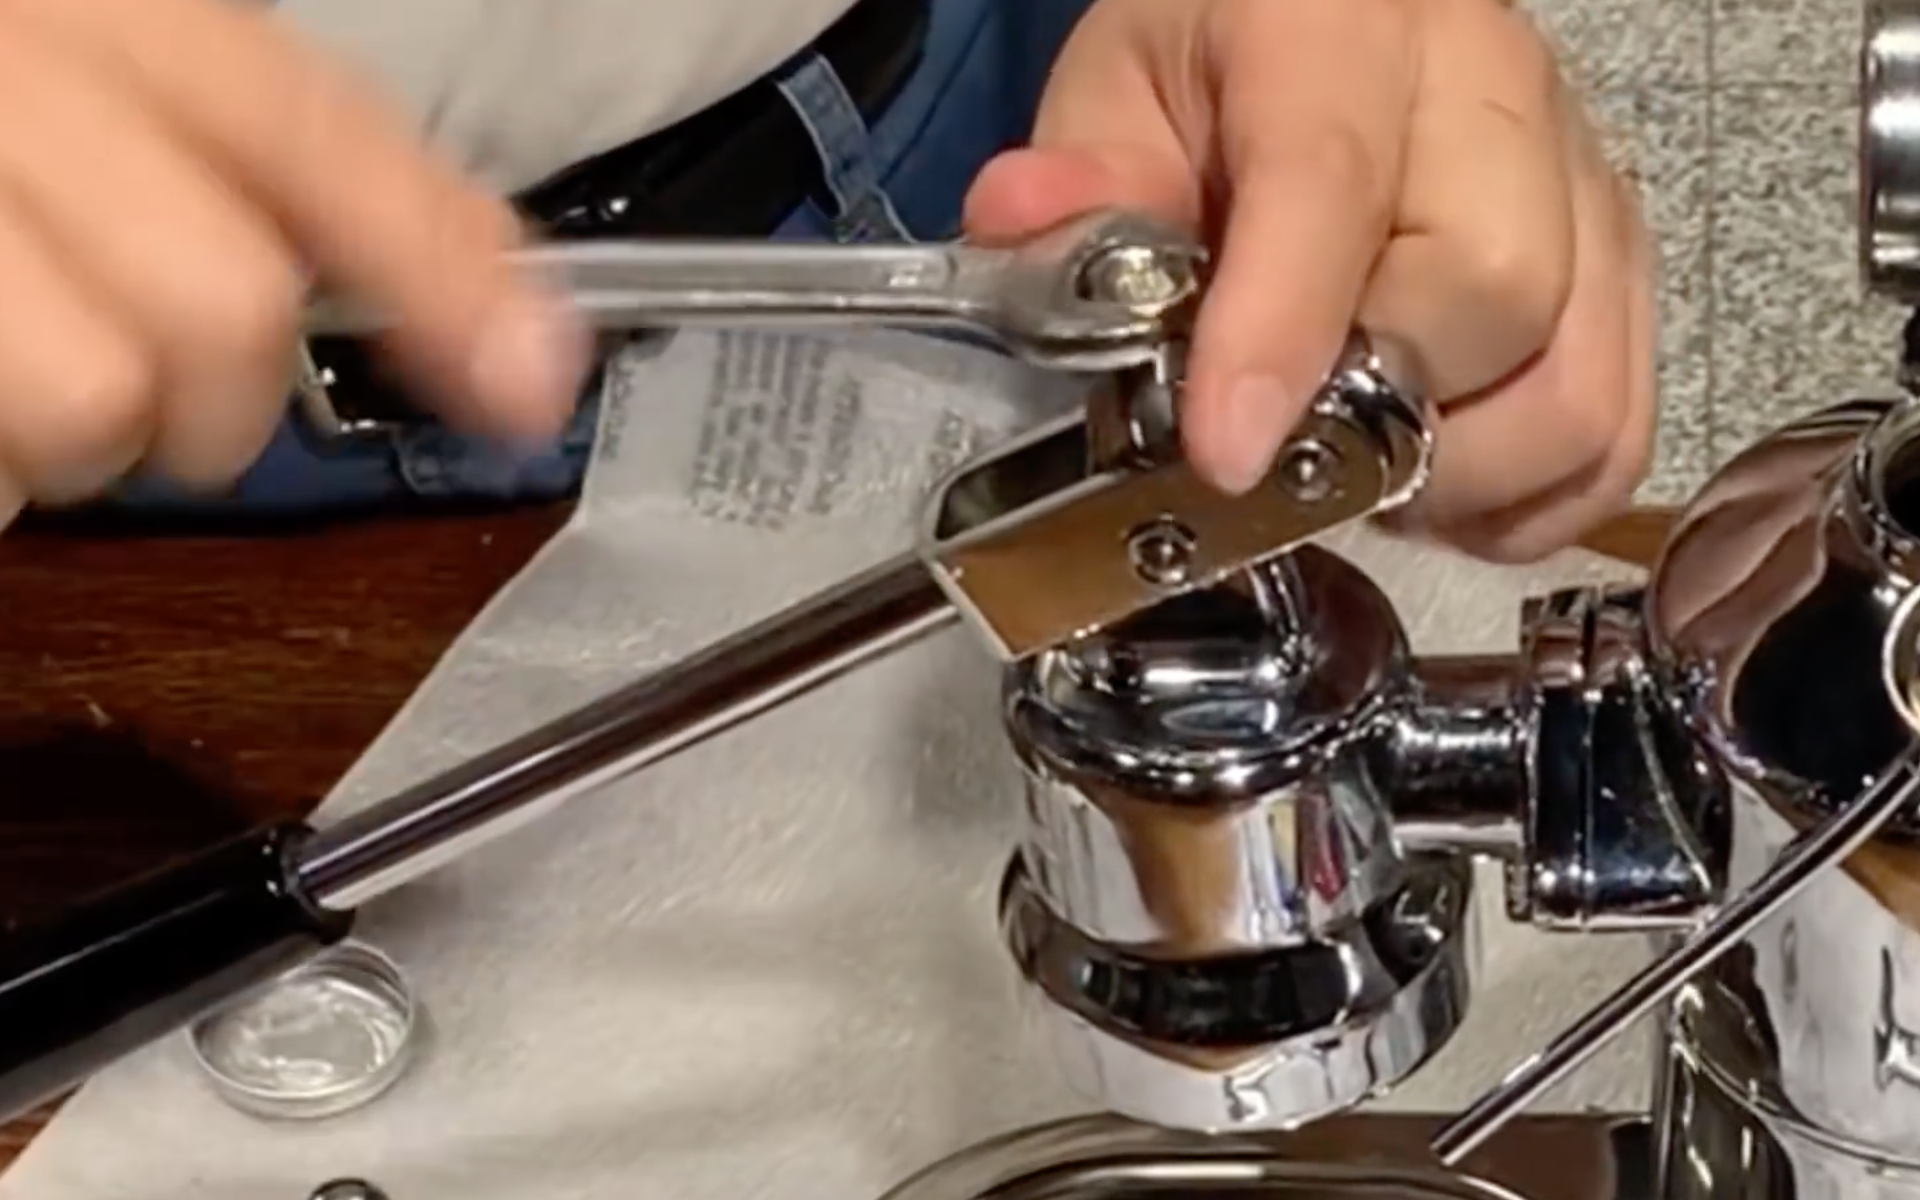
- Using two 14mm open-end wrenches, unscrew the nuts above the piston.
- Remove the two pins that hold the lever in place (keep them safe).
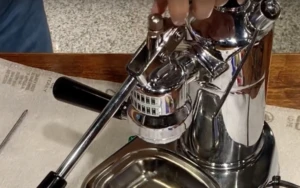
- Remove the lever and gently tilt the machine on its side.
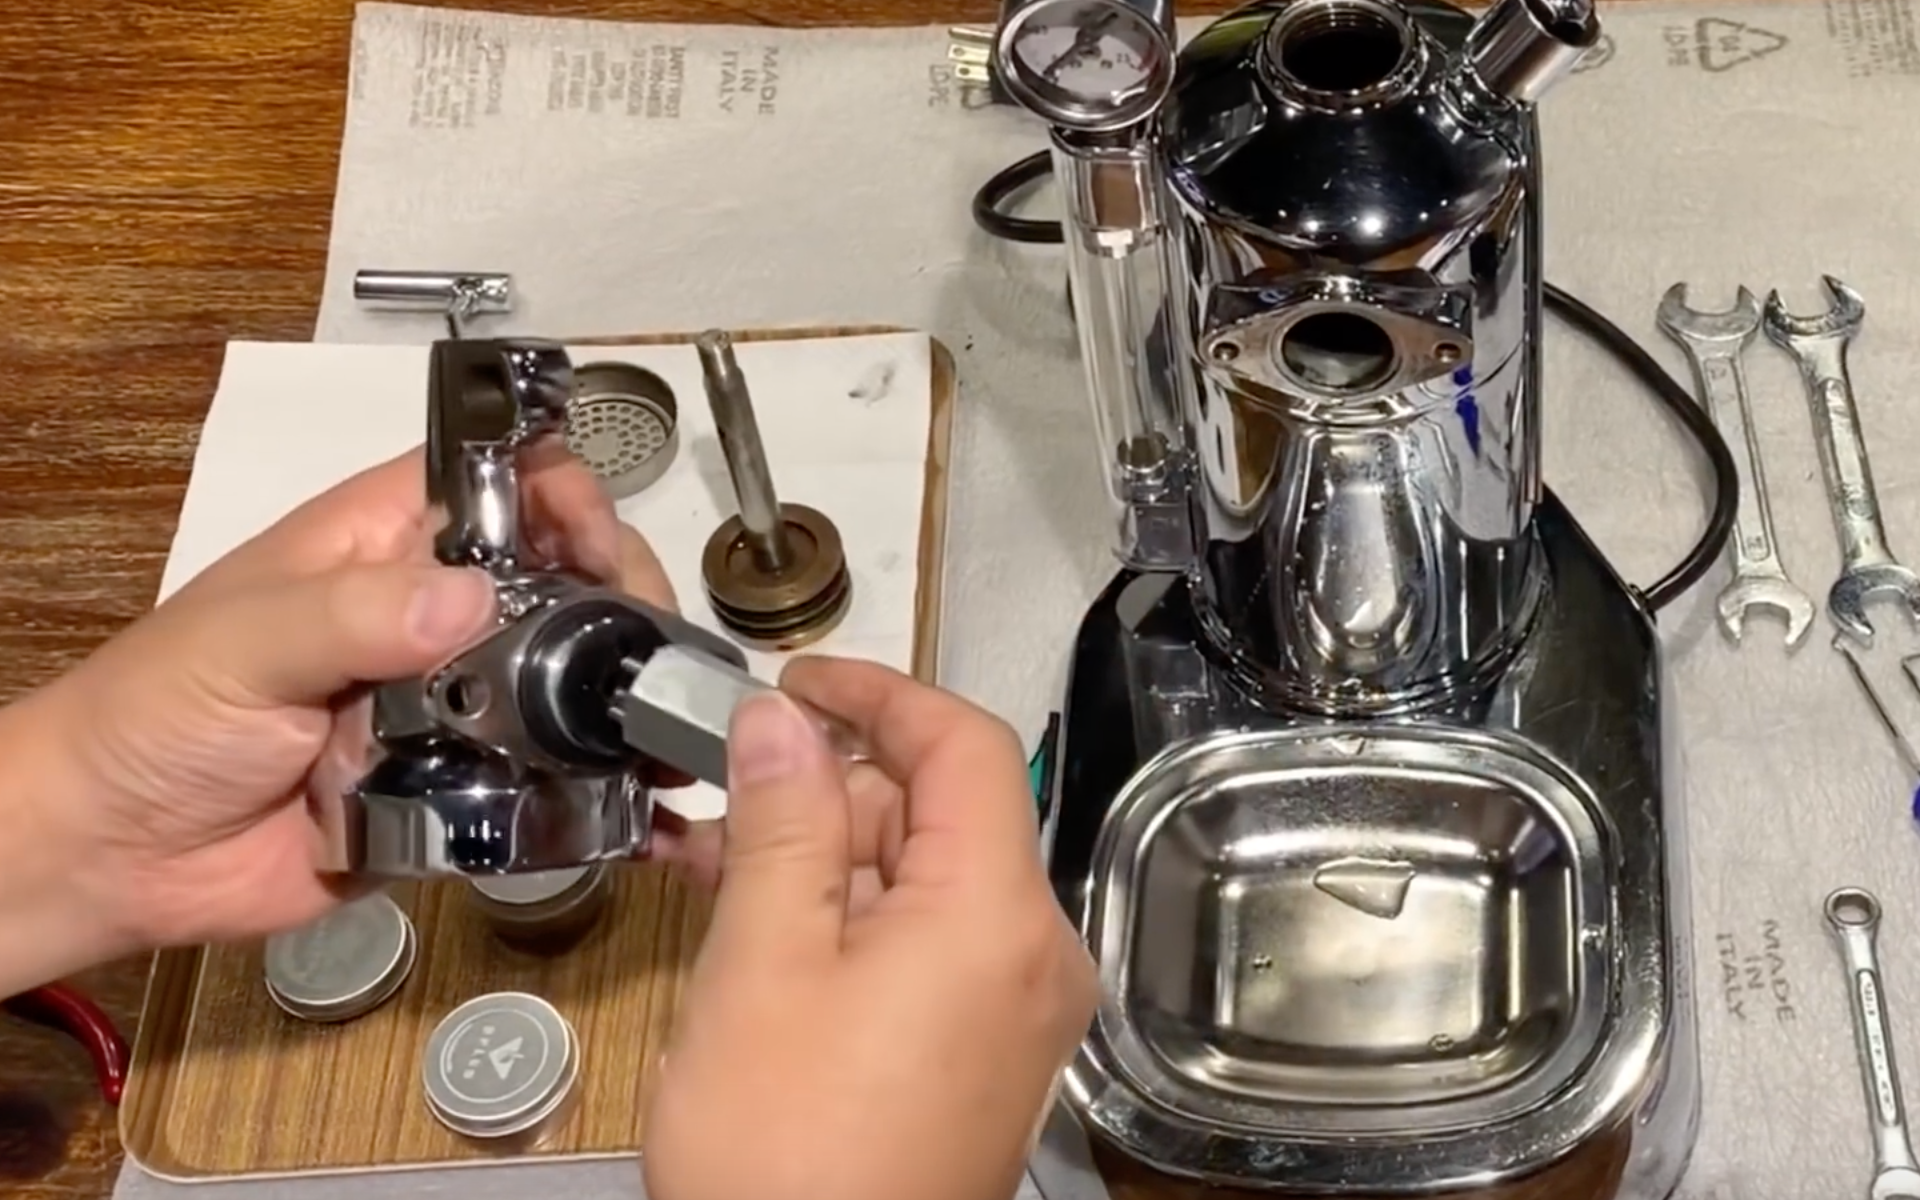
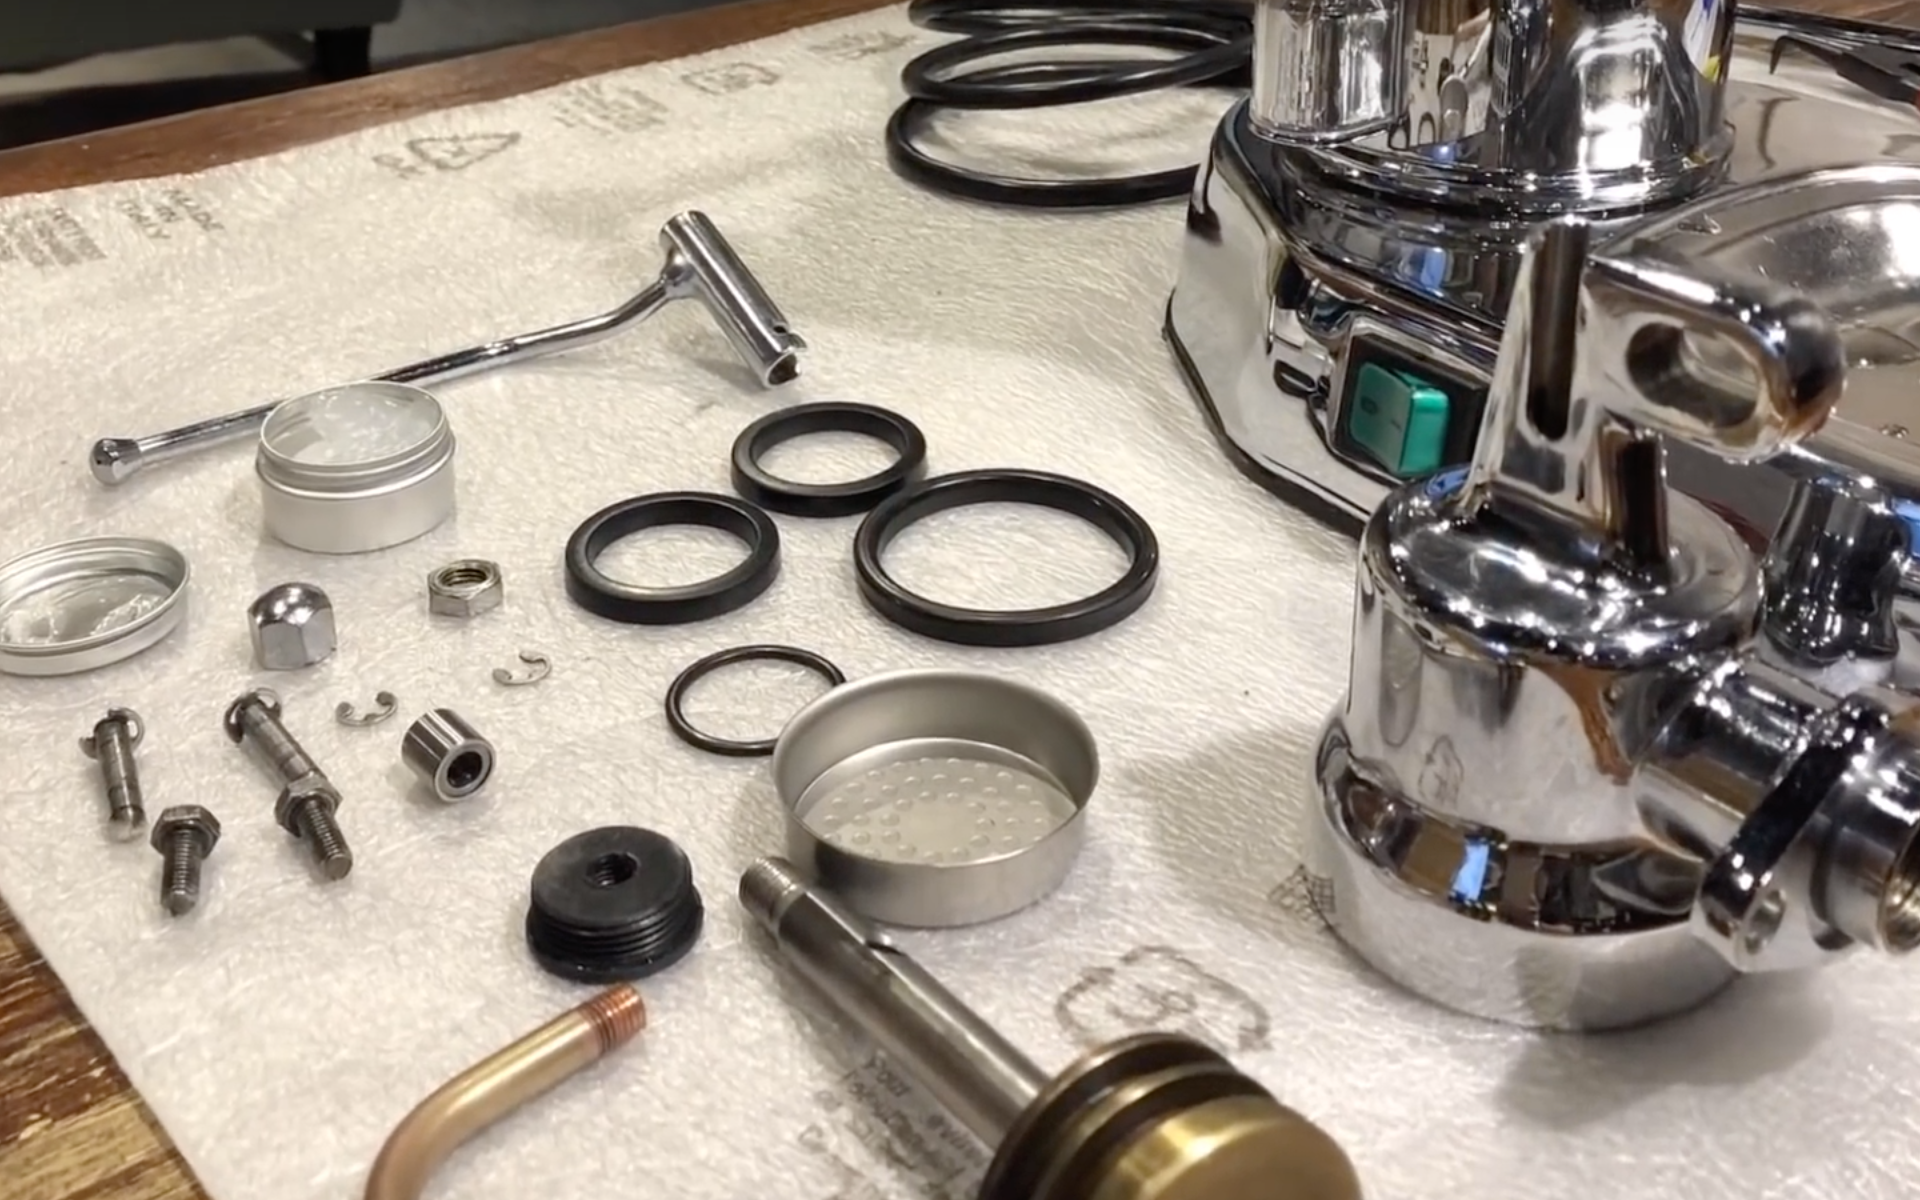
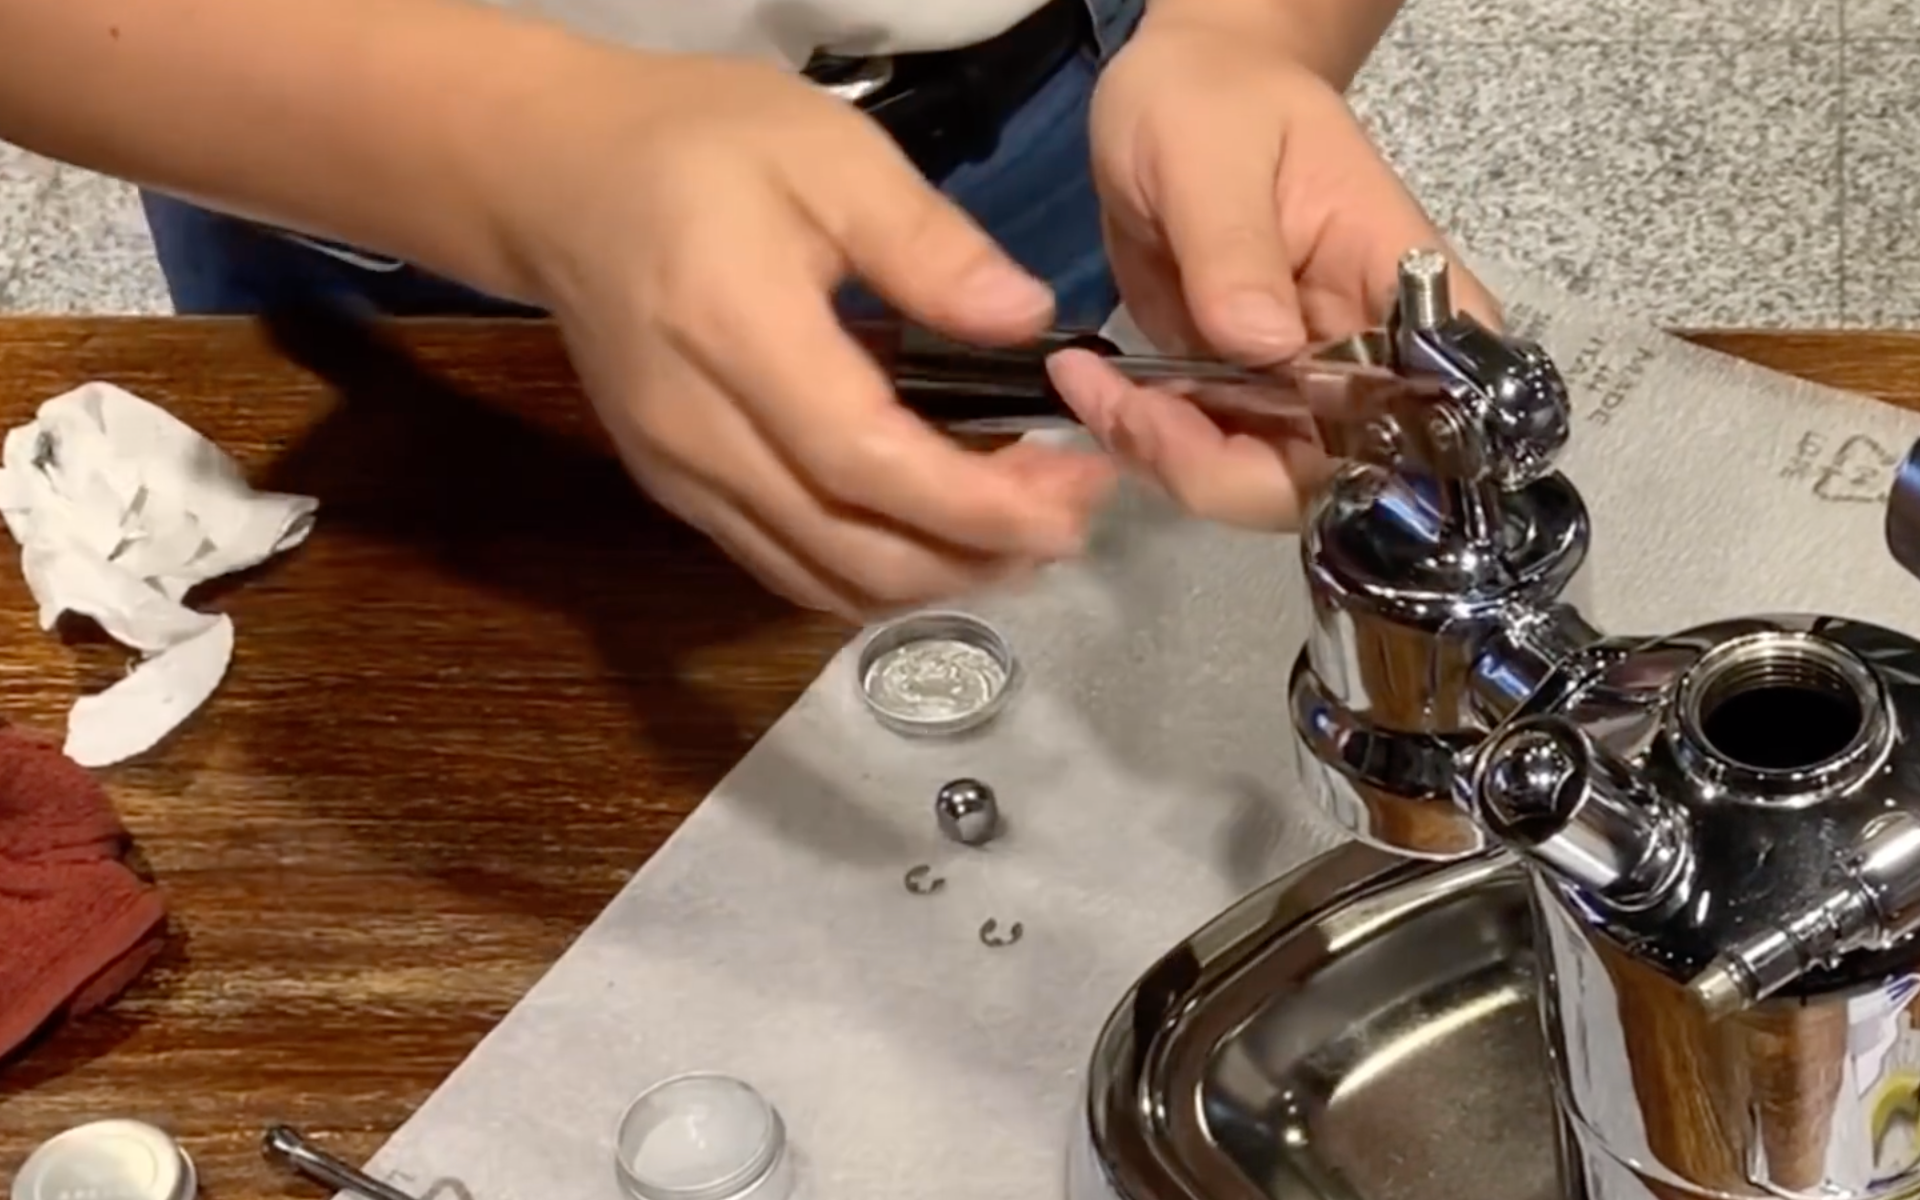
Carefully identify each removed part (nuts, pins, washers) to avoid any errors during reassembly.
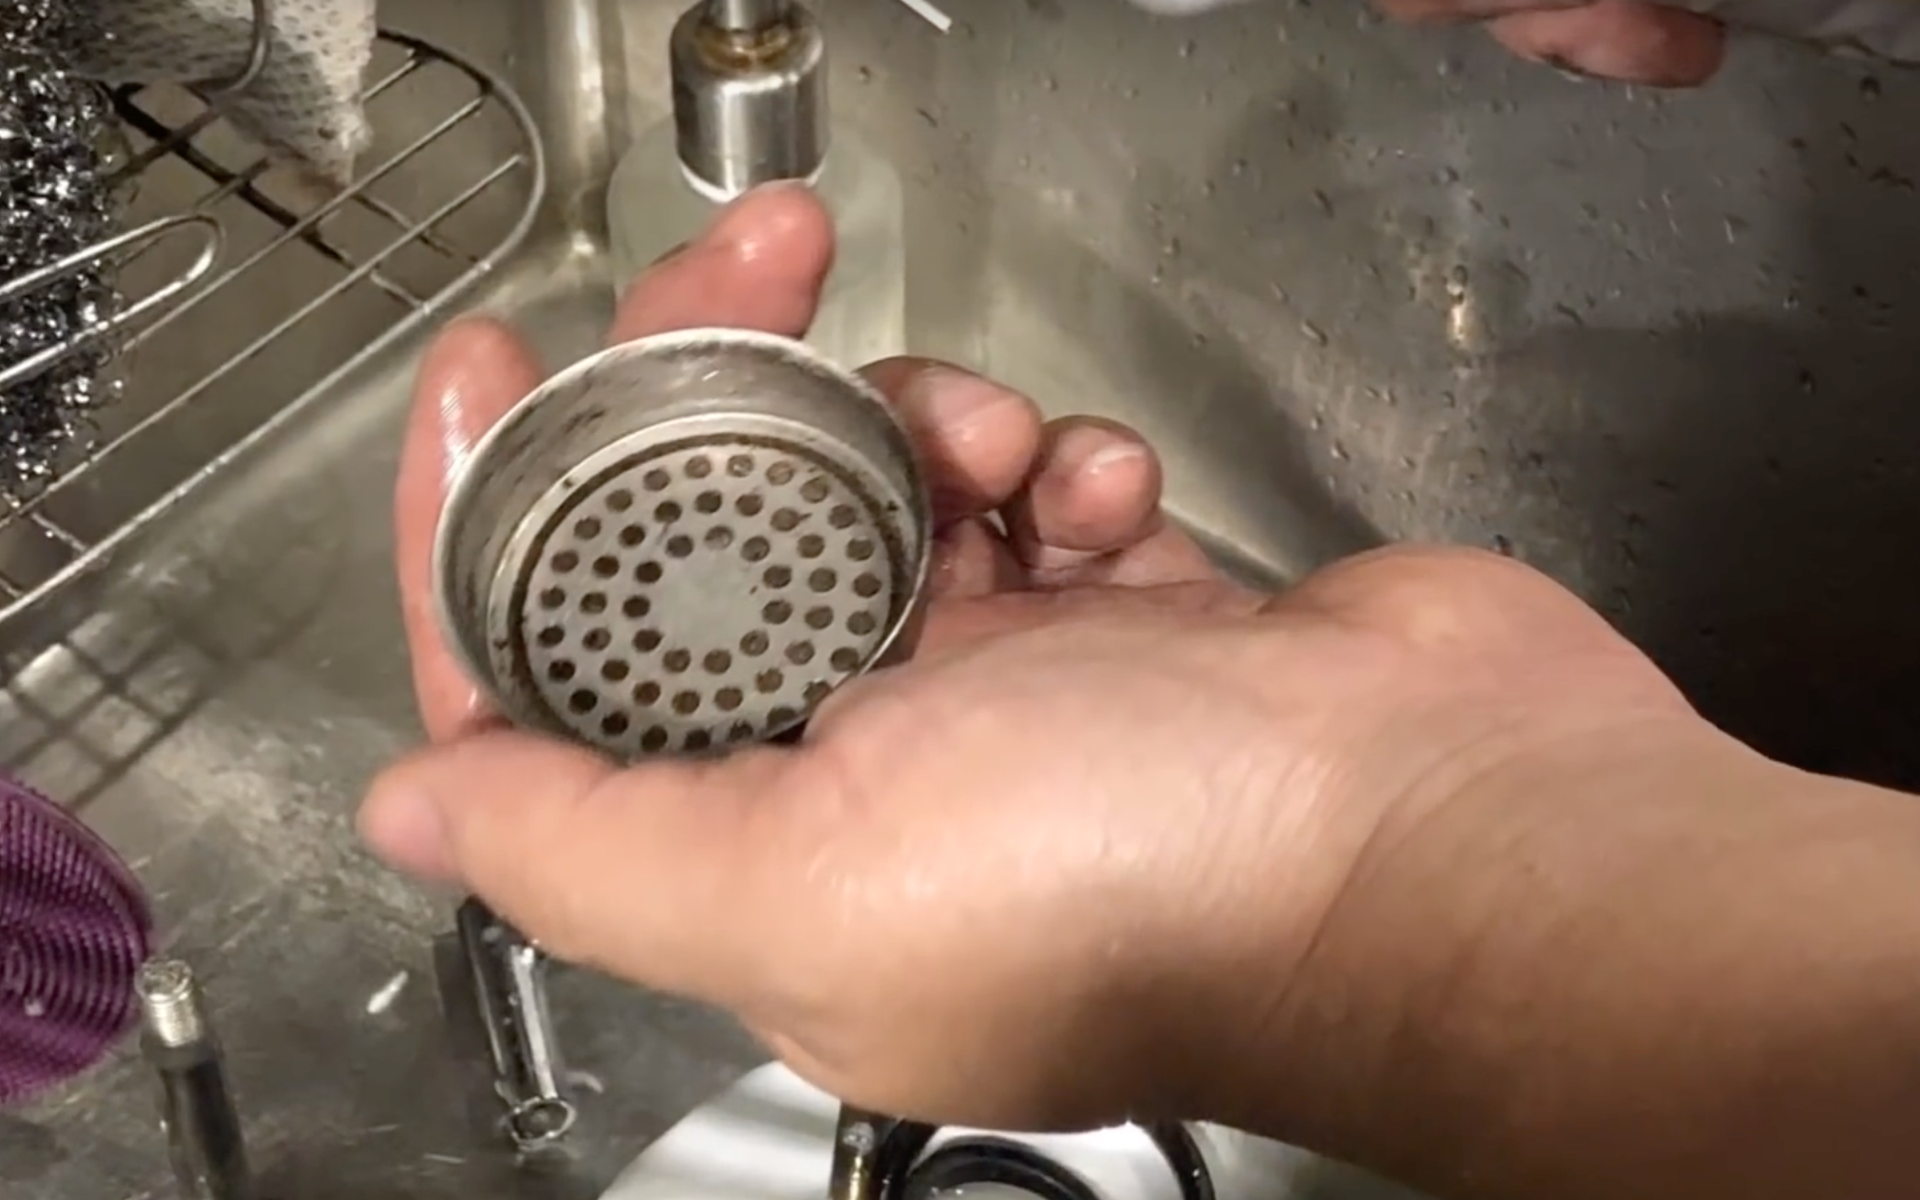
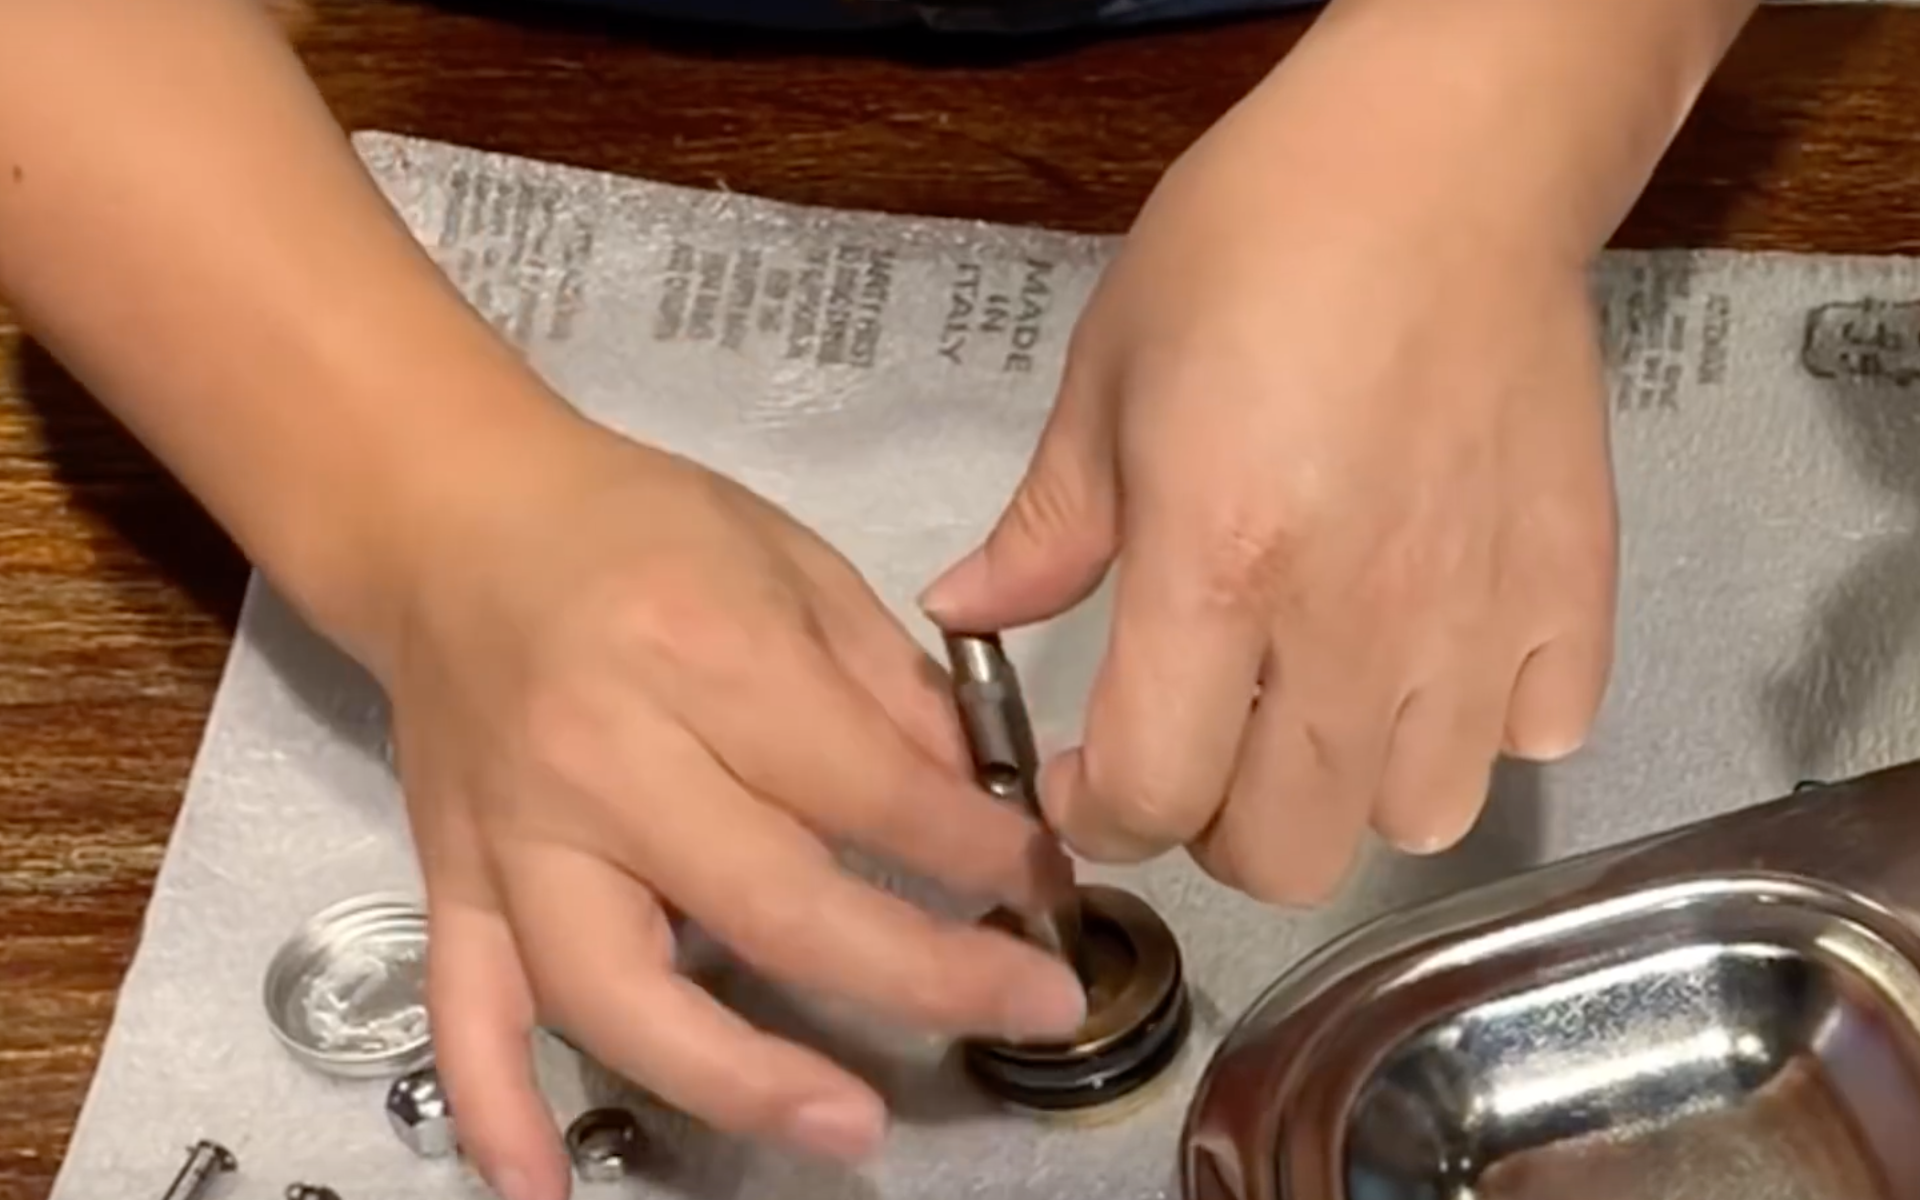
- Using a hook, remove the shower screen gasket.
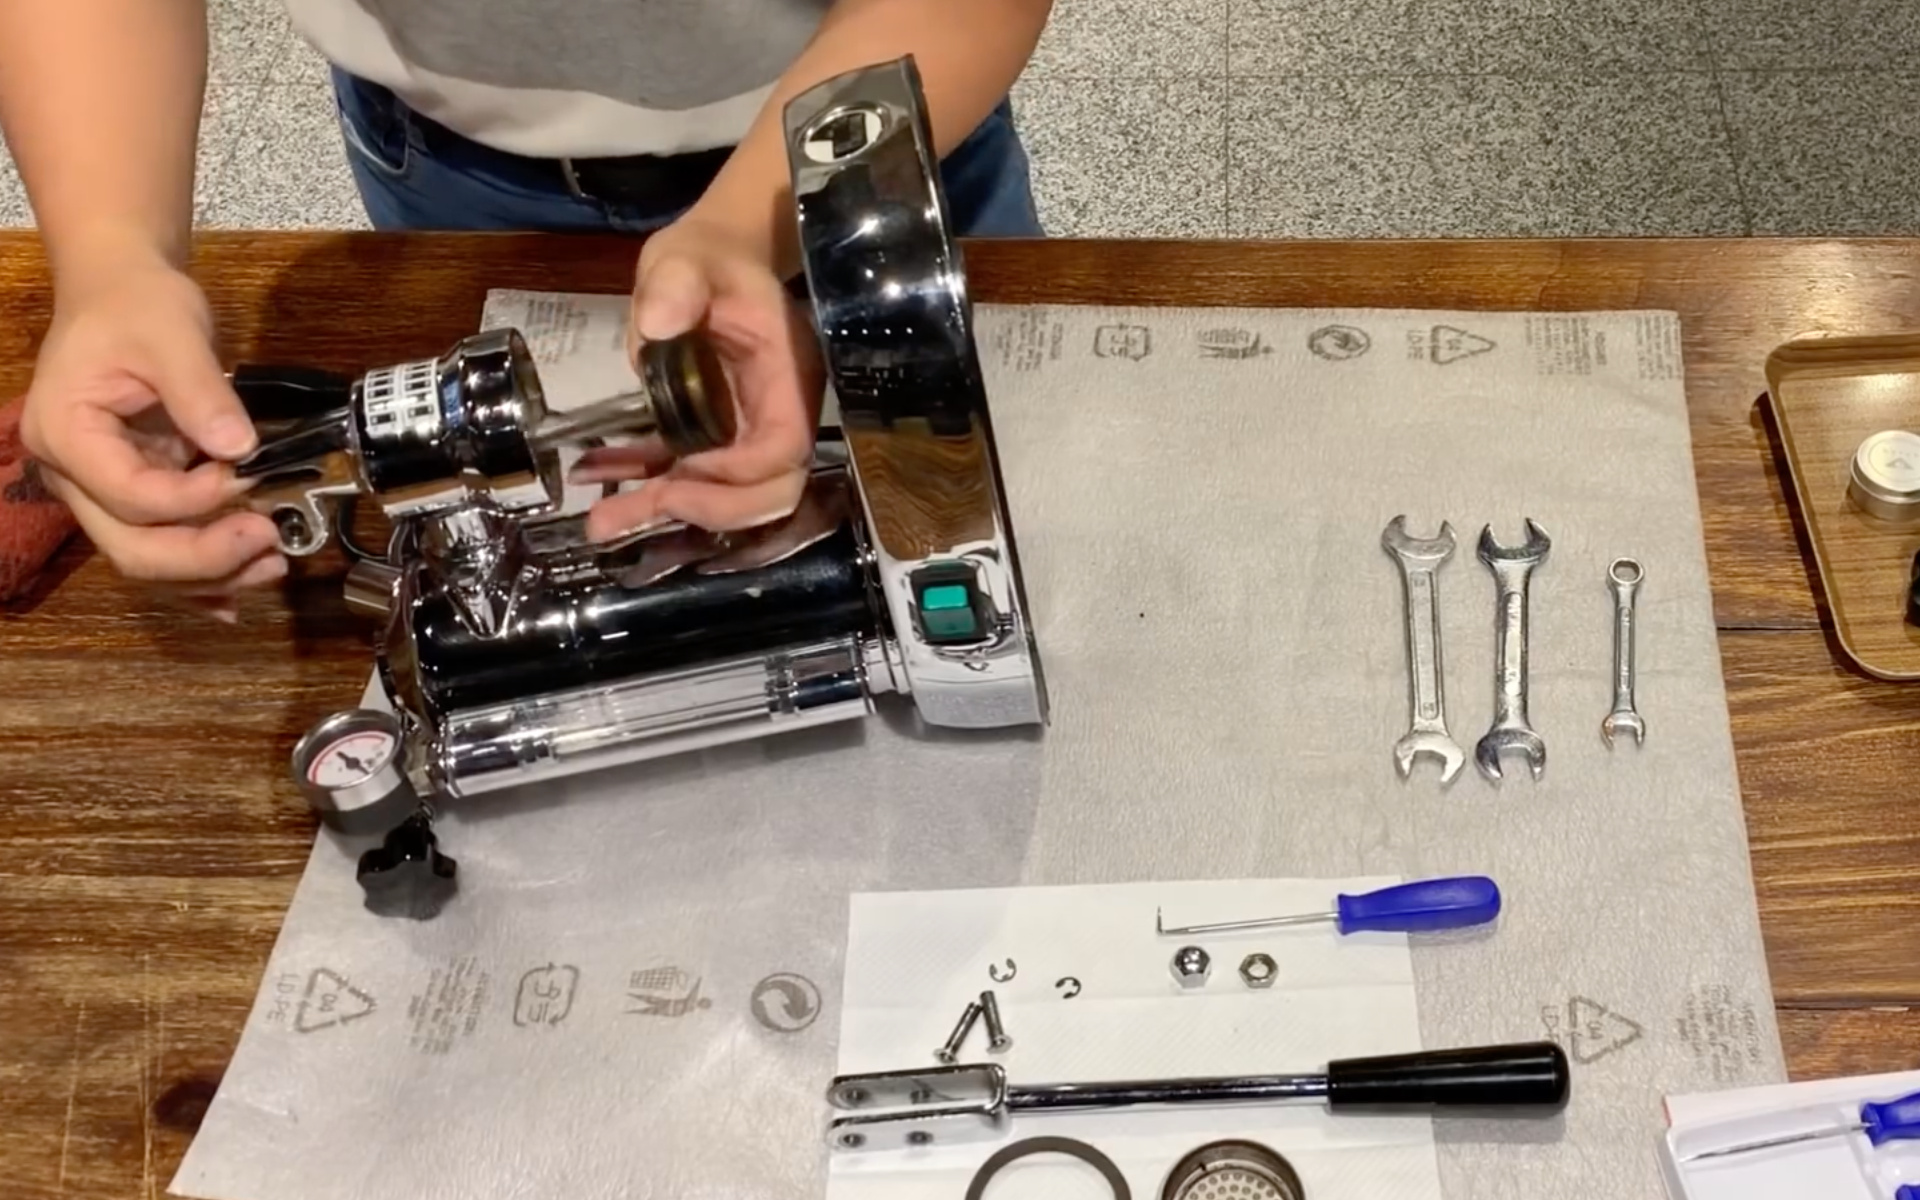
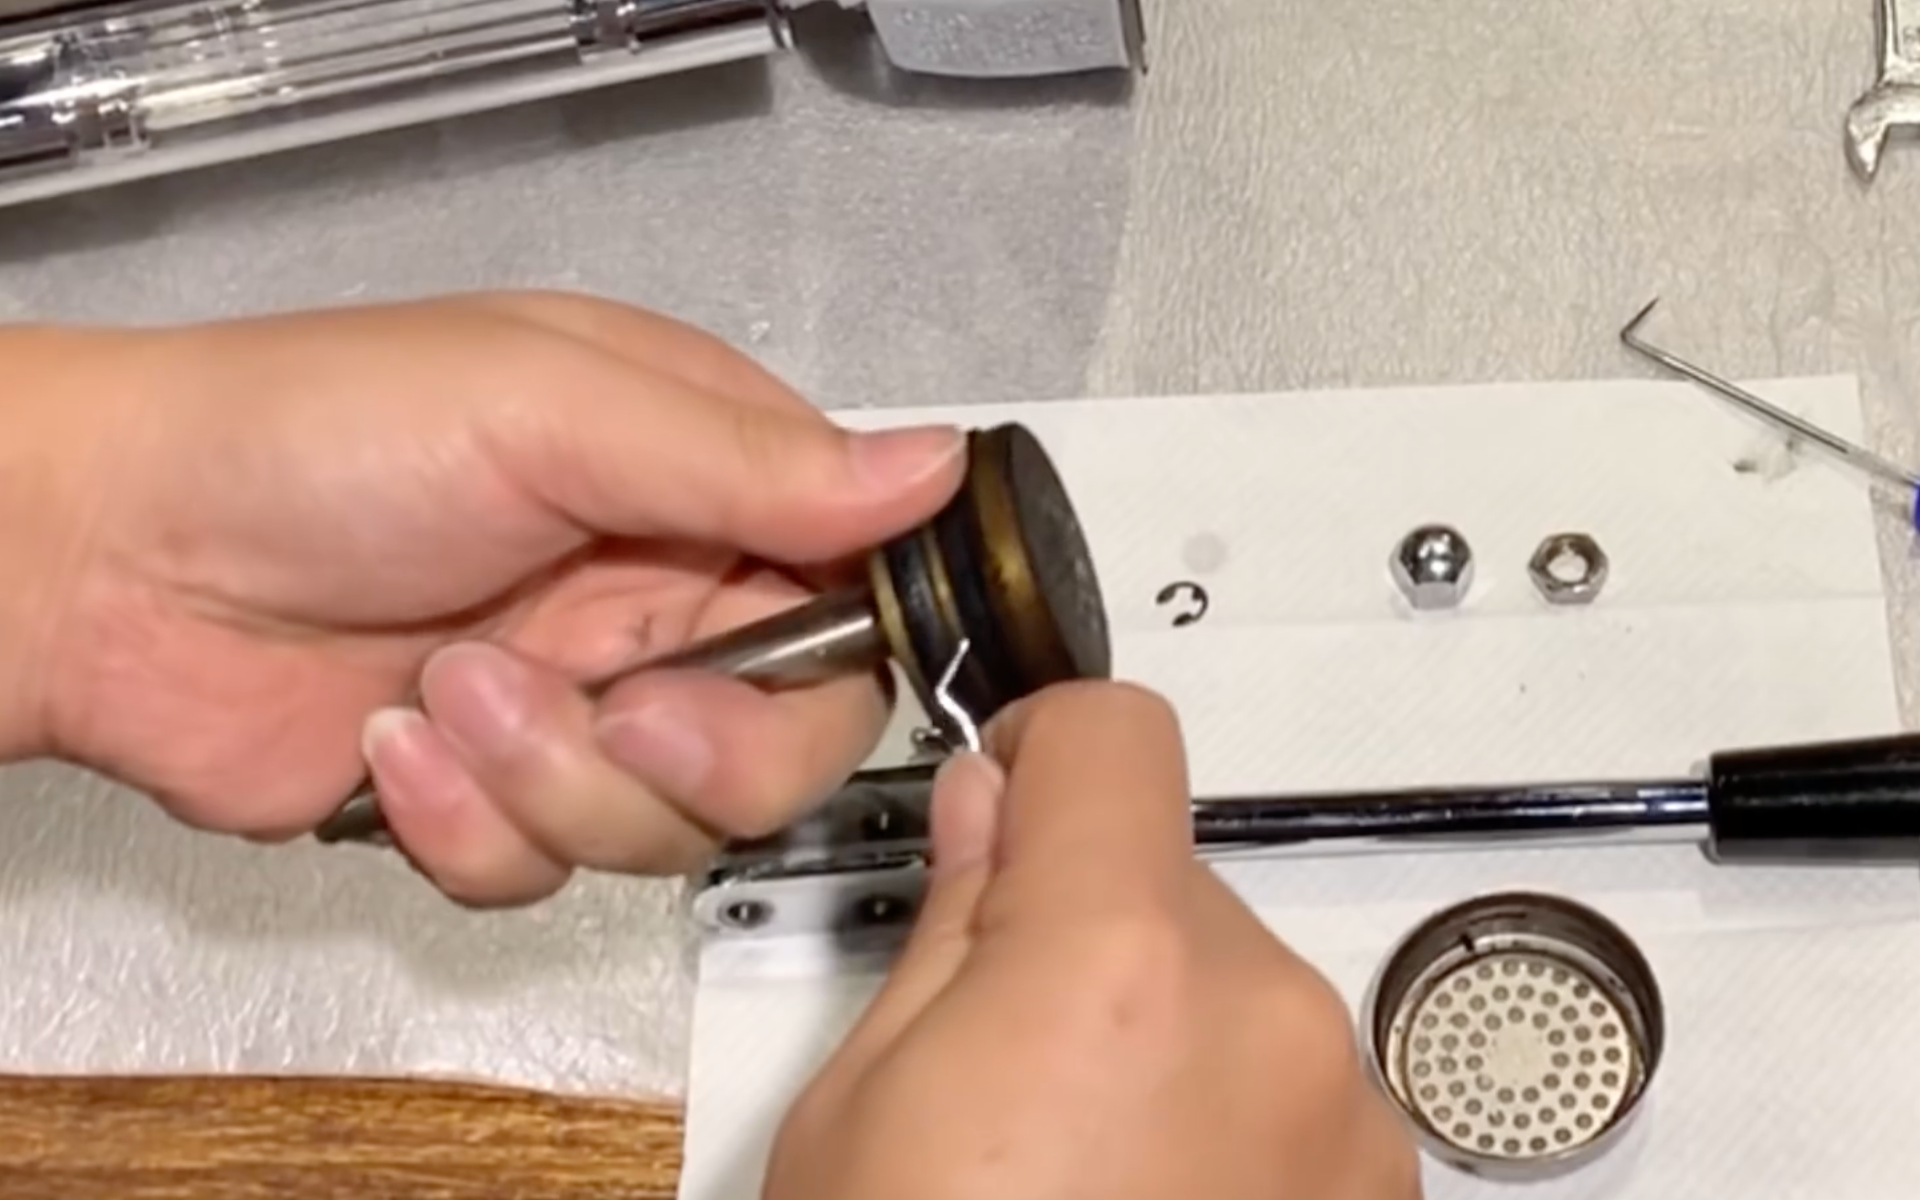
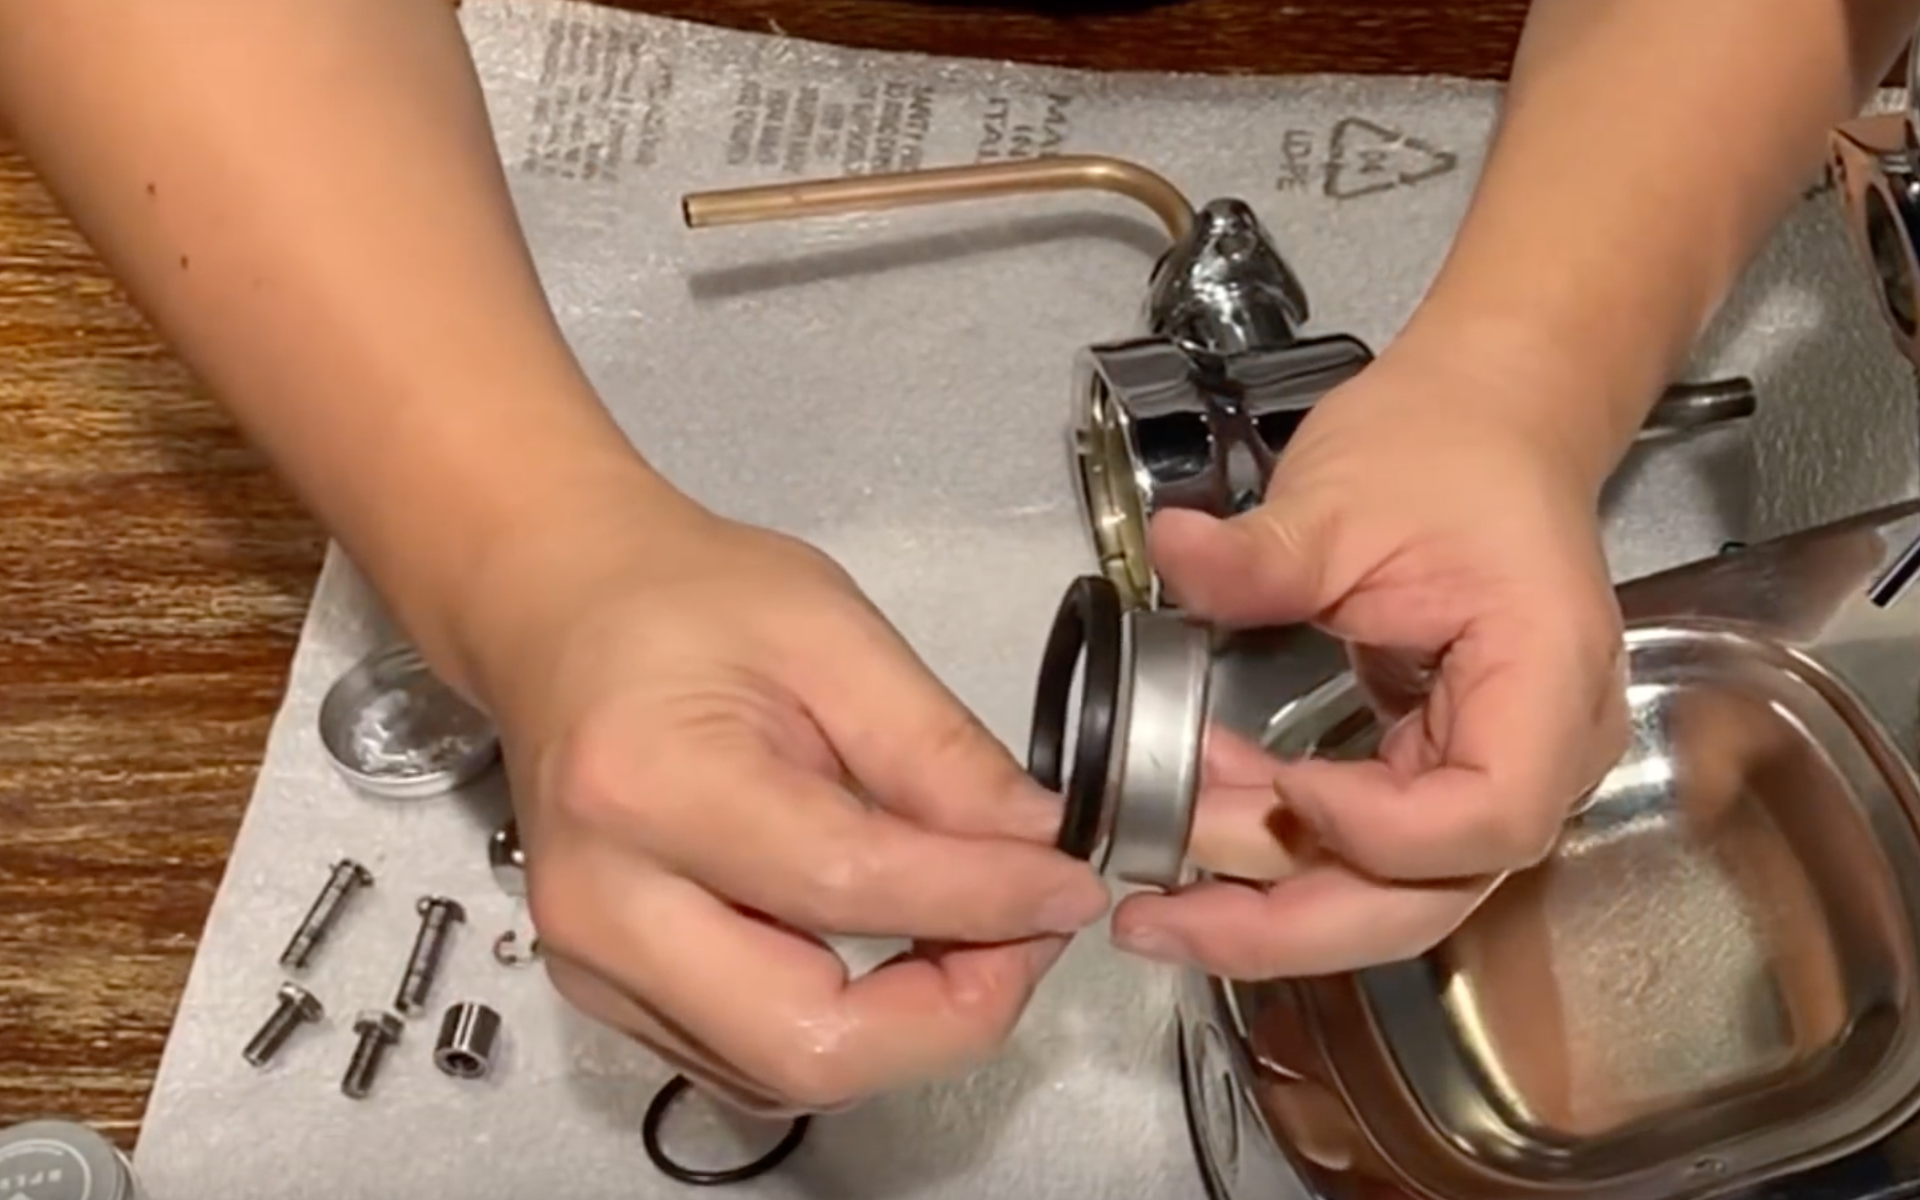
- Extract the shower screen, then the piston.
- Remove the two piston gaskets with the hook.
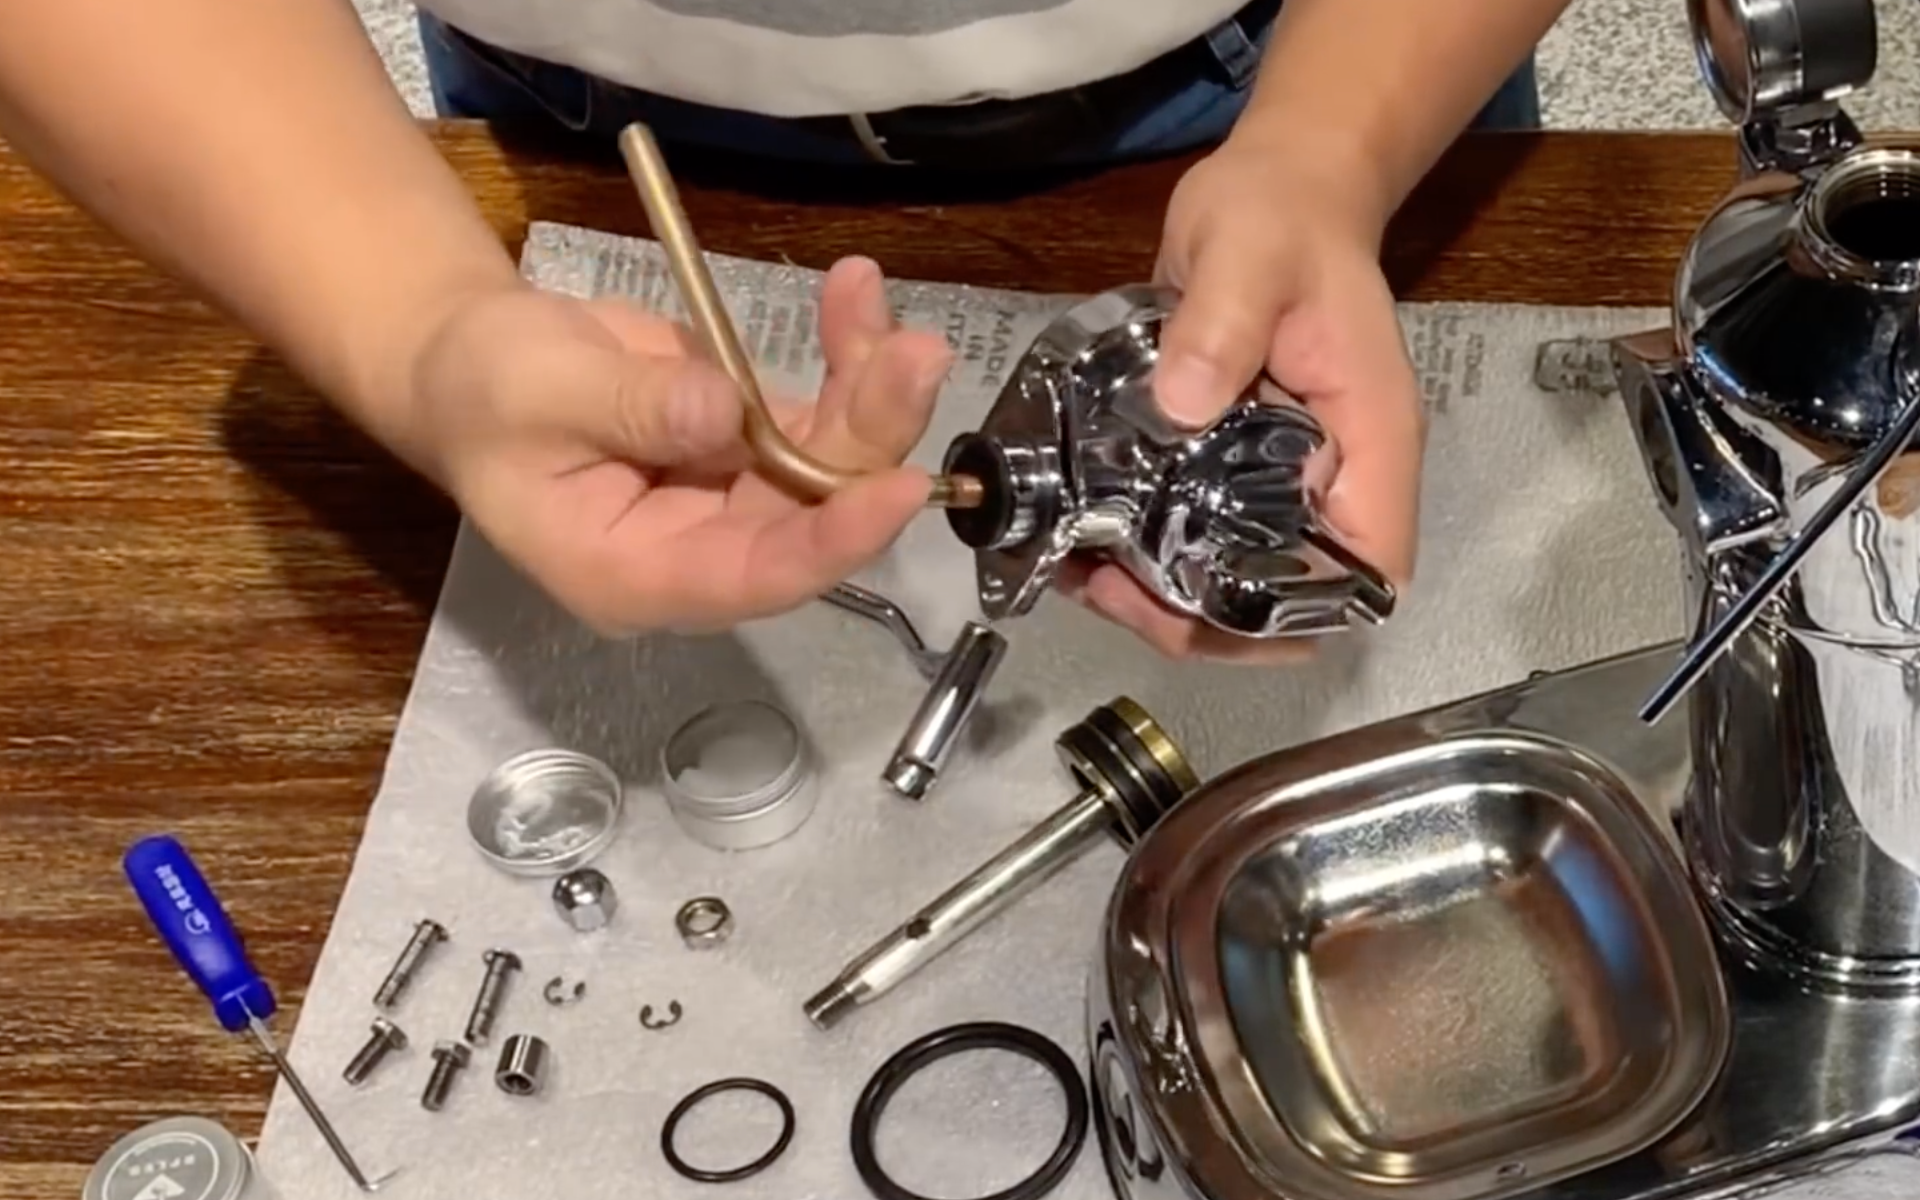
- Unscrew the bolts from the group head and remove the piston body.
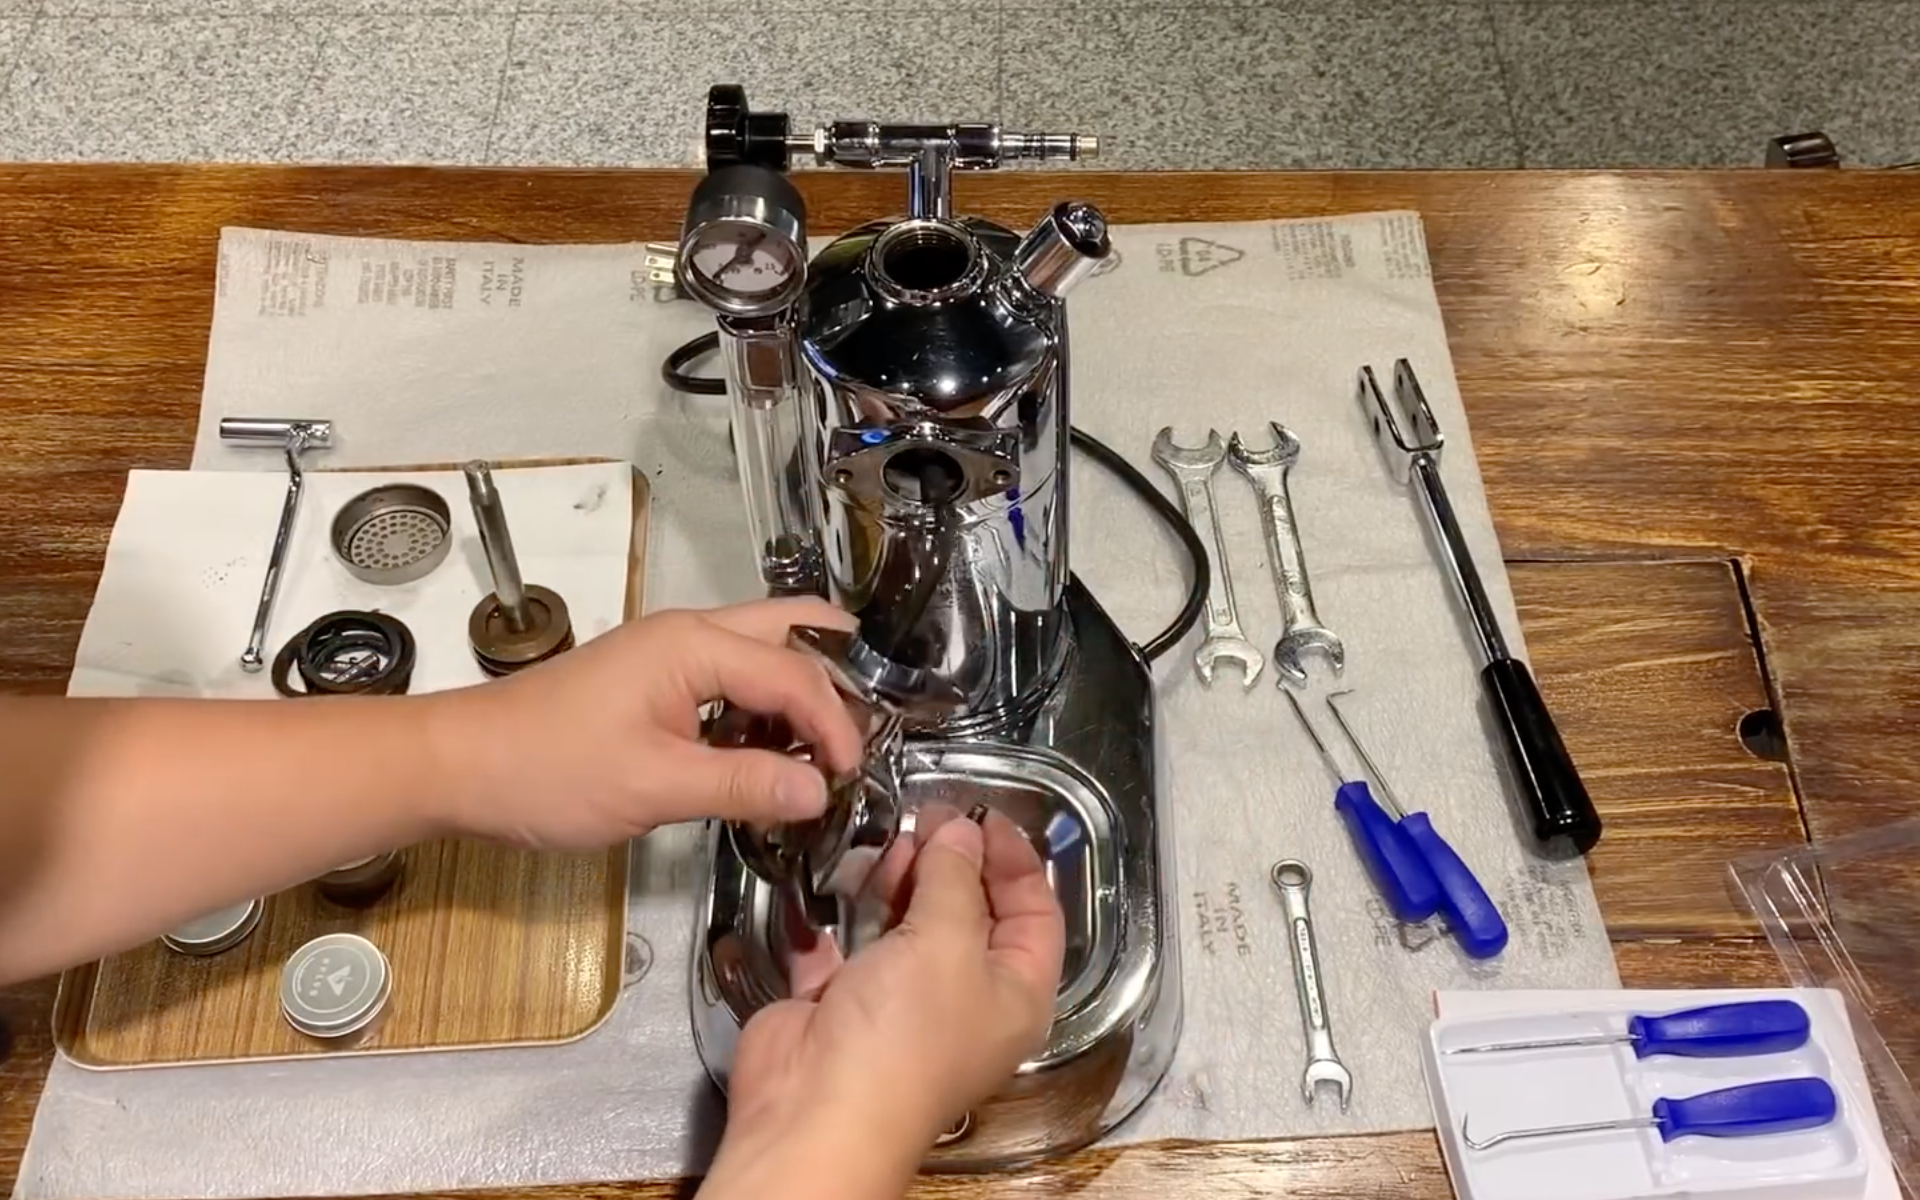
- Unscrew the copper pipe and its plastic fitting.
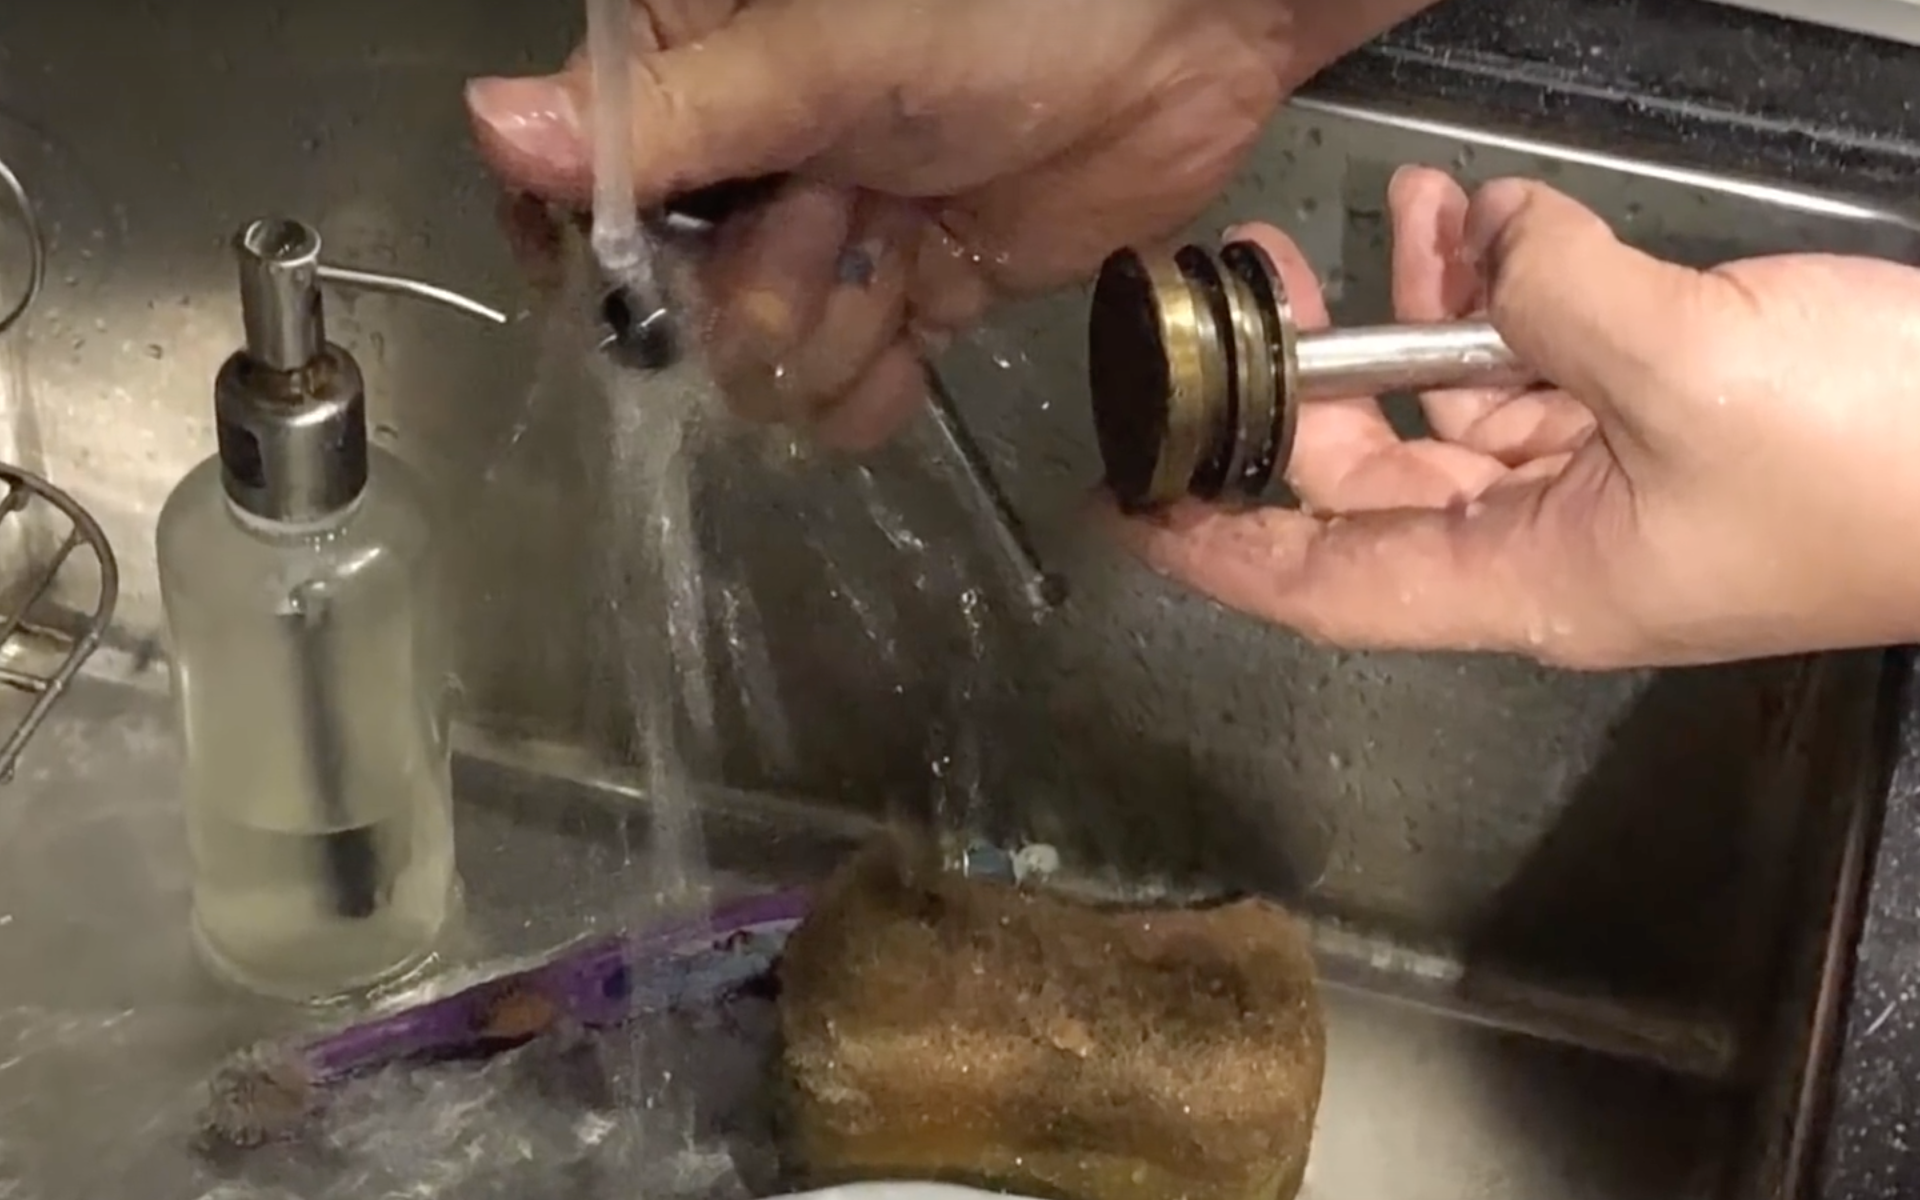
Complete Cleaning of Your La Pavoni
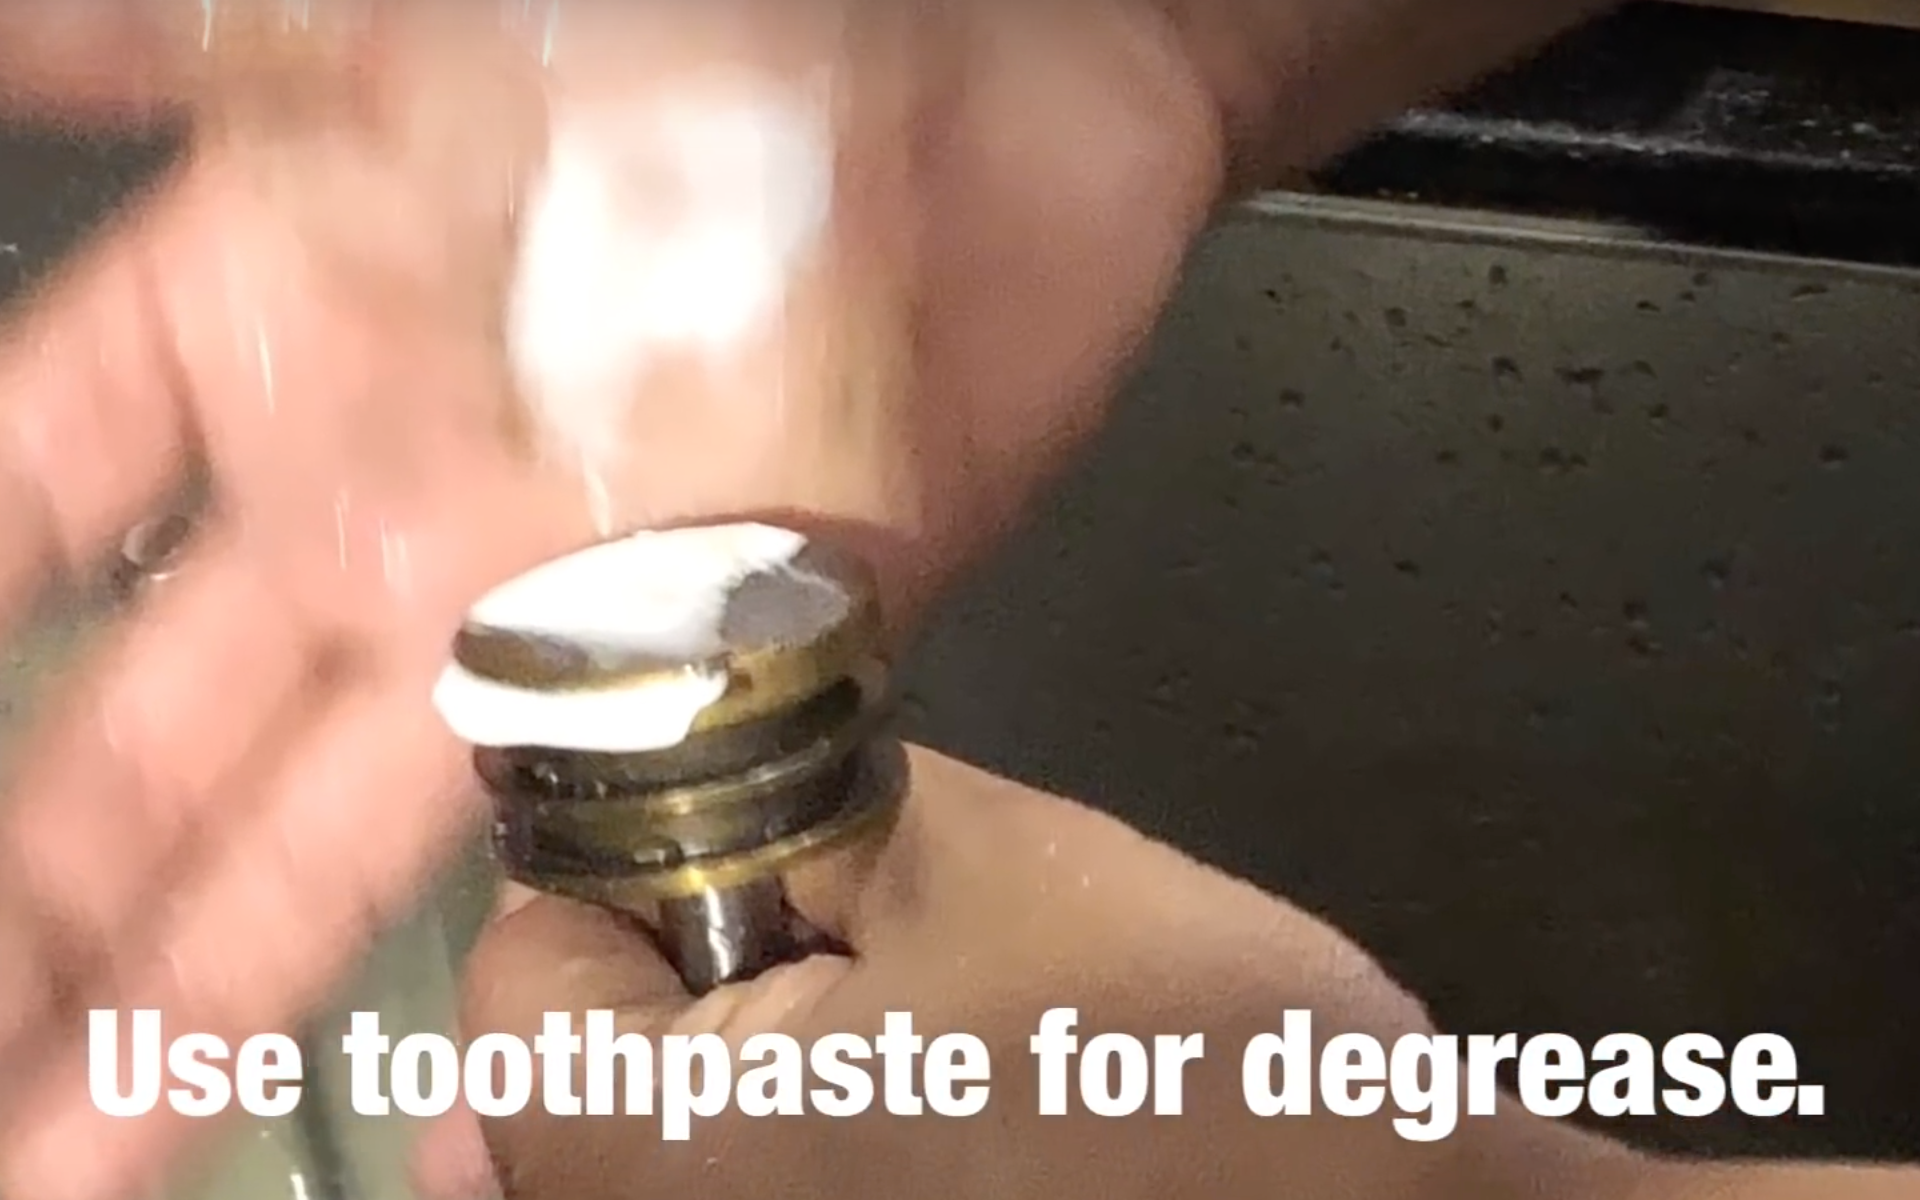
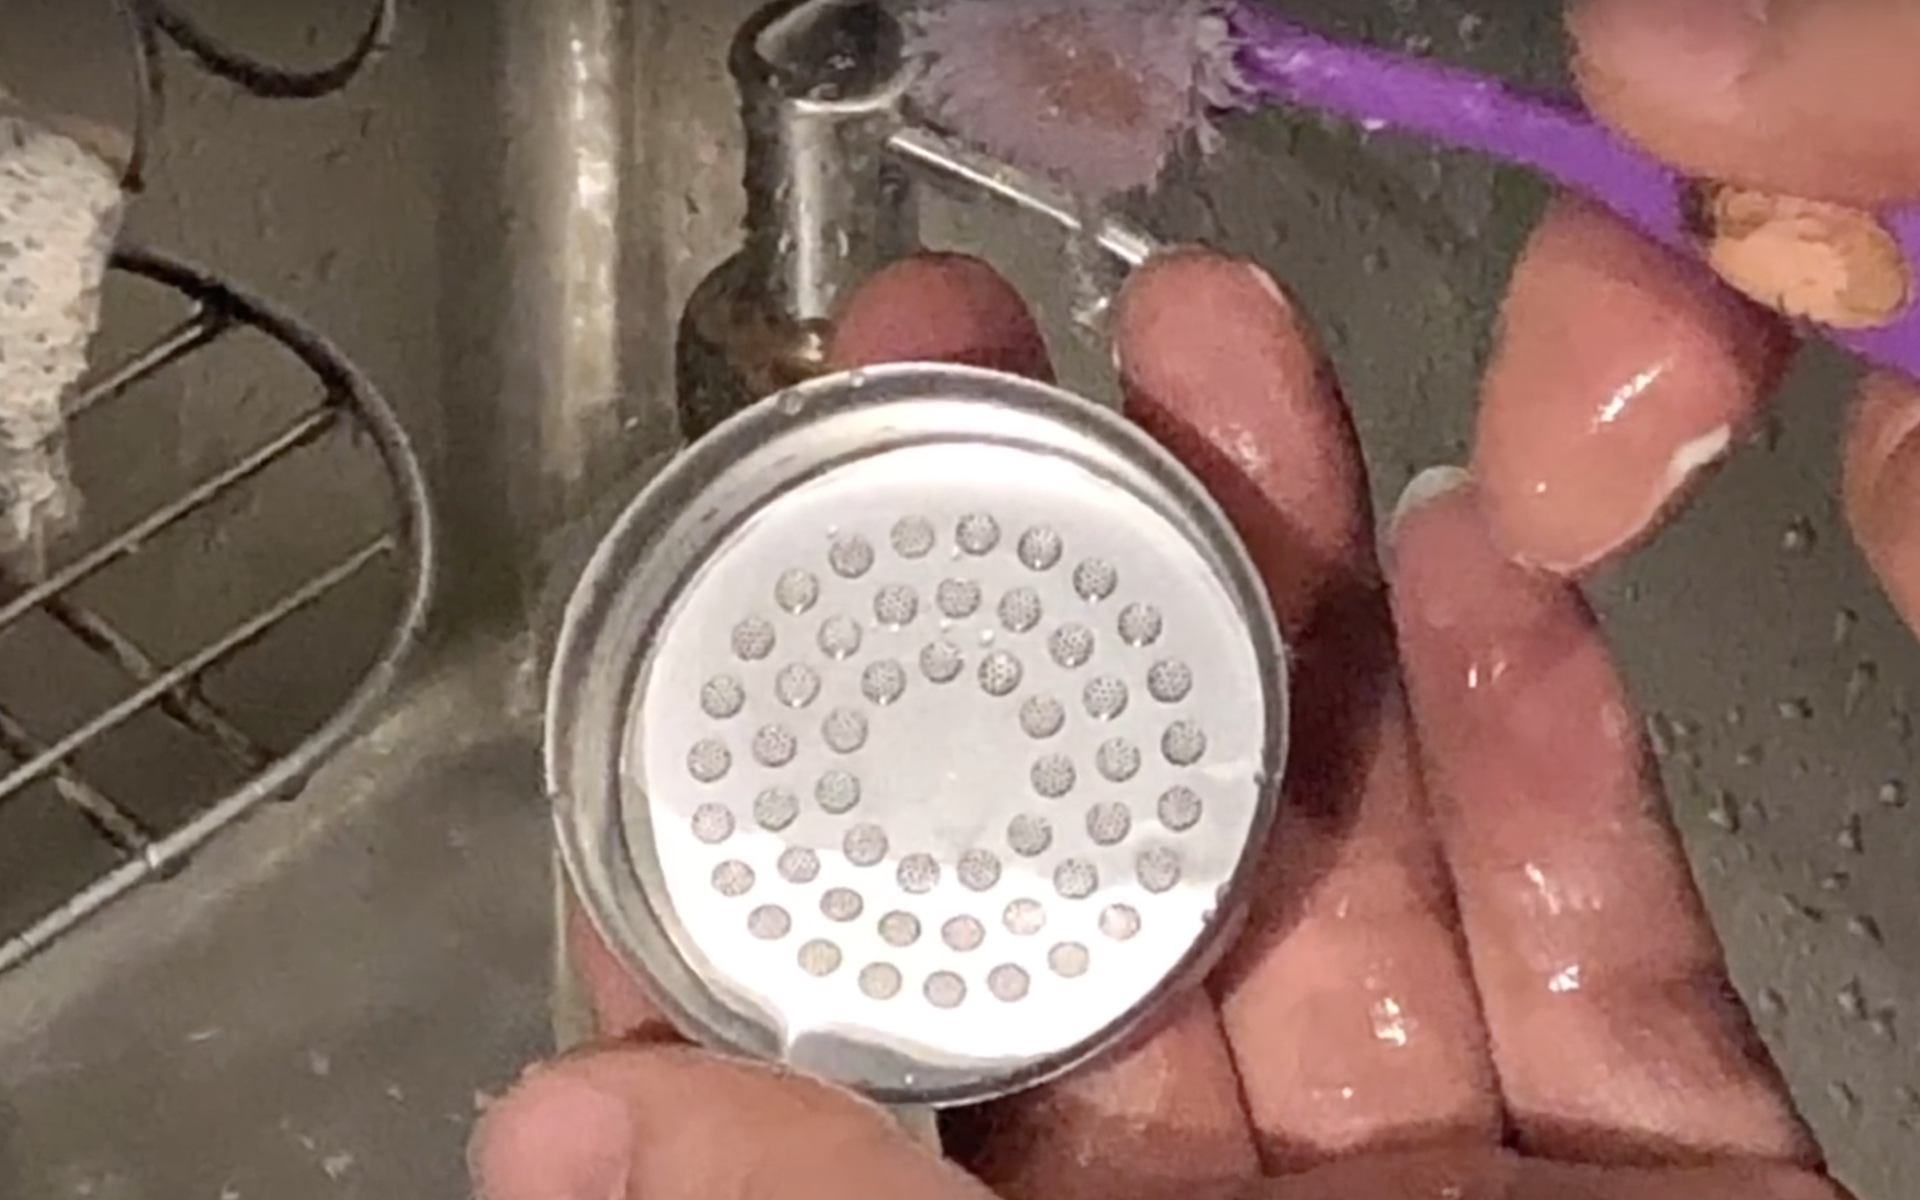
- Clean all seals and the inside of the piston body with soapy water and a toothbrush.
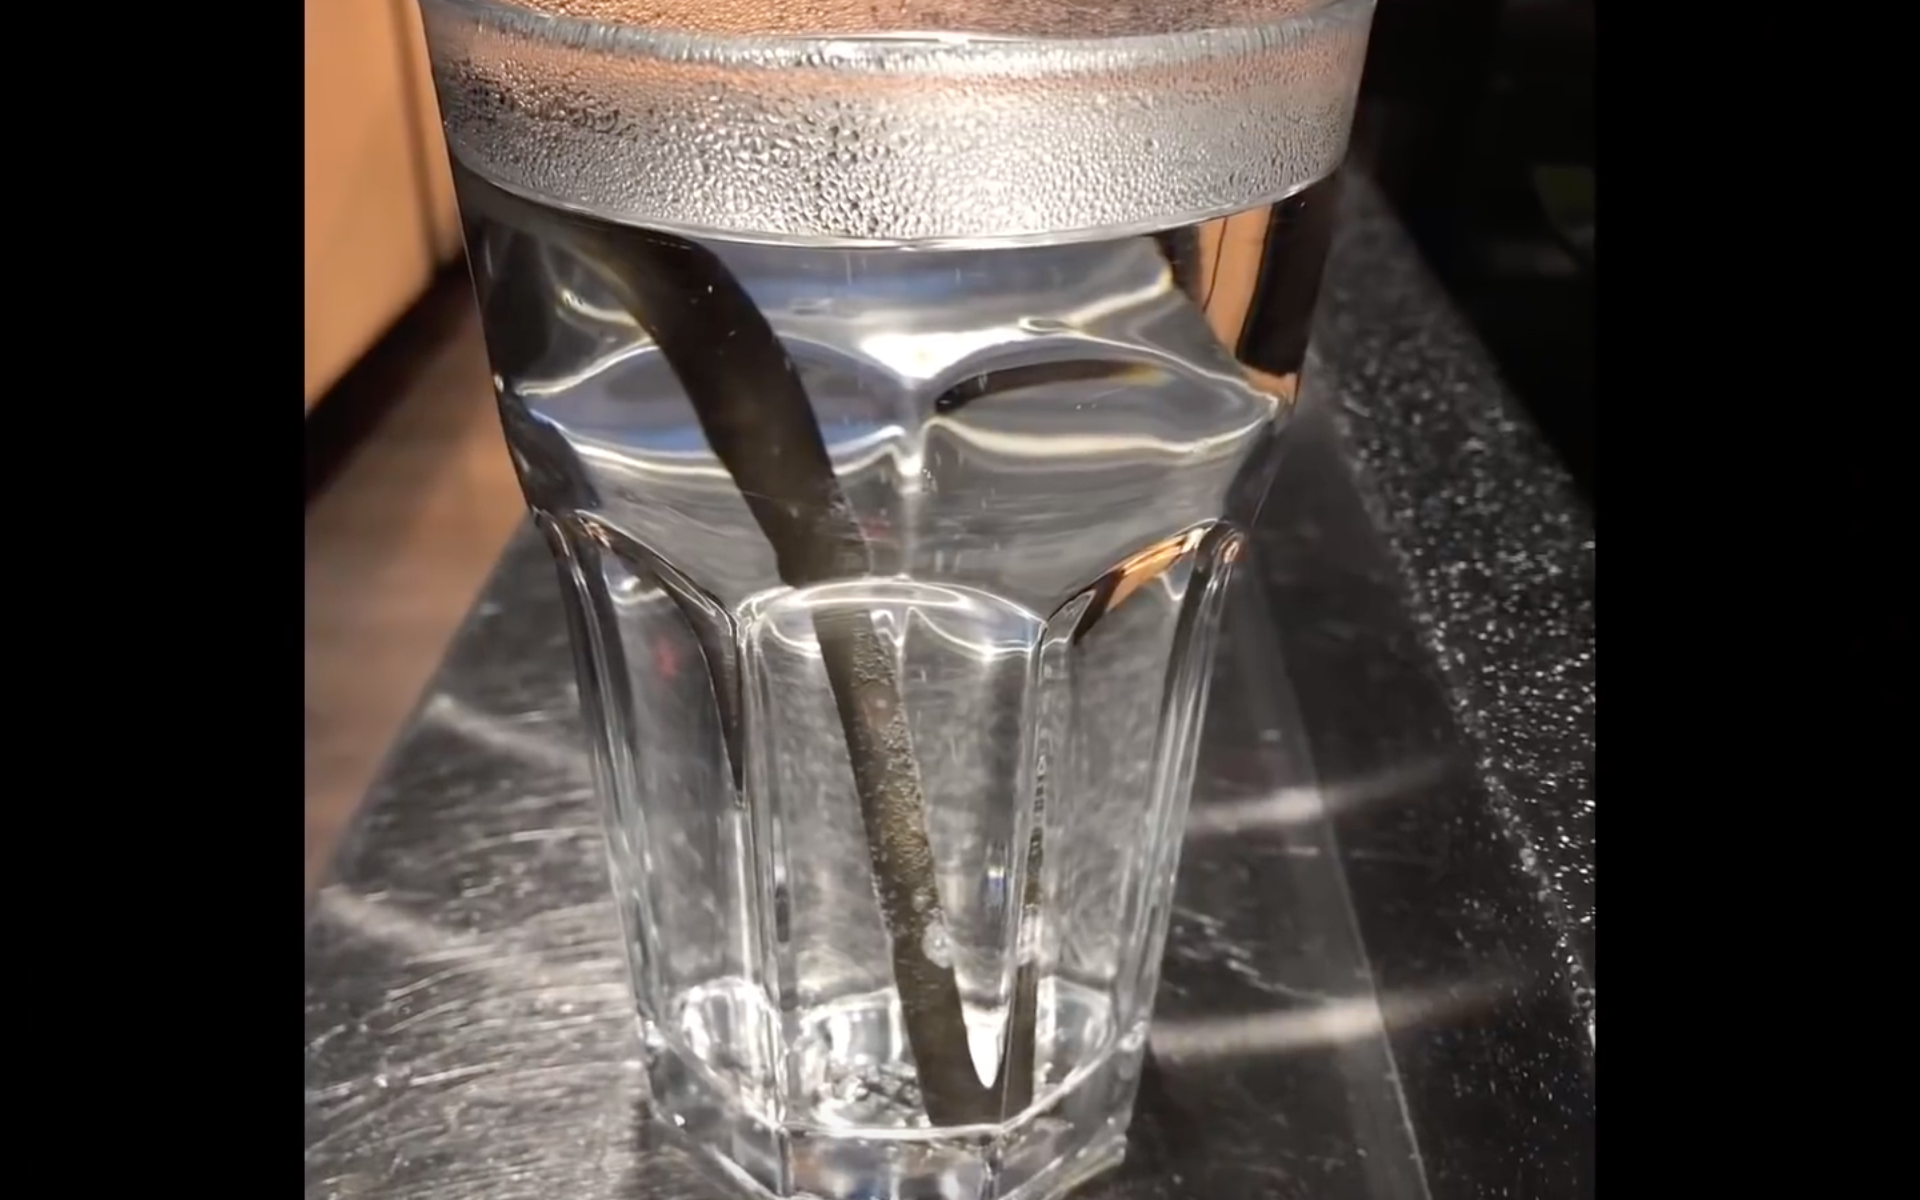
- Soak the copper tube in white vinegar for 15-20 min to descale.
- Add a few descaling tablets to the boiler.
Slightly heat the water during descaling for better efficiency.
La Pavoni Reassembly Steps
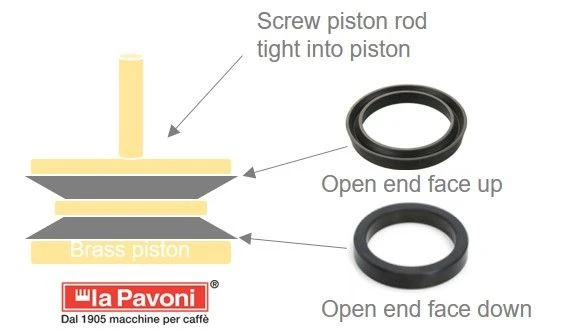
- Replace seals if necessary with a La Pavoni seal kit.
- Respect the direction: wide parts facing outward.
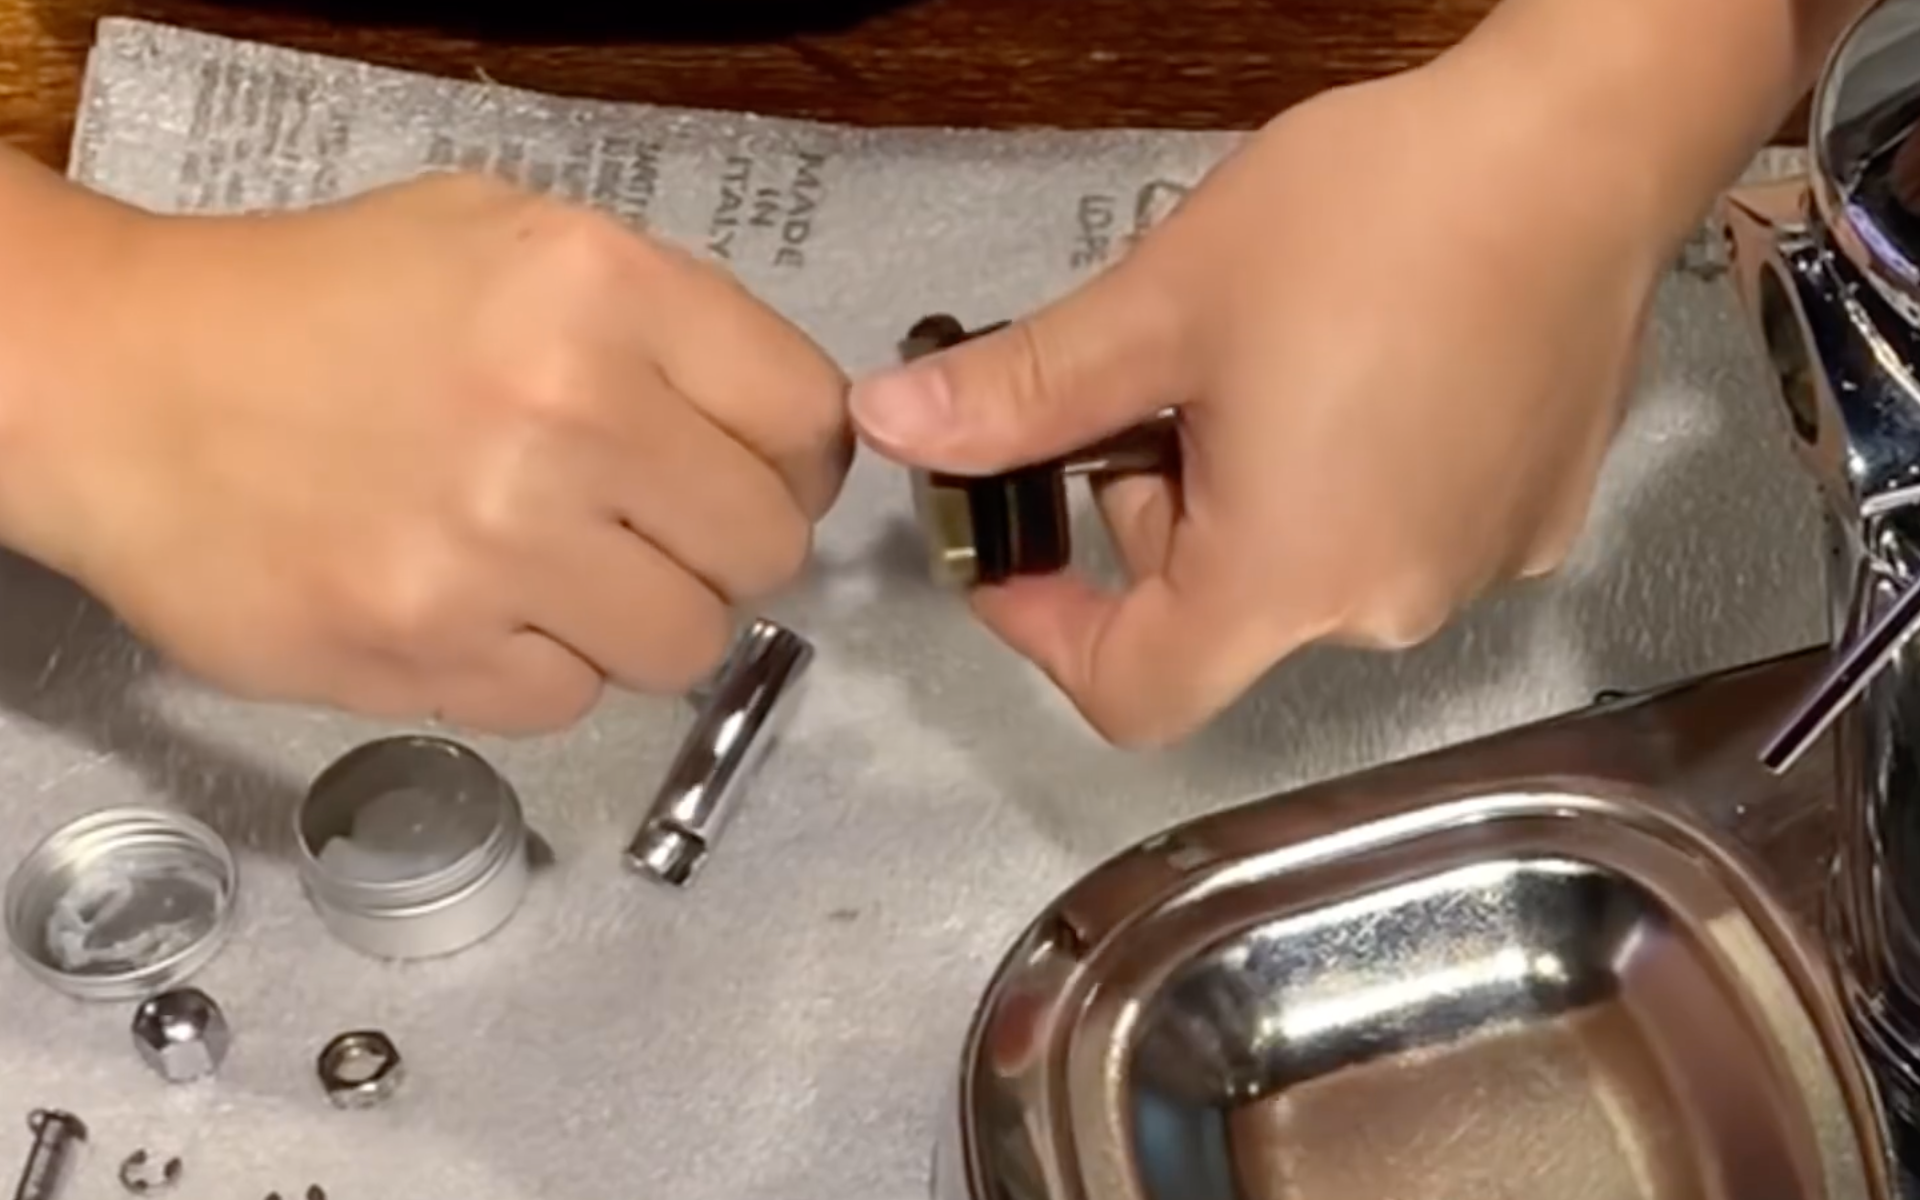
- Screw back the plastic tip and the copper tube.
- Apply food-grade grease to the piston and body.
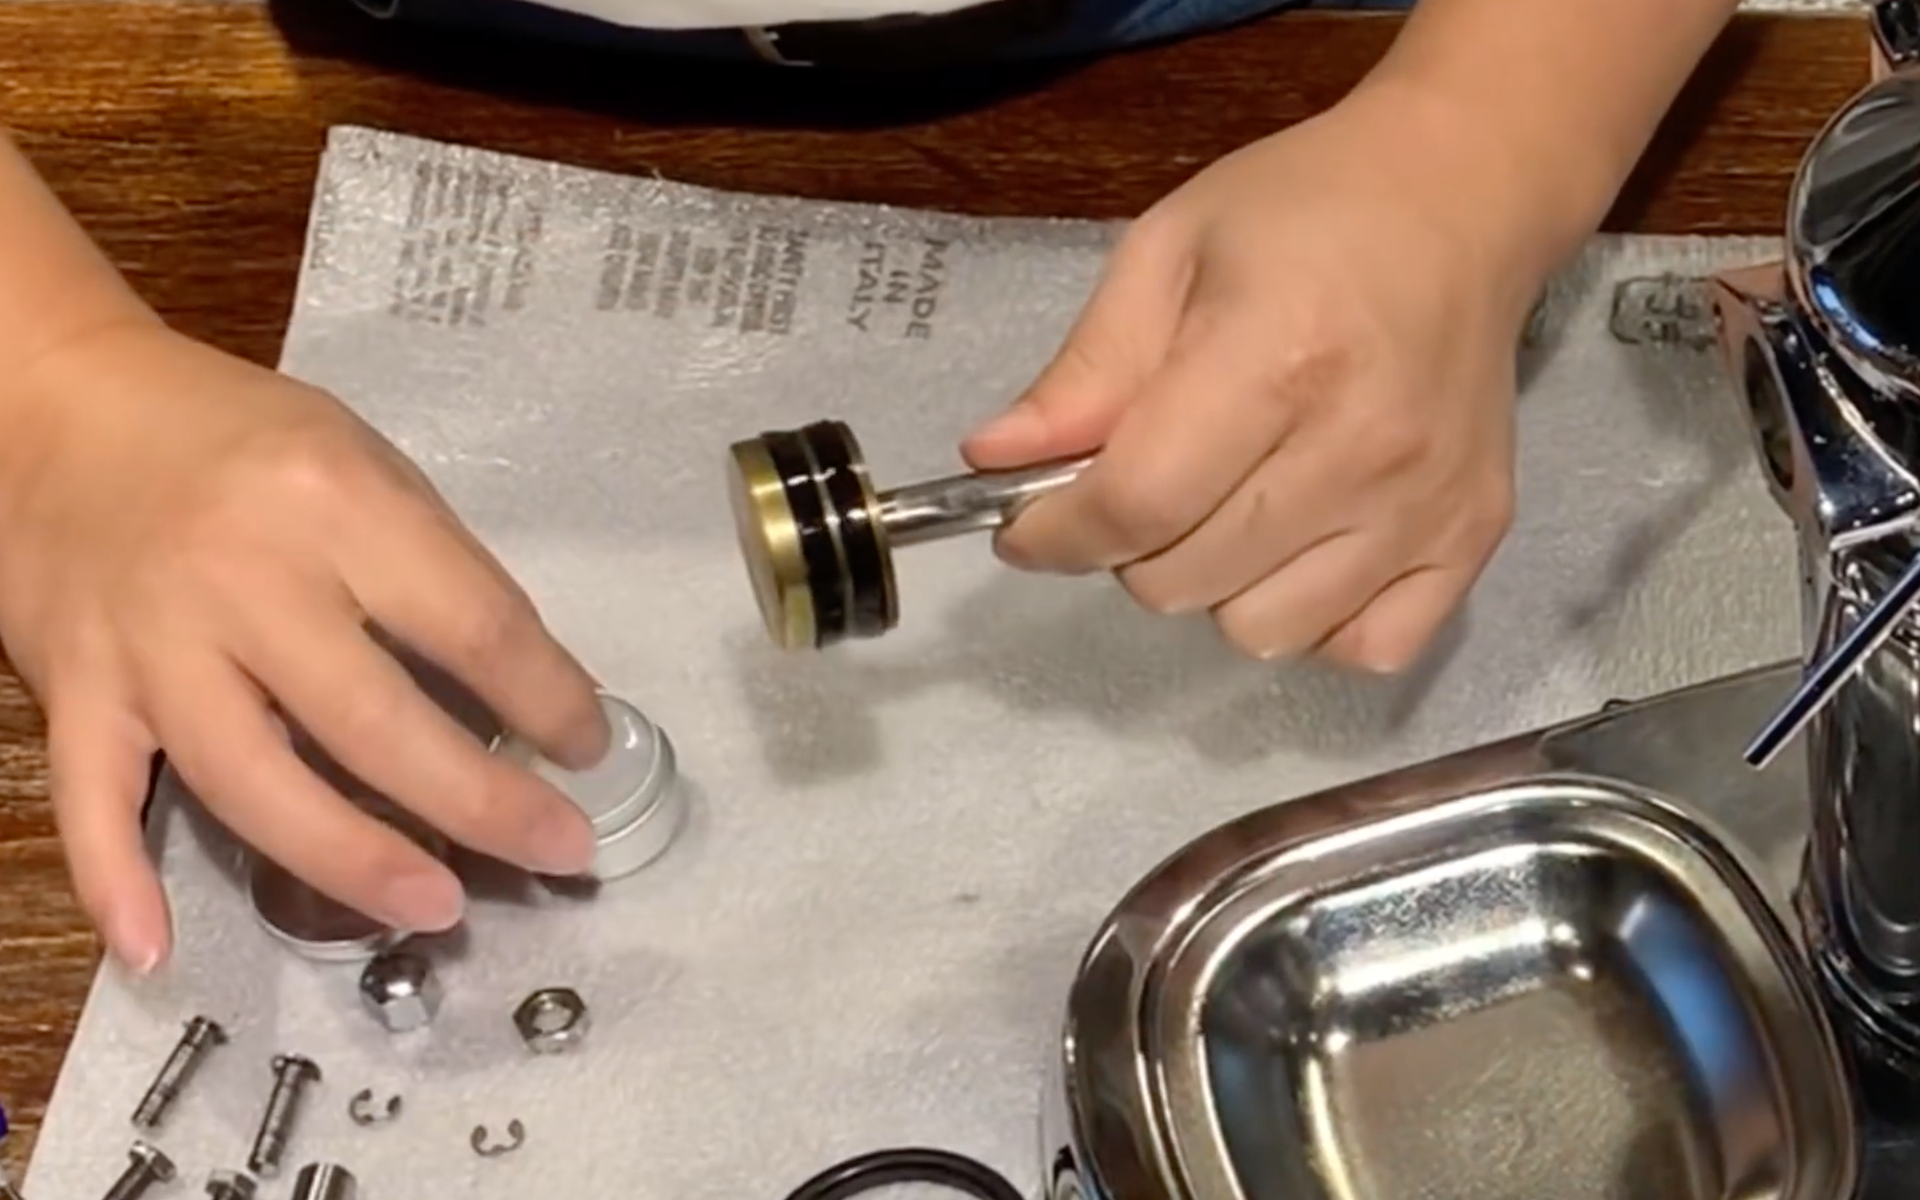
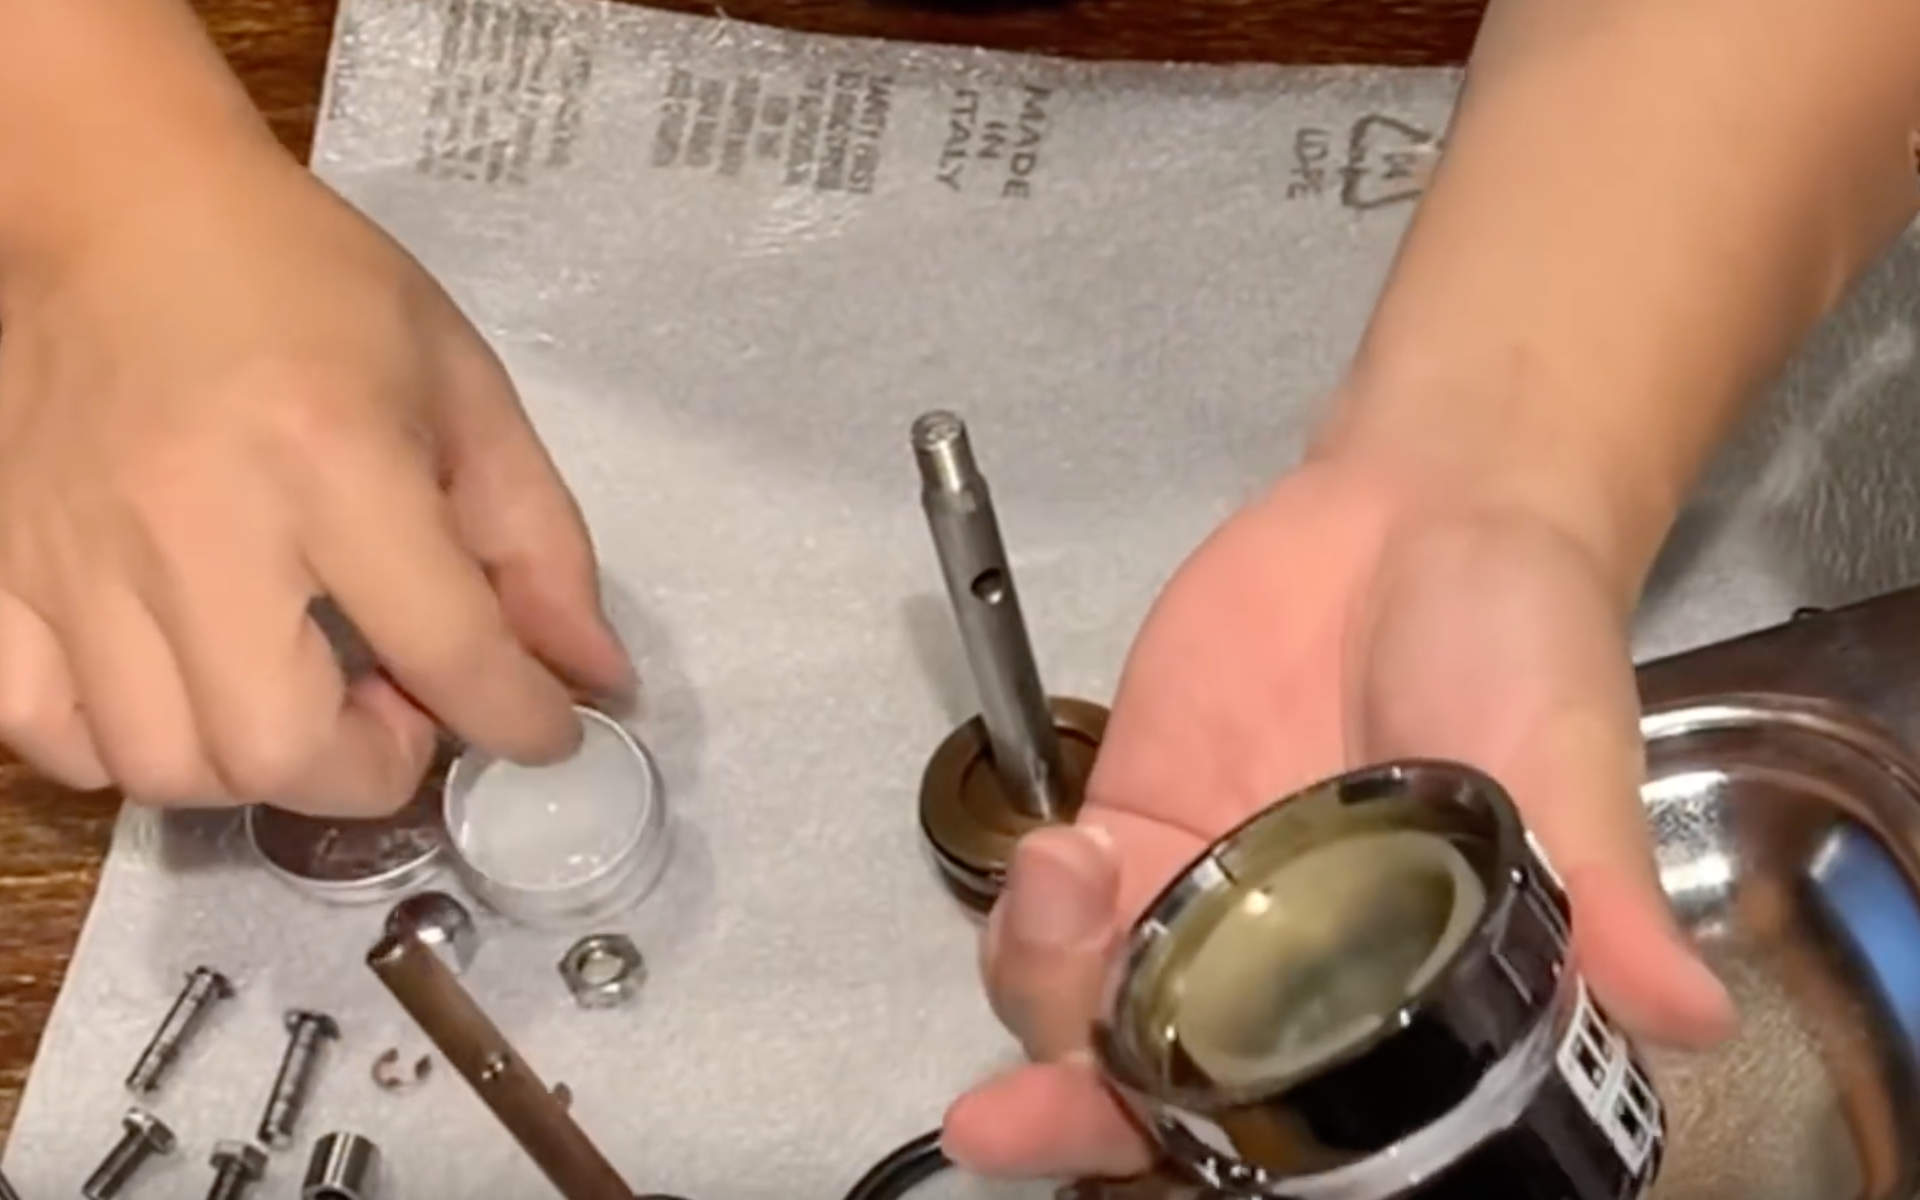
- Reinsert the piston into the body, align correctly.
- Place the shower screen seal and insert the shower screen.
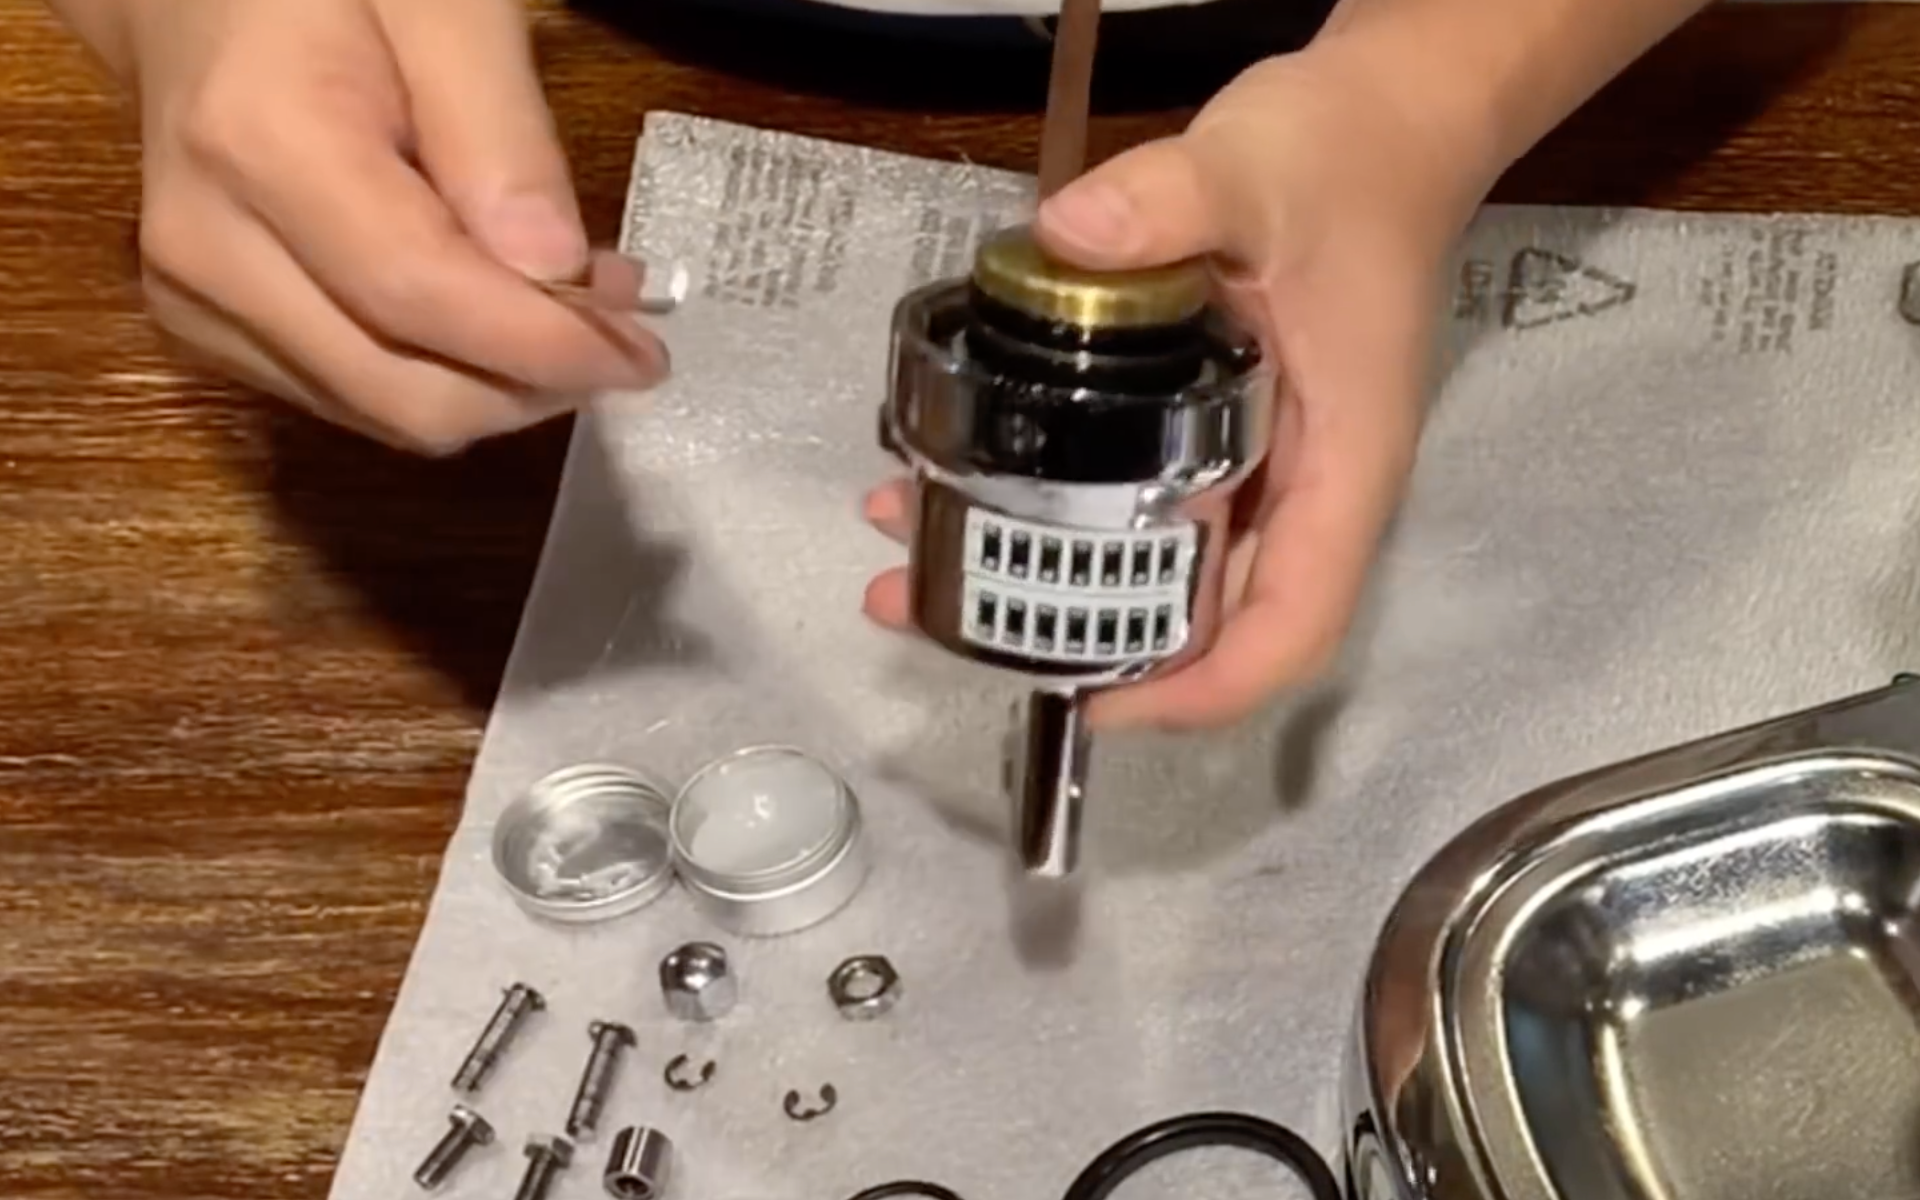
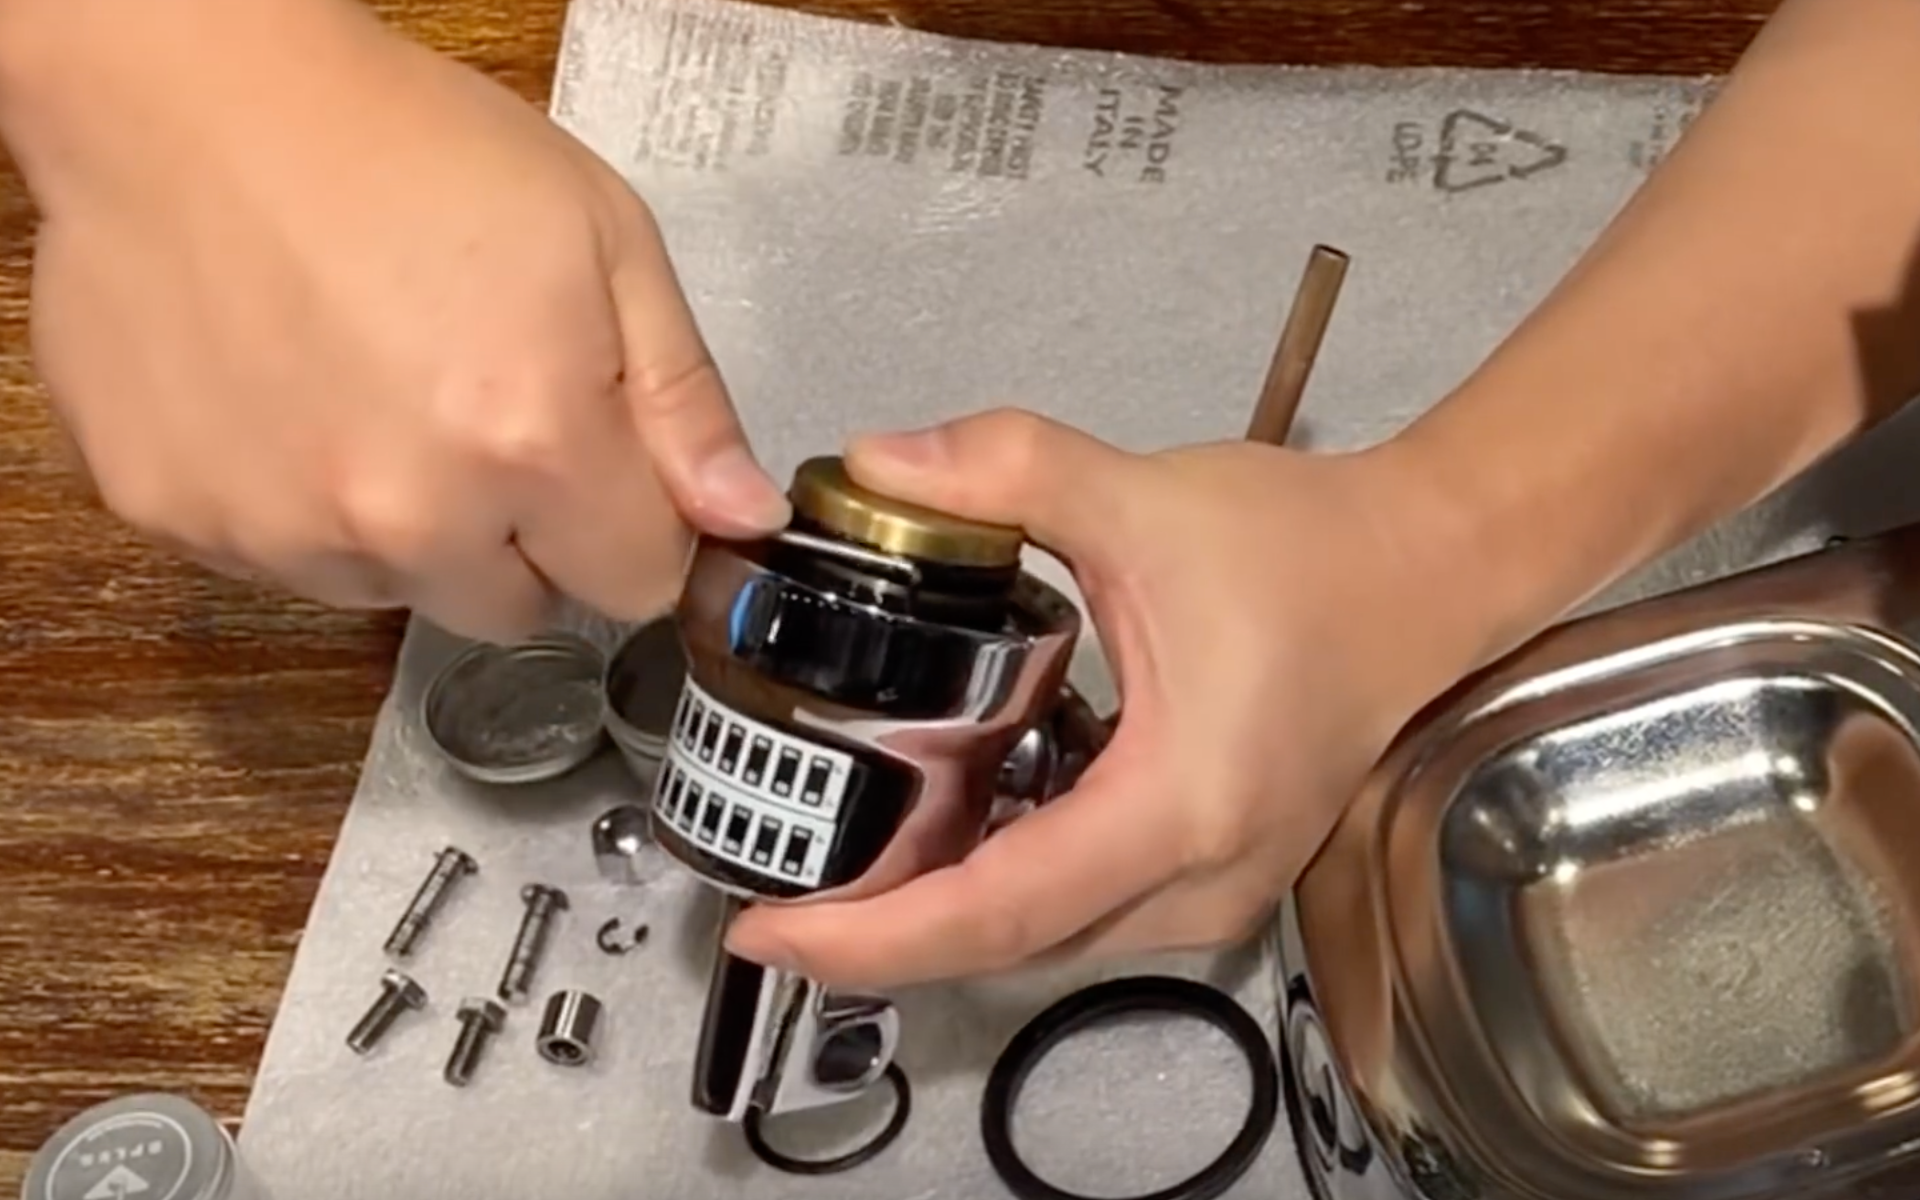
- Replace the piston body onto the boiler, tighten the bolts.

- Reattach the lever, pins, and nuts.

- Adjust the lever height to prevent the piston from touching the shower screen.
Congratulations! You have just completed the full maintenance of your La Pavoni machine.
Your machine is now ready for several months of optimal use.
Additional resources
4 tips to avoid channeling with a bottomless portafilter
Discover how to avoid channeling during your espresso extractions with a bottomless portafilter.
Read the article →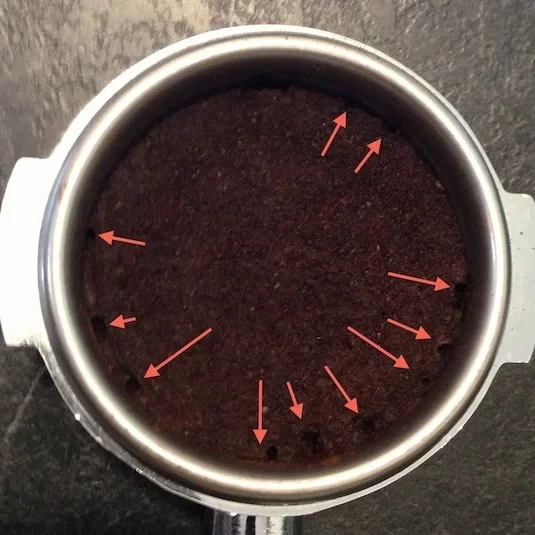
Complete video tutorial
Here is the official video that served as the basis for this practical guide:
And you, how often do you maintain your La Pavoni?
Feel free to share your tips and questions in the comments 🙂