Wacaco Minipresso GR2 Review: Espresso Anywhere, Anytime

Discover the Wacaco Minipresso GR2, a portable espresso machine that combines lightness and ergonomics, ideal for coffee enthusiasts on the go. Designed to be used manually without electricity or cartridges, this device allows you to enjoy quality espresso wherever you are, whether during your travels or at the office. In this article, I share my personal experience as well as the features that make this machine a wise choice combining practicality and performance.
The Wacaco Minipresso GR2 is not the first product from the brand that I’ve tested. After acquiring the Picopresso a few months ago and recently receiving the Wacaco Pipamoka, I was impressed by the quality of these devices. So I contacted Wacaco to offer to test the Minipresso GR2 for my site, and they agreed to provide me with one. Rest assured that this will in no way influence my opinion when conducting this test for CoffeeGeek. Wacaco gave me no guidelines for writing this article.
Presentation and design of the Wacaco Minipresso GR2
The Minipresso GR2 is a portable espresso machine designed for coffee lovers on the move. Compact and lightweight, it operates manually, without electricity or gas cartridges. It can hold 8 or 12 grams of ground coffee and produce approximately 45 ml of espresso. Its ergonomic design makes it an ideal companion for travel, camping, or coffee breaks at the office.
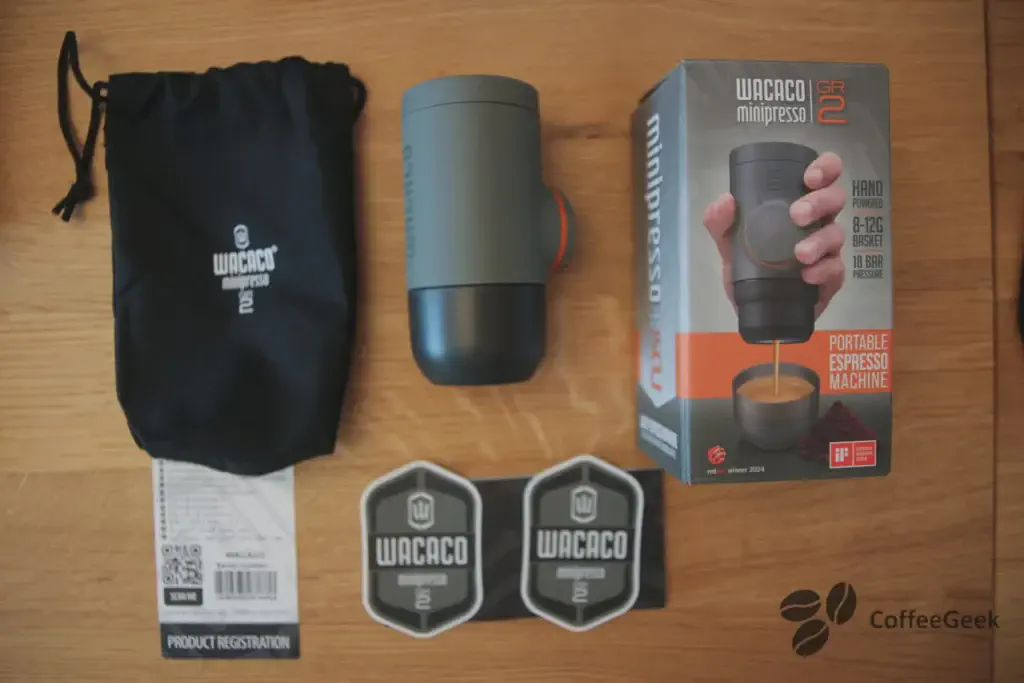
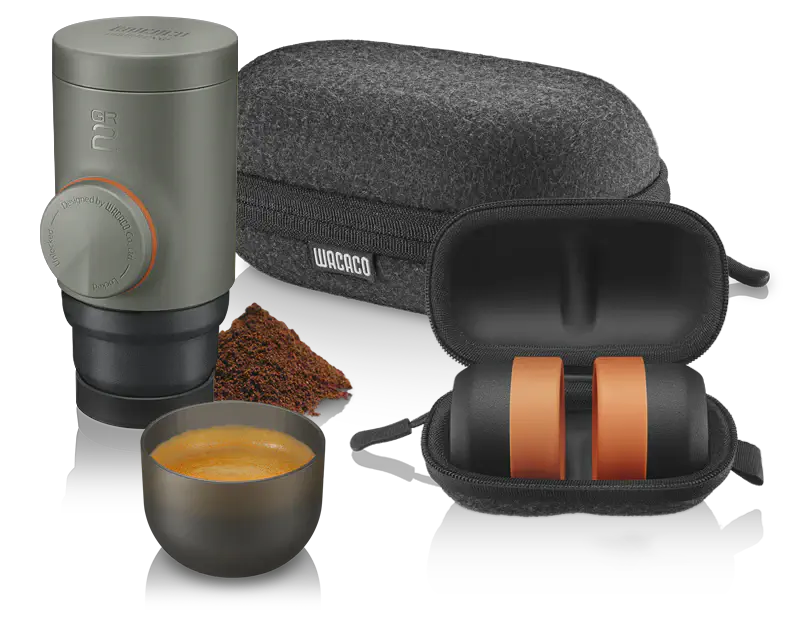
The GR2 comes with the following items:
- Minipresso GR2 (portable espresso machine)
- Integrated water reservoir of 60 ml
- Filter holder for 8 or 12 grams of ground coffee
- Measuring scoop to measure the coffee
- Tamper to tamp the ground coffee
- Support for the filter holder
- Carrying case
- User manual to guide preparation
Personally, I appreciate its handling, even though it’s made of plastic, you can feel it’s quality material giving a sense of solidity. Everything fits together perfectly, the accessories are cleverly stored in the water reservoir, and a multitude of well-thought-out little details are revealed during use, showing that Wacaco truly sought perfection.
With this new generation of Minipresso, Wacaco has pushed miniaturization to the extreme. This is clearly visible in this photo, which shows the evolution between the GR affiliate linkand GR2 affiliate linkmodels**.

Preparing a coffee with the Wacaco Minipresso GR2
After taking the GR2 out of its case, I remove the accessories stored in the water reservoir, take off the cap that serves as a cup, and place the Minipresso on its base.
I remove the cup, then unscrew the GR2 base, which serves as the portafilter. There are two available positions: 8g or 12g. Personally, I prefer to use it in 12g mode. Wacaco has cleverly designed a base that allows you to place the portafilter vertically, securing it and preventing any direct contact with the table.

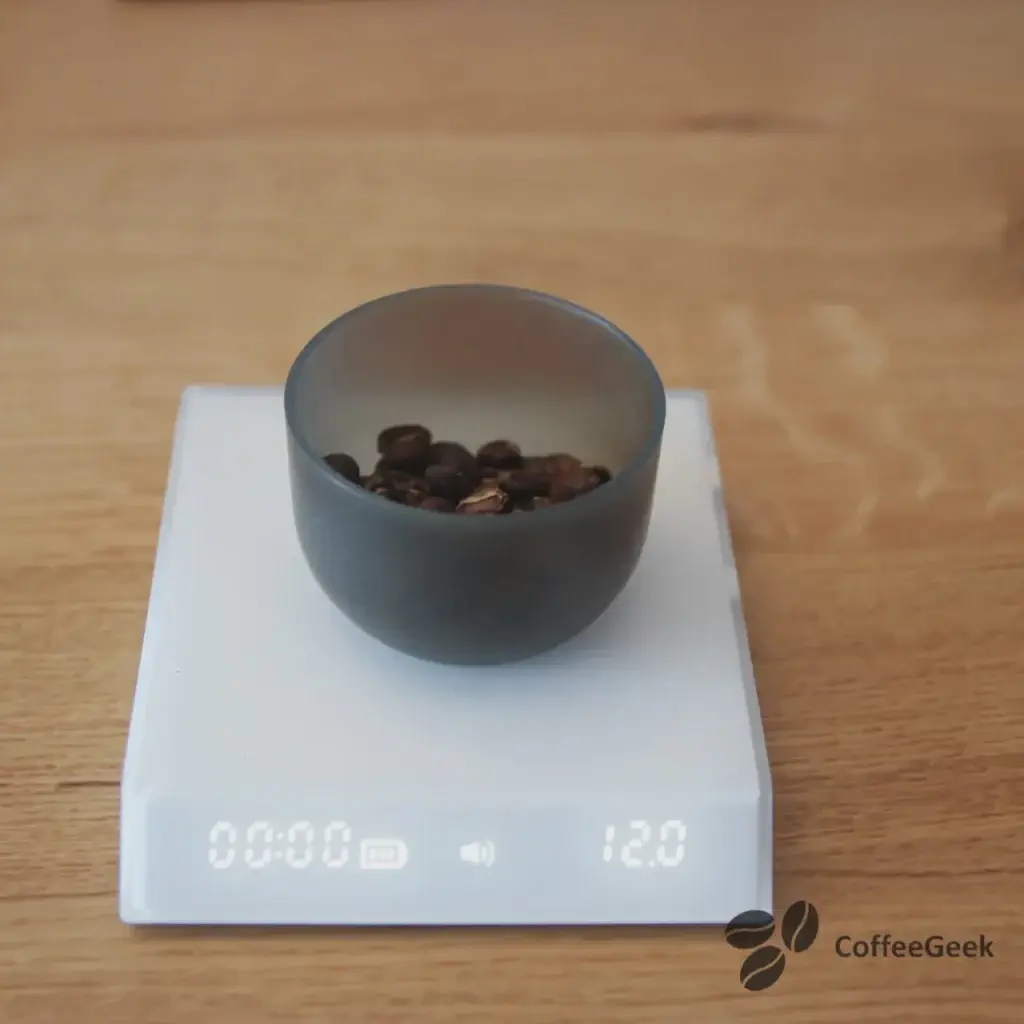
To prepare my coffee, I weigh 12g of beans, which I then grind with my travel coffee grinder, the Timemore ESP C3. Meanwhile, water is heating in a kettle.
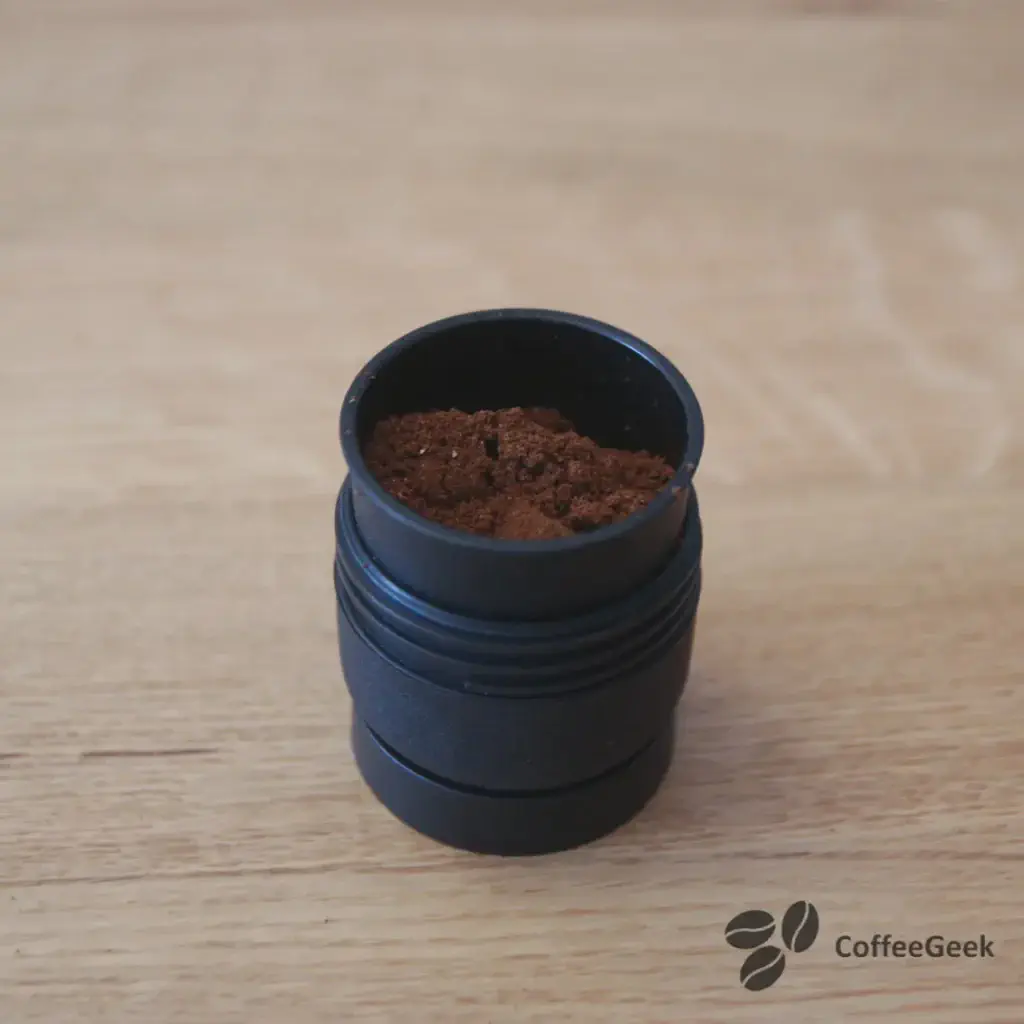
Among the accessories, a funnel is provided to help pour the ground coffee into the filter. Although it is not very wide, it perfectly fulfills its role.
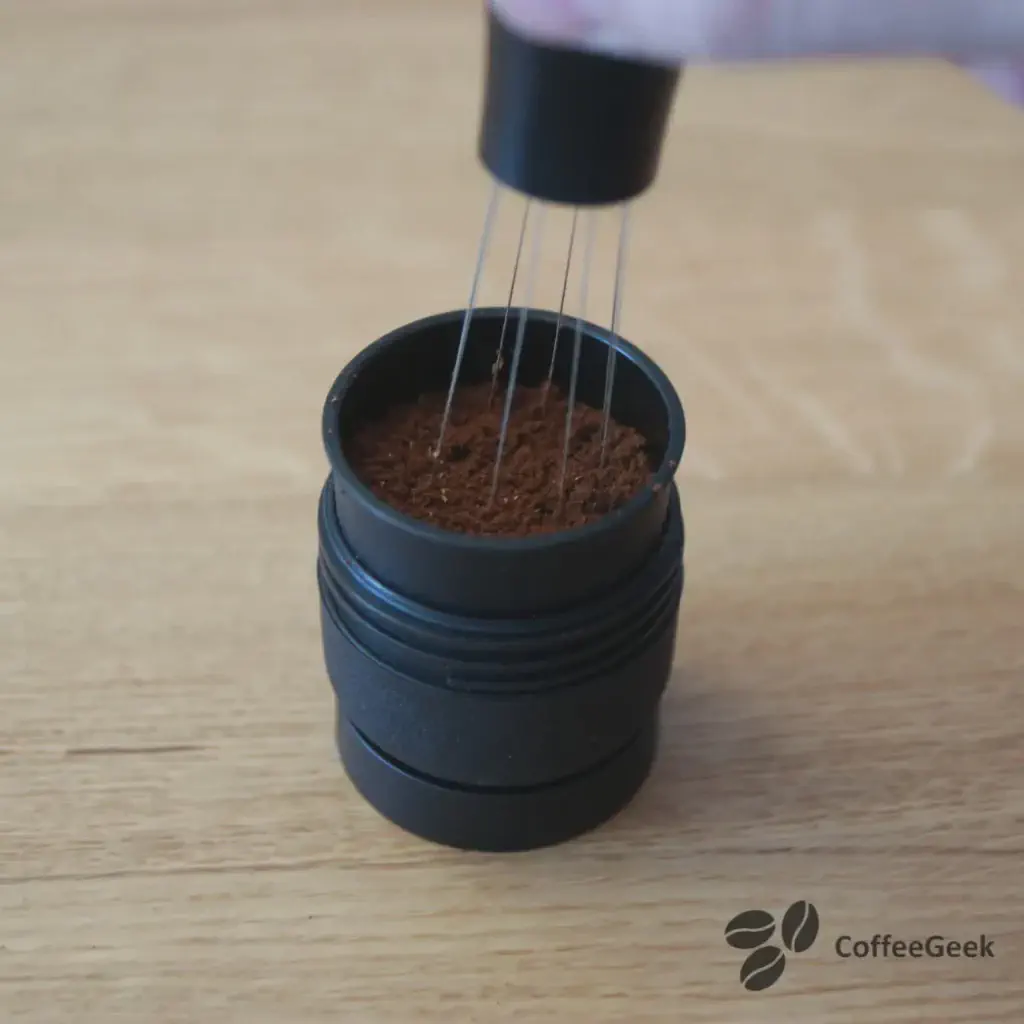
Personally, before tamping, I prefer to distribute the coffee using a WDT. In the world of professional espresso, this is an important step to avoid a phenomenon called channeling. Although various approaches exist to reduce this phenomenon, channeling has little impact on the Minipresso. That said, if you’re interested, you can check out this article which covers this topic.
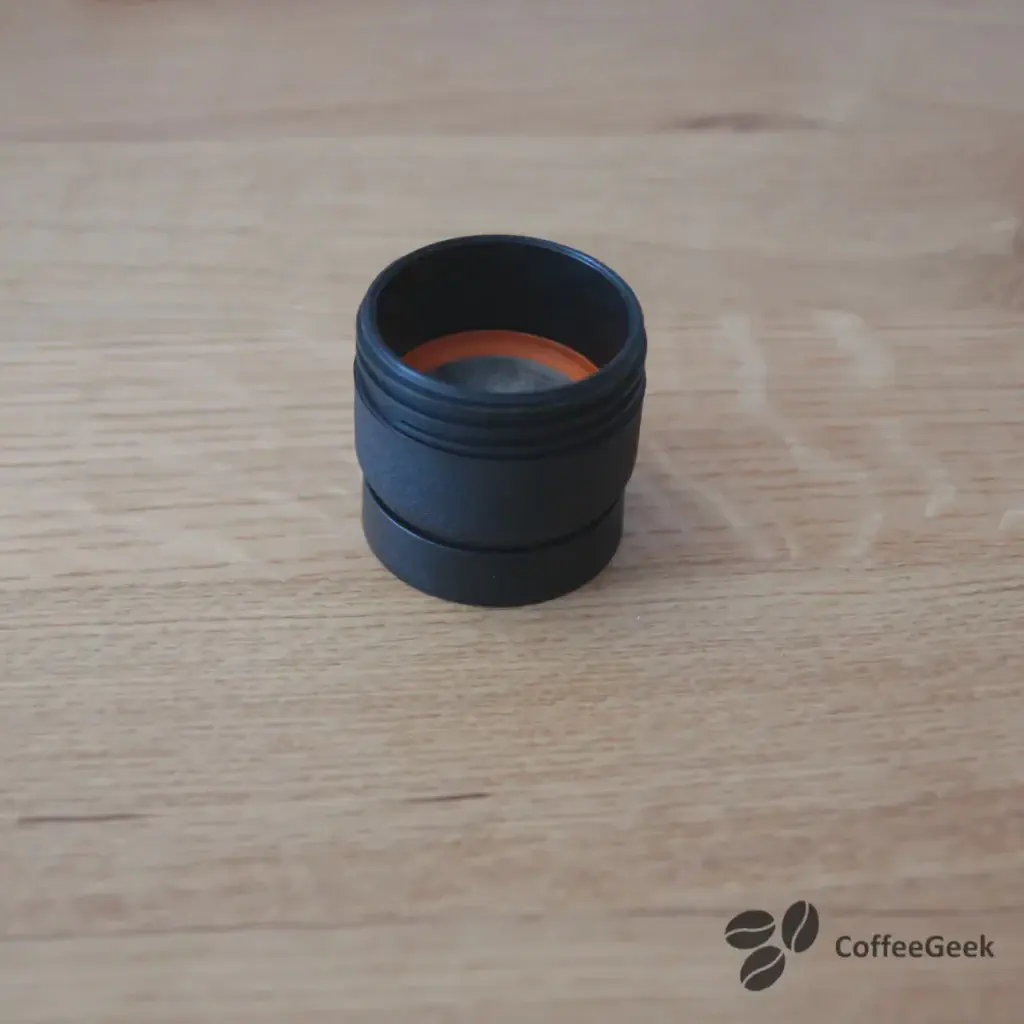
The filter with the ground coffee before the tamping step:
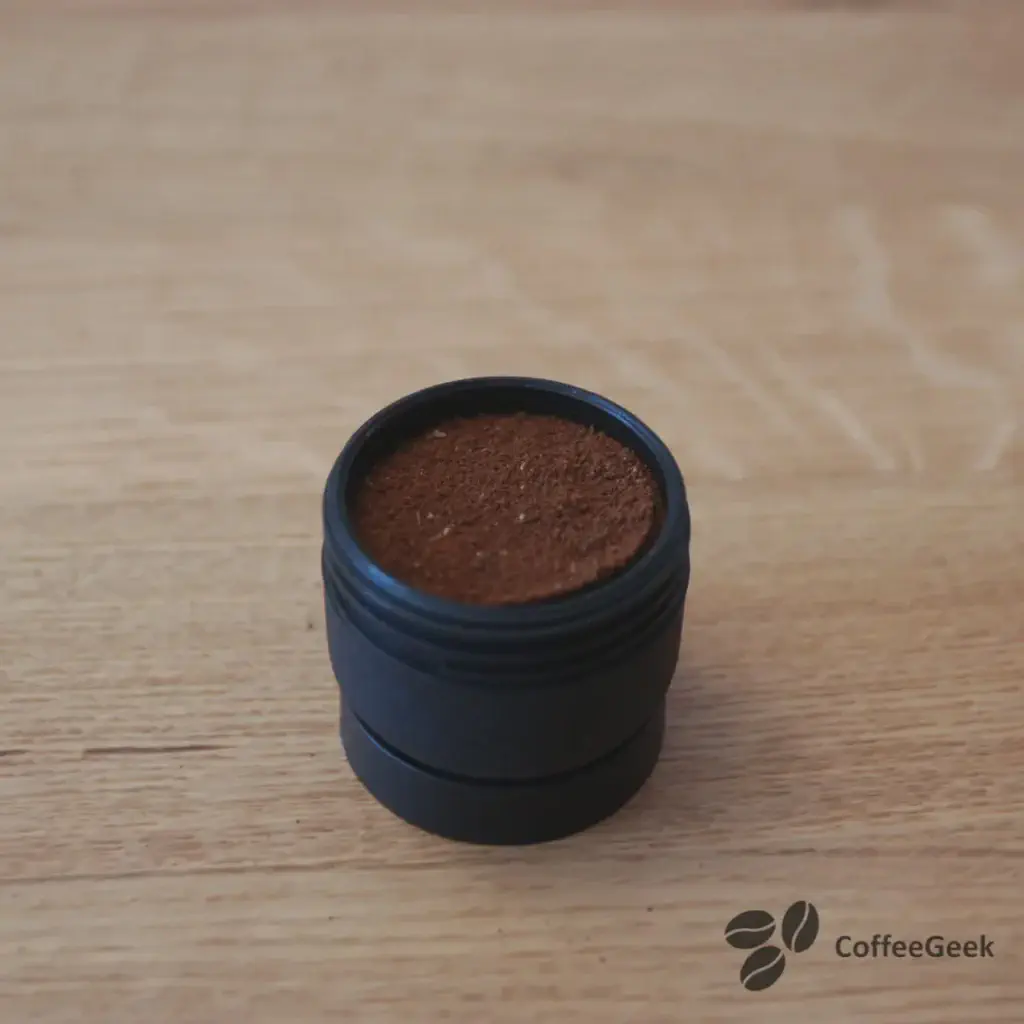
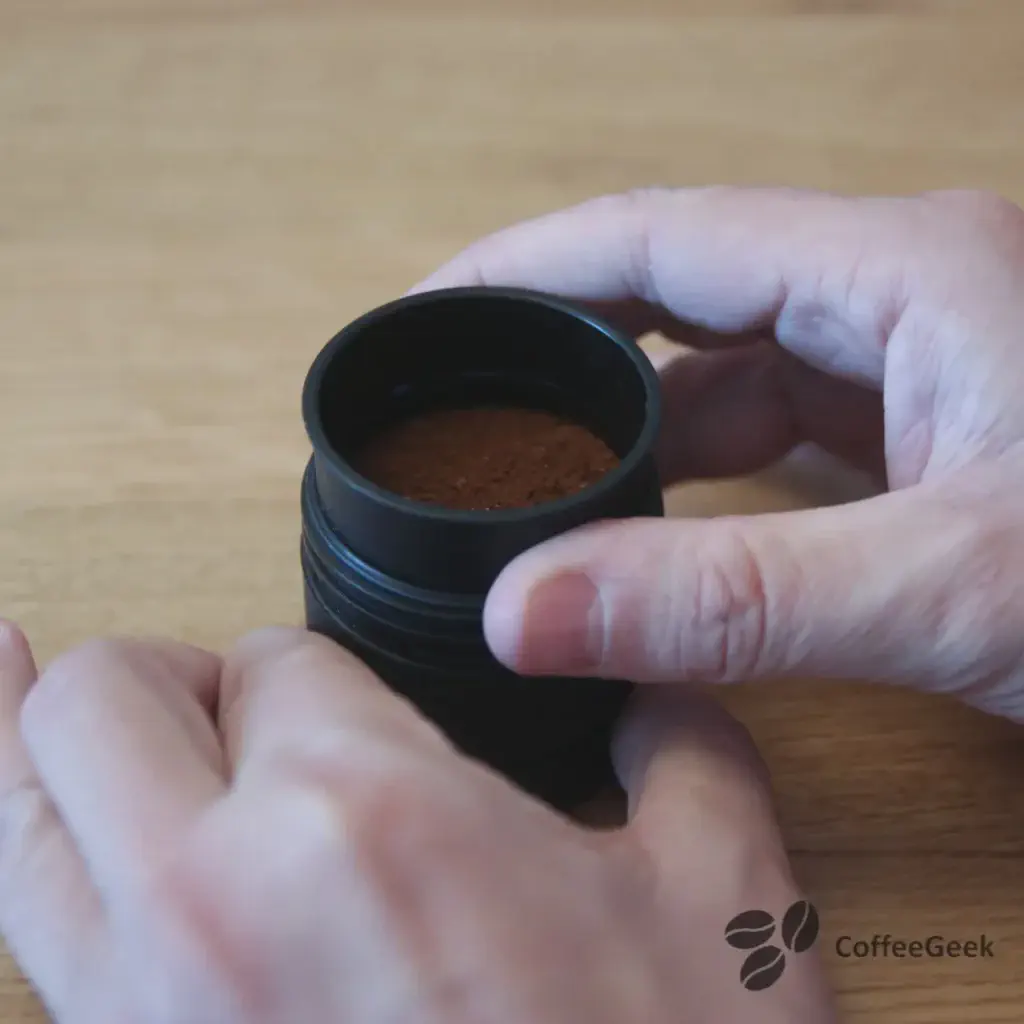
For tamping, the spoon also serves as a tamper. It’s not necessary to apply excessive pressure. Personally, I estimate I apply about 3 to 5 kg of pressure.
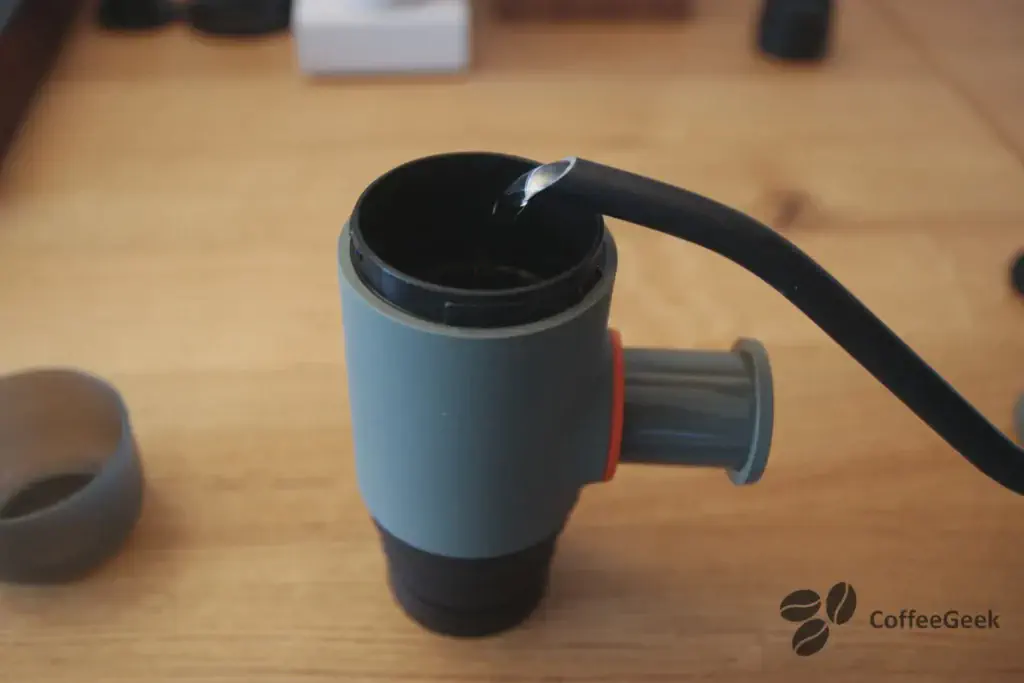
Before extraction, I recommend preheating the various components of the Minipresso GR2 with hot water. To do this, I pour hot water into the reservoir and, without installing the filter, I pump a few times to circulate a bit of water through the coffee machine’s system.
Extraction and tasting with the Wacaco Minipresso GR2
Now that everything is ready, I can begin the extraction.
I screw the portafilter onto the GR2, I add the hot water into the reservoir, close it, then I pump.
Upon receiving the Minipresso, I wondered whether to screw the reservoir cap completely or leave an opening. In reality, you can close it completely. The system is designed to allow water to circulate without creating a vacuum.
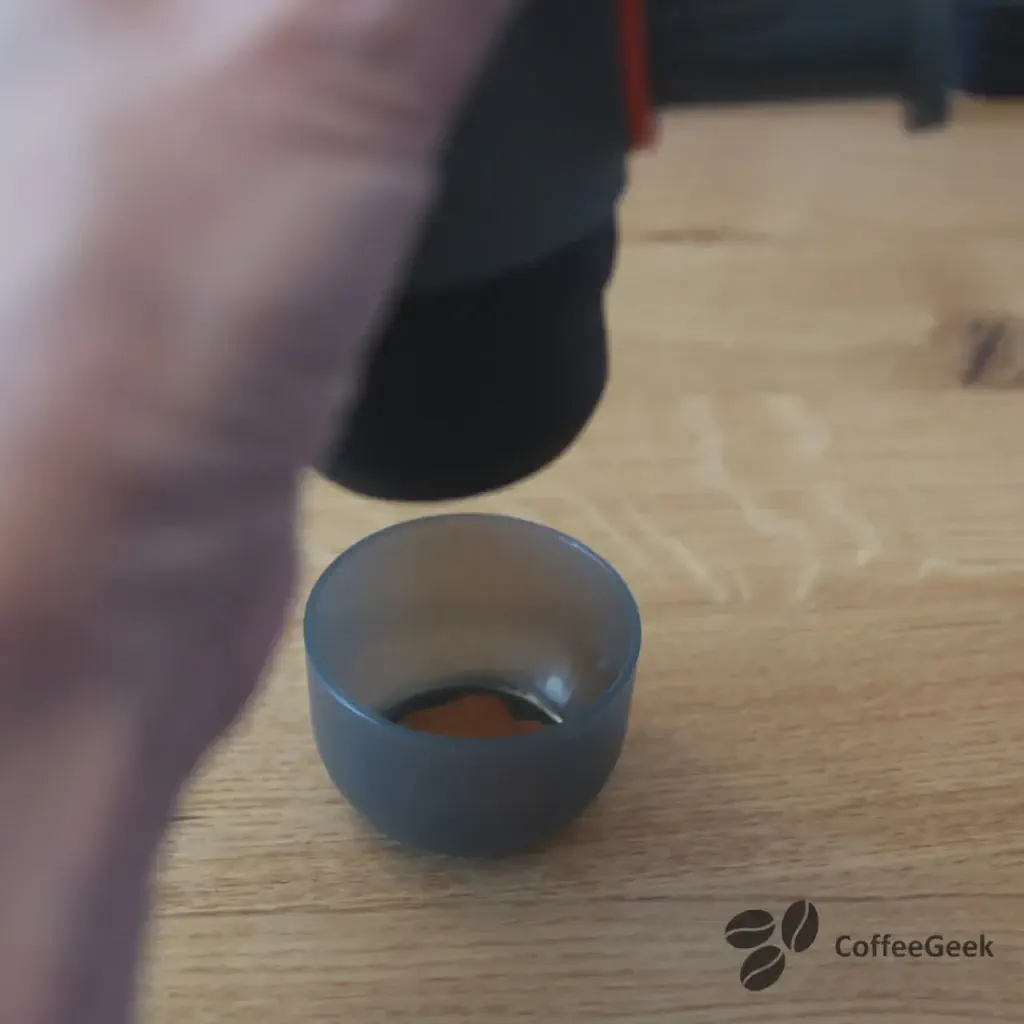
Beginning of extraction …
… extraction in progress …
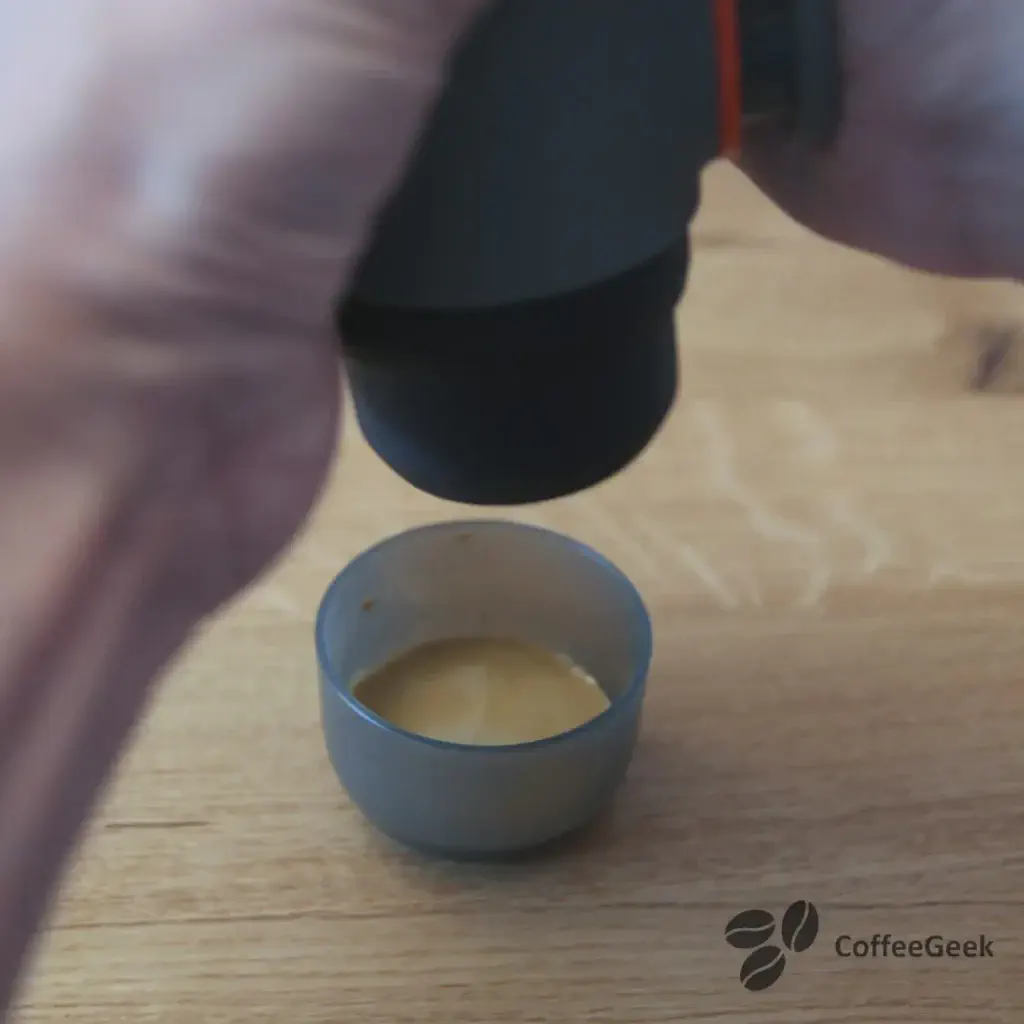
… end of extraction.
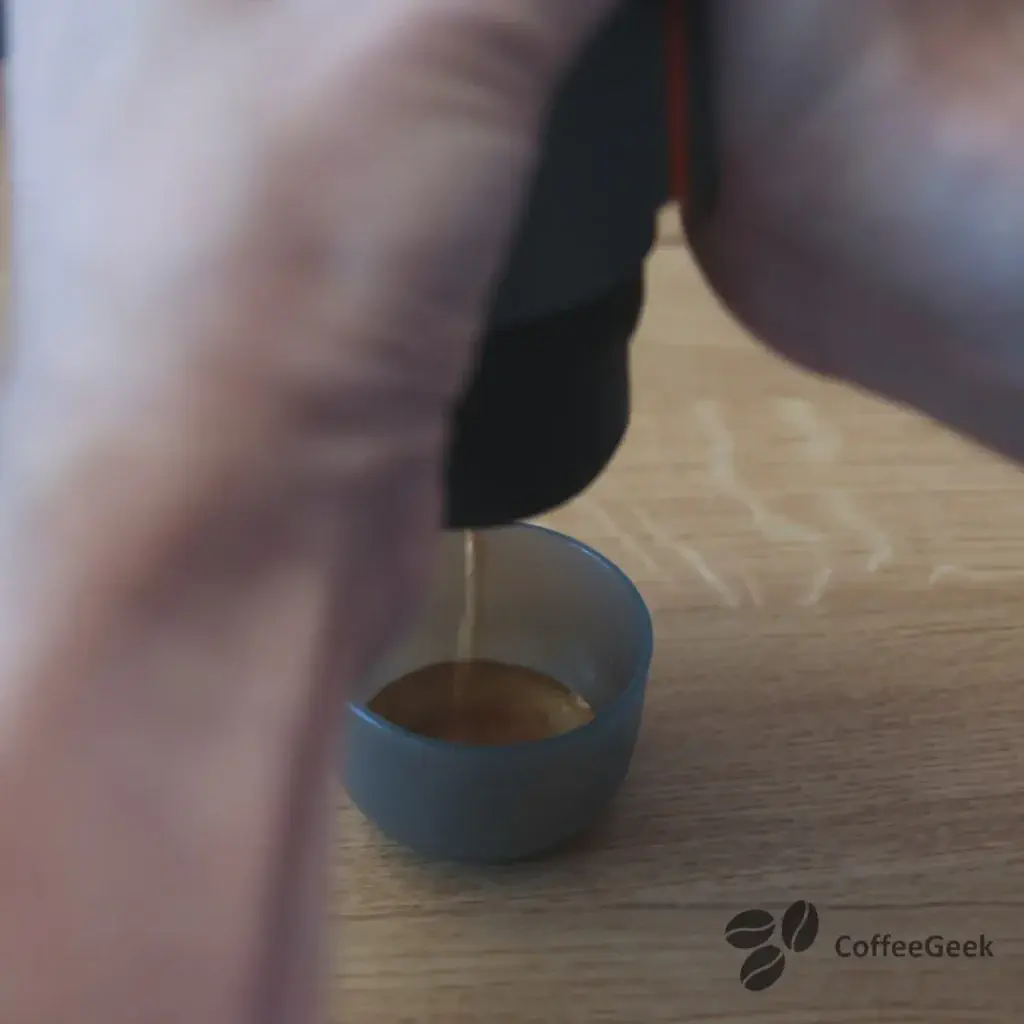
Find a Wacaco Minipresso GR2 on Amazon affiliate linkHere is the result:
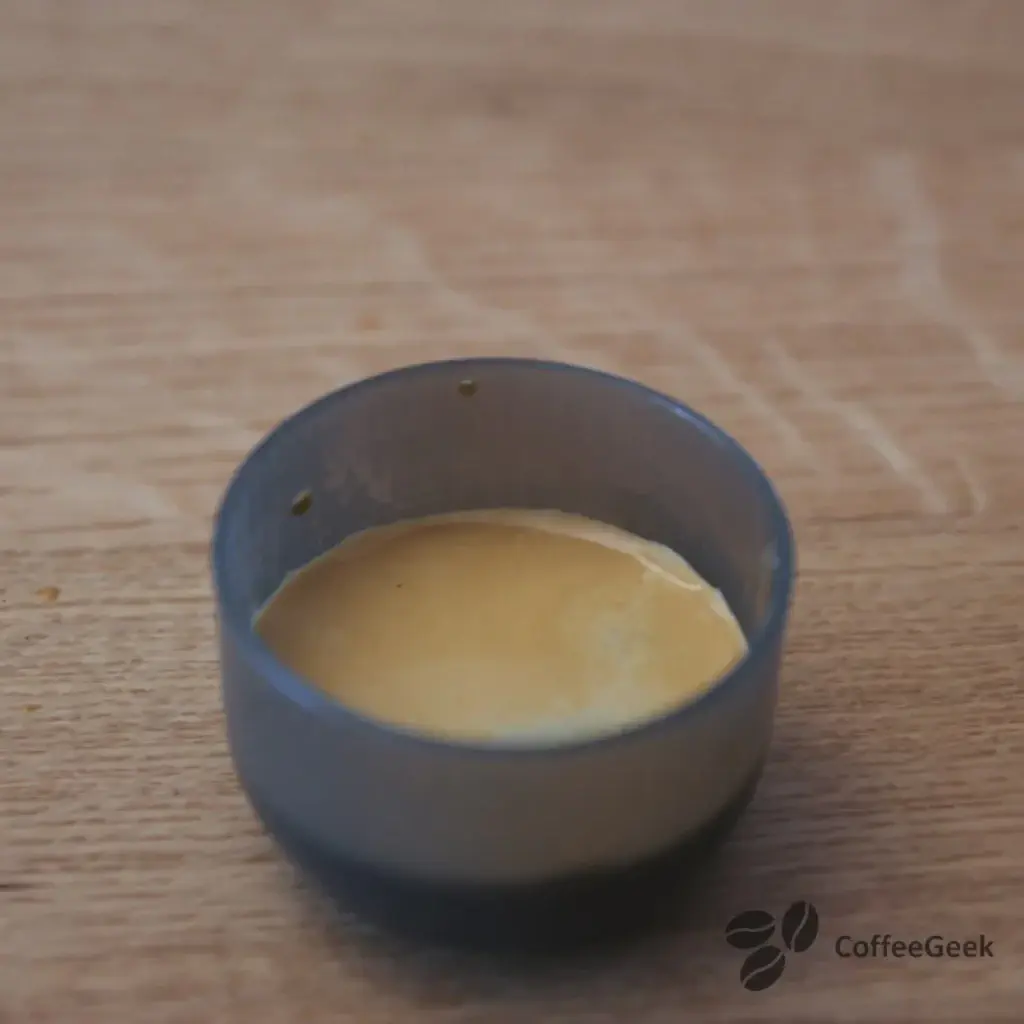
I am very satisfied with the result in the cup. Admittedly, it falls slightly short of the quality of a professional machine, especially in comparison with the Picopresso by Wacaco. However, the GR2 does its job very well.
Note that I did not fill the cup completely, even though there was water left in the reservoir. This was a deliberate choice to obtain a stronger coffee.
Wacaco has created an excellent video that reveals the steps for making coffee with the Minipresso GR2.
How to clean the GR2
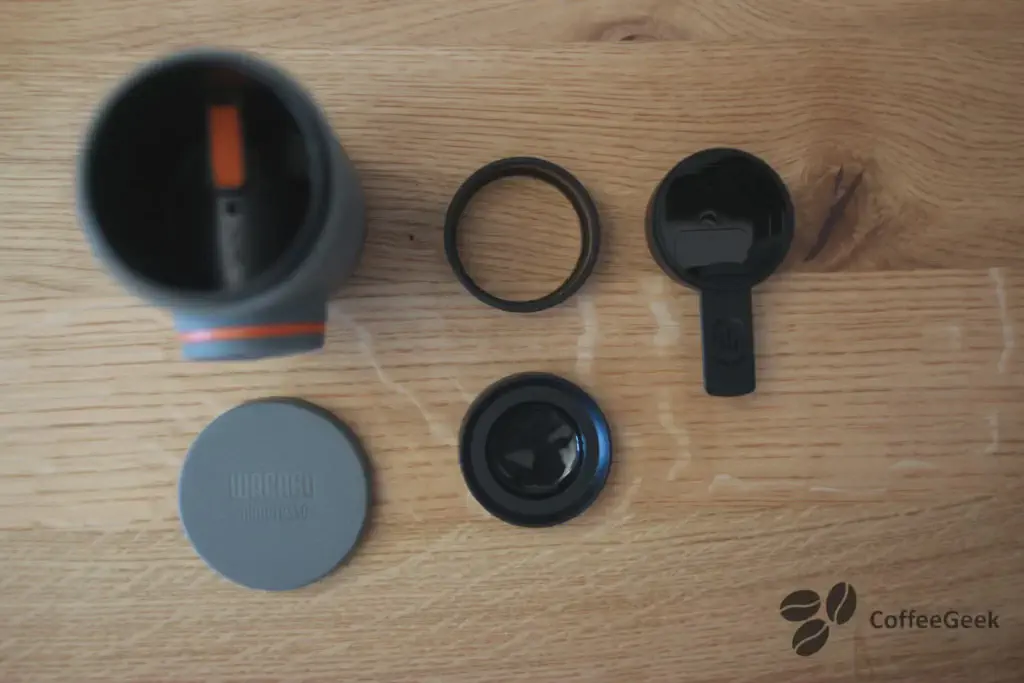
The great advantage of the various Wacaco products I have tested is their ease of disassembly. To clean the GR2, simply follow these steps:
- Unscrew the portafilter and eject the coffee grounds.
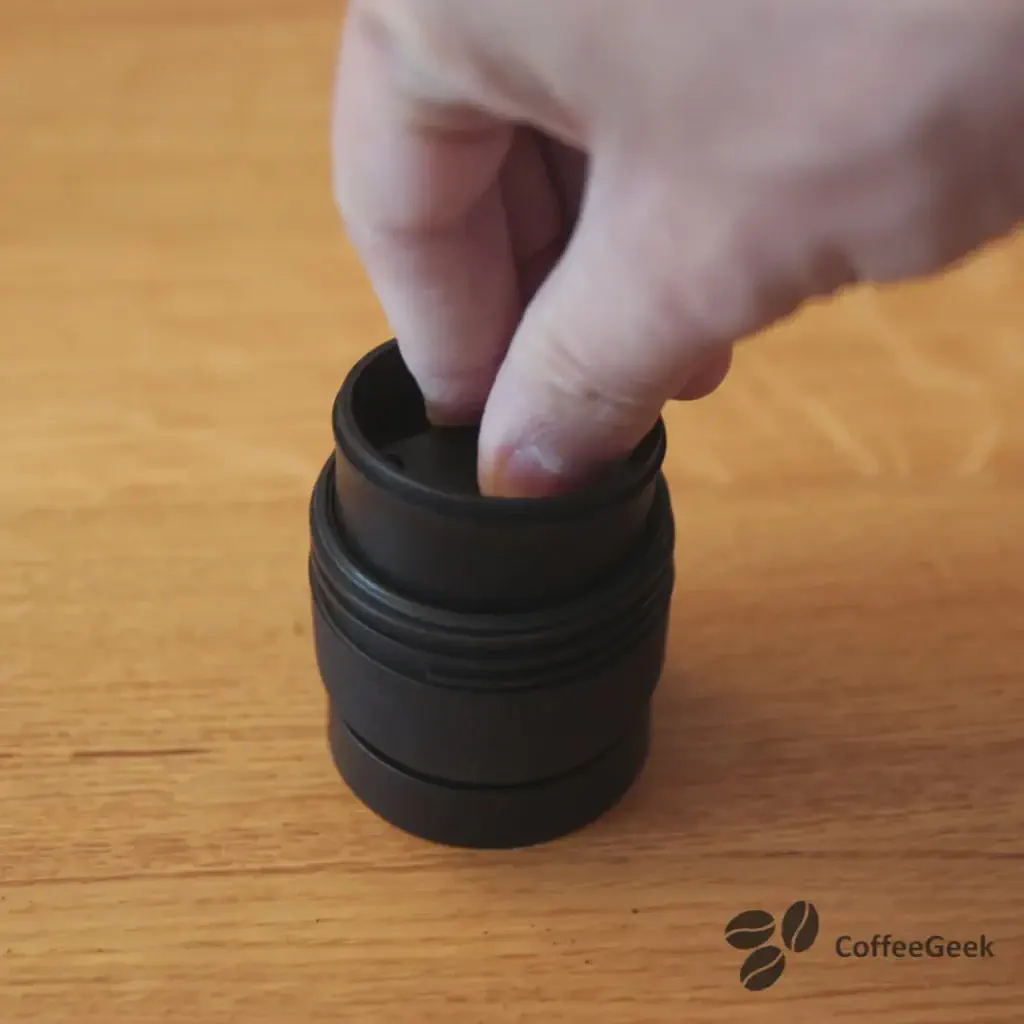
- Press with your finger on the extraction spout to remove the filter from the portafilter (see image below).
- Remove the filter from the GR2 body (it is easier to do this by pumping cold water) (see image below).
- Rinse the various components.
Conclusion
I was pleasantly surprised by the result in the cup as well as by the ease and speed of using the Minipresso GR2. The latter, very compact, can be taken everywhere. Personally, having a job that requires travel often extended over several days, I am delighted to have it with me.
Find a Wacaco Minipresso GR2 on Amazon affiliate linkMoreover, unlike the Picopresso, the great advantage of the GR2 is that it allows you to prepare several doses in advance. To do this, simply purchase the necessary optional elements and prepare them at home beforehand.
You can find on Amazon the GR2 case affiliate linkas well as the capsules and carrying case affiliate link.
Note however that if you are a fan of Nespresso capsules, Wacaco offers a variant of the GR2 that I have not tested: the Minipresso NS2 affiliate linkmodel. This one allows you to use Nespresso capsules (which, I remind you, can be reusable capsules affiliate link) rather than ground coffee.
★★★★★
- Extremely compact
- Easy to use
- Easy to clean
- Price
- Interesting result in cup
- The carrying case and “capsules” are optional (but at a reasonable price).
