Piston Pressure Measurement Kit for a La Pavoni
Assess the extraction pressure of your La Pavoni machine with a clever kit that combines aesthetics and functionality, designed to enhance your espresso experience. This article explores the components of the BPlus kit and highlights the importance of precise extraction for enjoying quality coffee. Dive into the world of specialty coffee and perfect your skills to achieve results worthy of the best baristas.
Why measure extraction pressure?
Extraction pressure is one of the variables often unknown on La Pavoni machines. Of course, pulling an excellent espresso doesn’t depend solely on this data: as I explain in this article, it’s mainly experience and precision that allow you to master this machine.
Measuring and understanding pressure on a La Pavoni
Master water pressure management on your La Pavoni coffee machine to optimize your espresso extraction. Tips, methods, and tools to control piston pressure and succeed in your preparations every time.
Read more...But then, why add a pressure gauge? Simply because as a coffee enthusiast, I find that this type of tool, while unnecessary in theory, becomes indispensable in practice. It allows you to better understand your extraction and gives the machine a more professional and elegant look.
Presentation of the BPlus kit
I went for the BPlus kit. When it was launched, it was available as a pre-order with a discount. Today, it is sold at a price of $168.
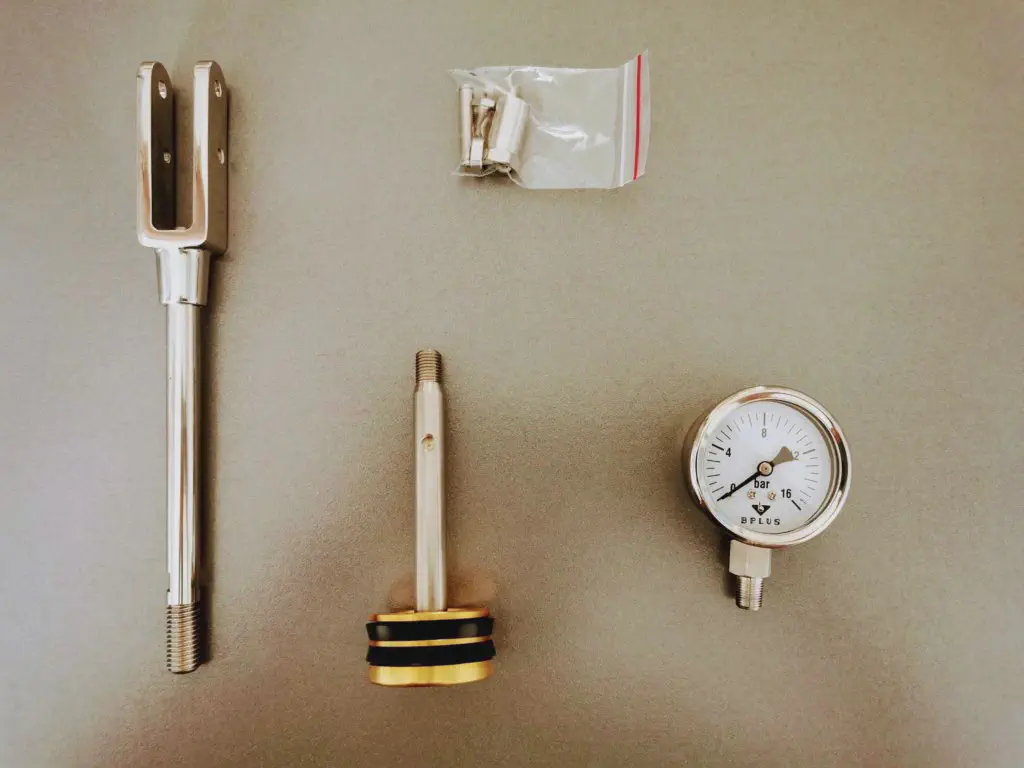
This kit consists of:
- a modified brass piston
- suitable gaskets
- the drilled piston shaft
- a graduated pressure gauge
- a reinforced lever to replace the original one
- food-grade grease for installation and maintenance (maintenance guide here)
- Loctite 243 adhesive to secure the rod
- a rivet and its mounting system
Let’s look at each element in detail.
The lever
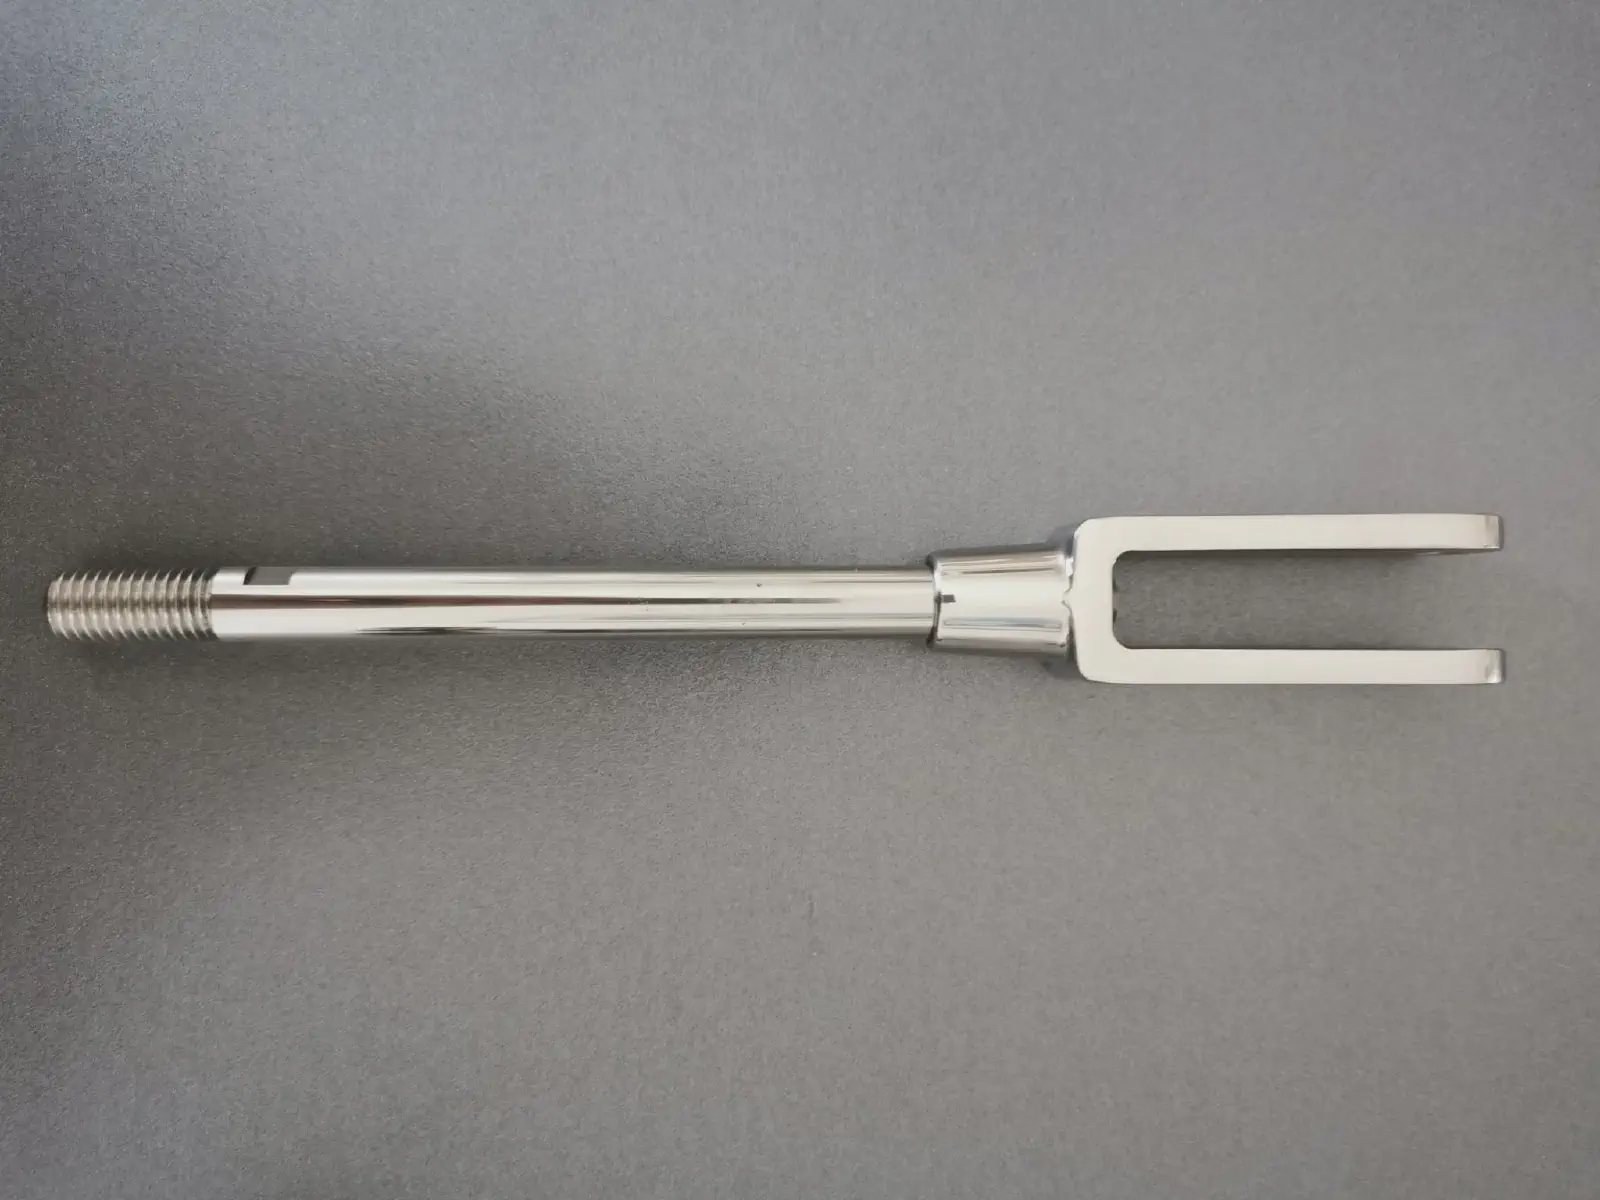
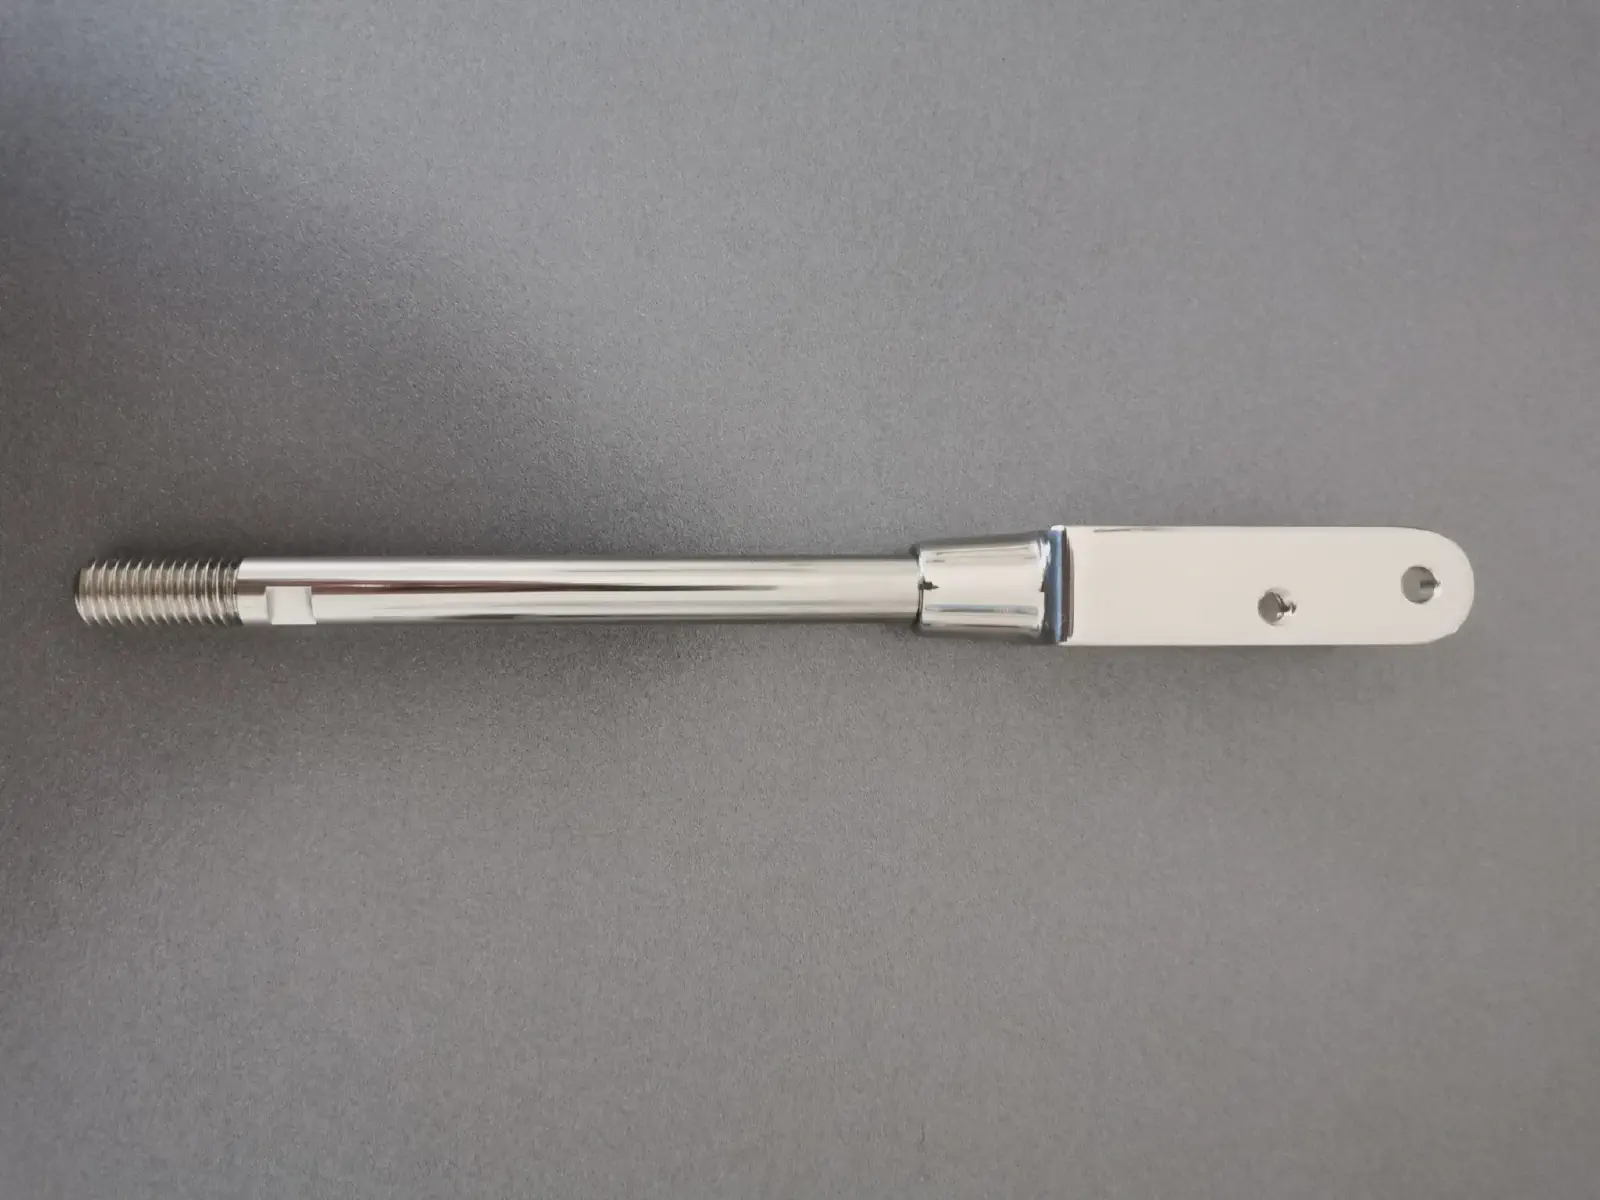
The new lever is robust and of good quality. Larger and sturdier, its components are screwed rather than riveted, making it more durable than the original one.
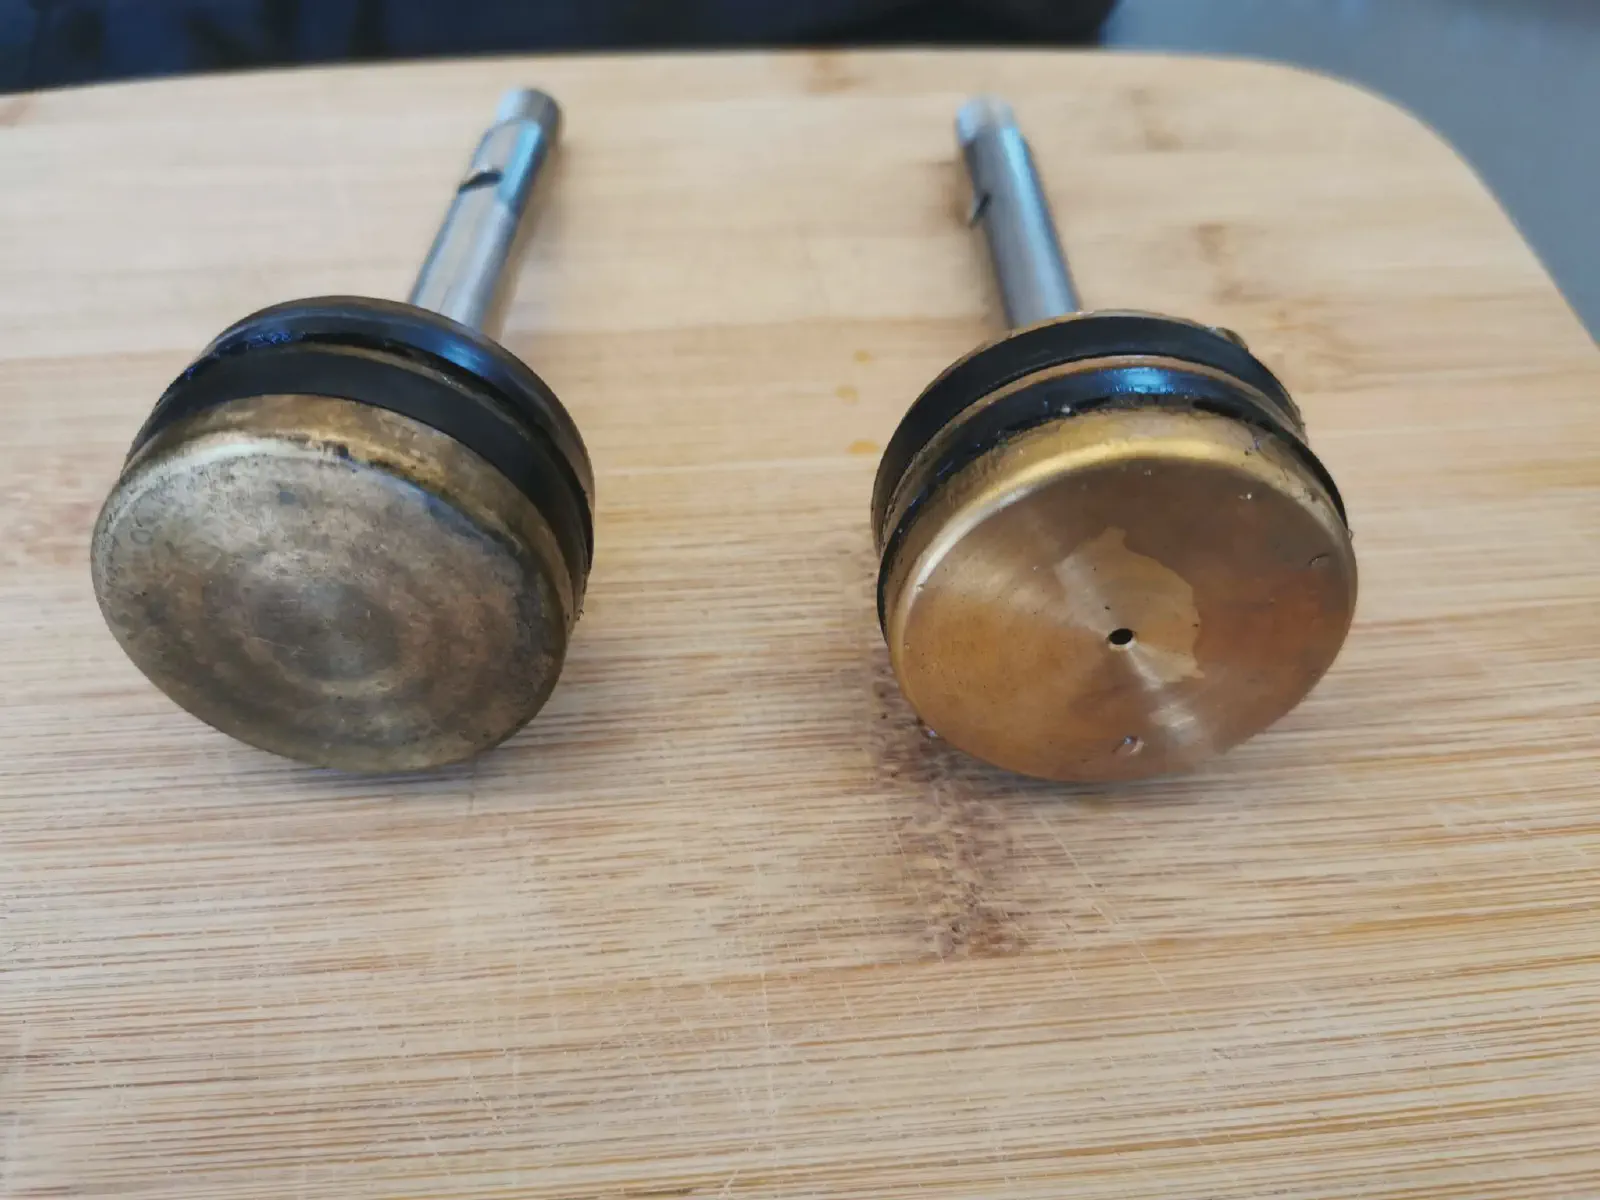
The piston
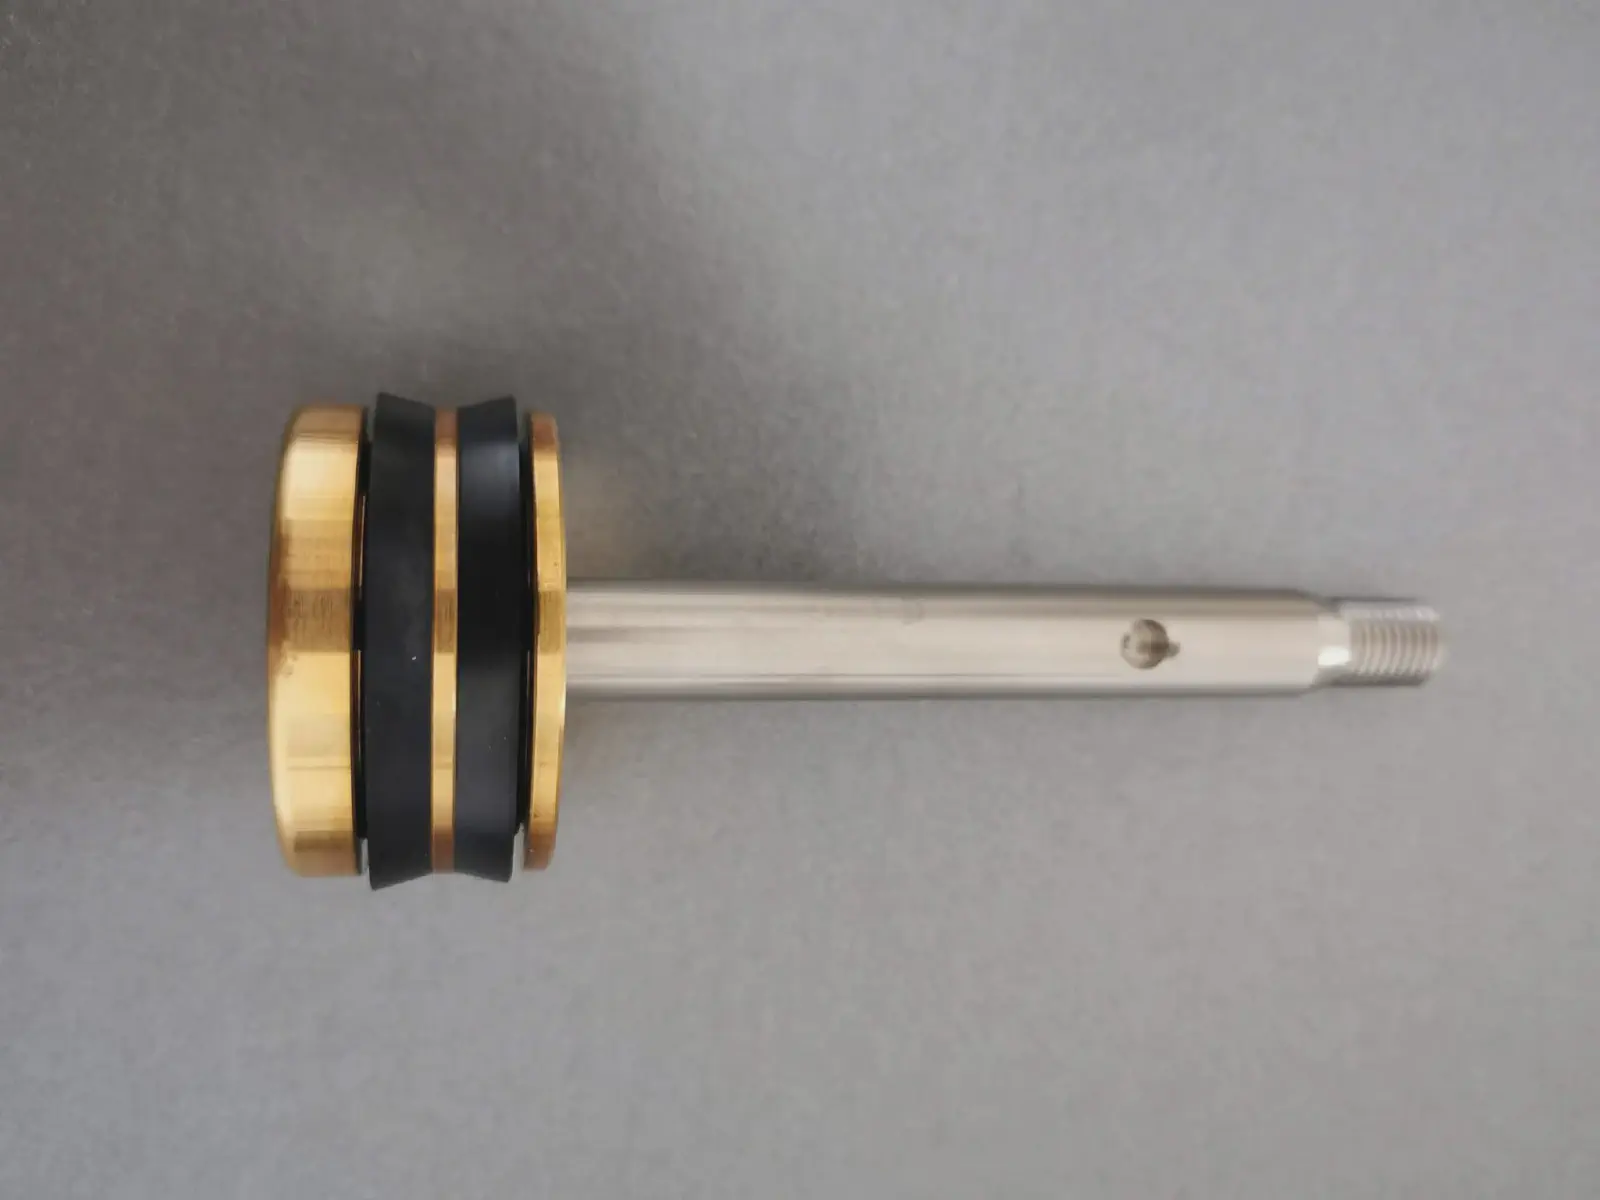
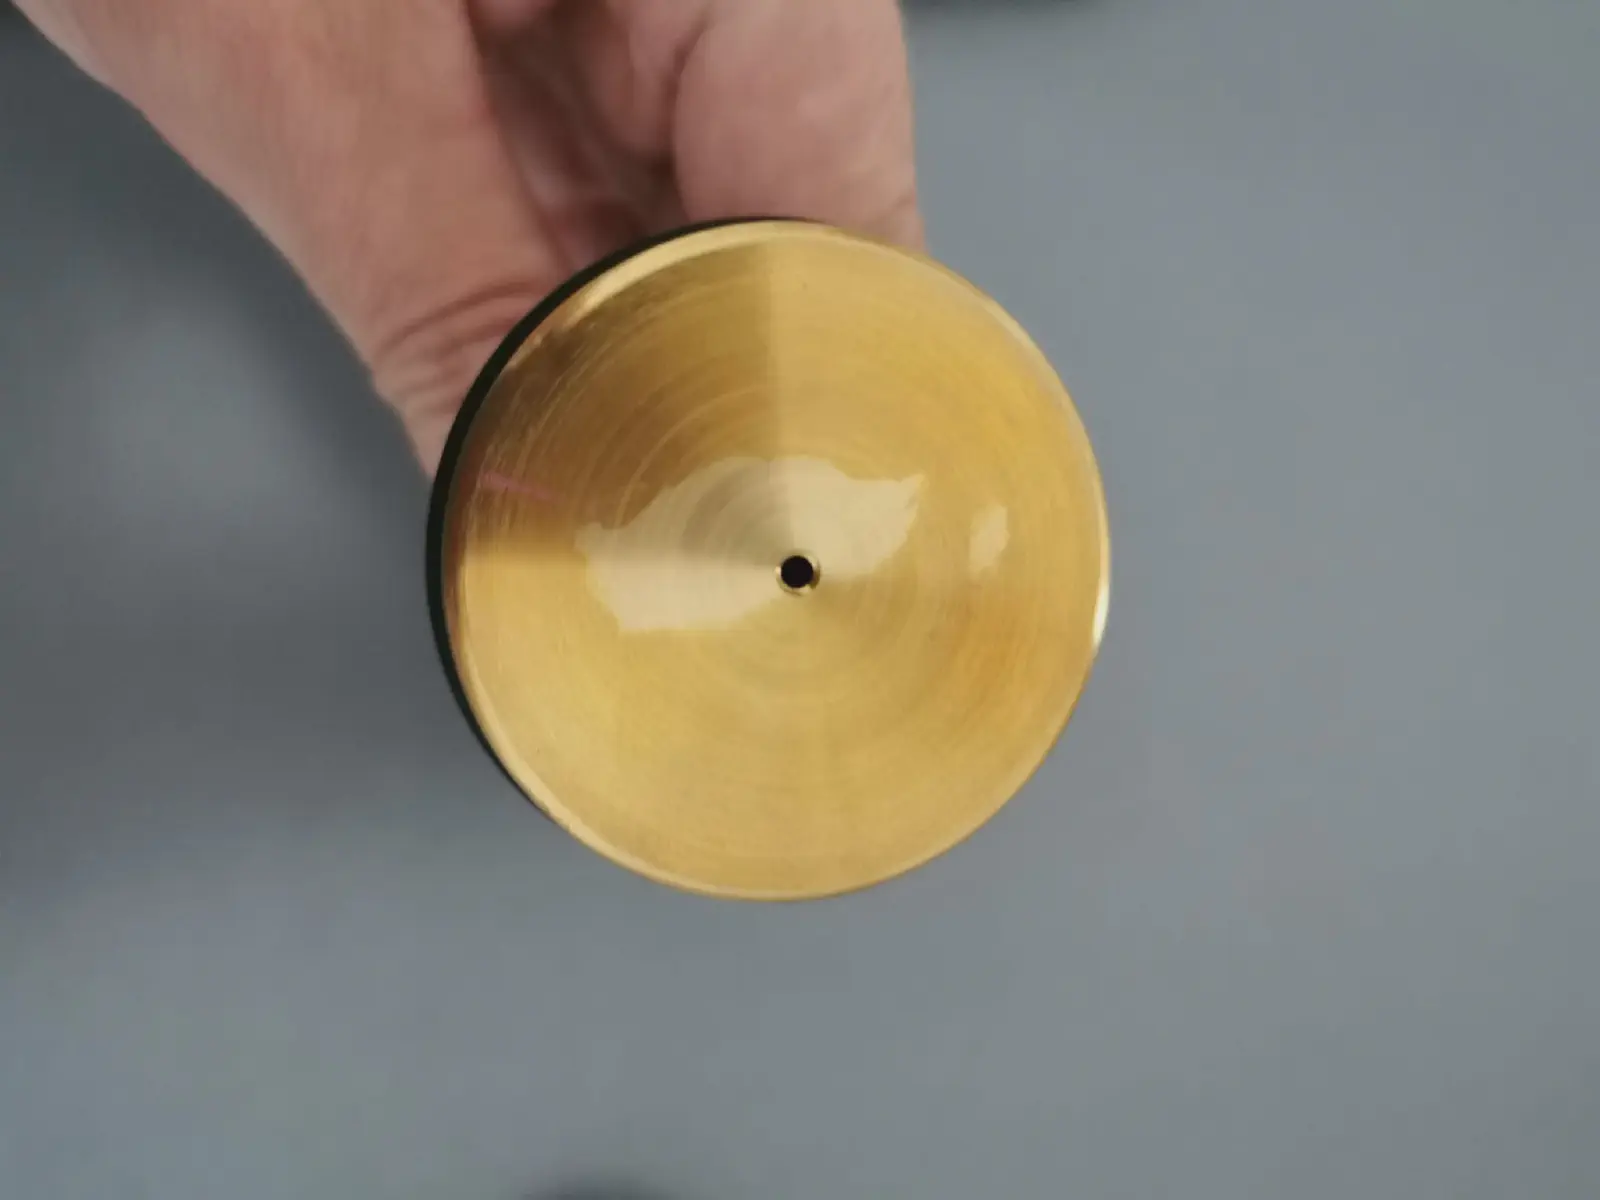
The brass piston is already assembled (a good thing since installing the seals yourself can be tedious).
The key difference: it is drilled through its center, as well as the rod, in order to transmit the pressure to the gauge.
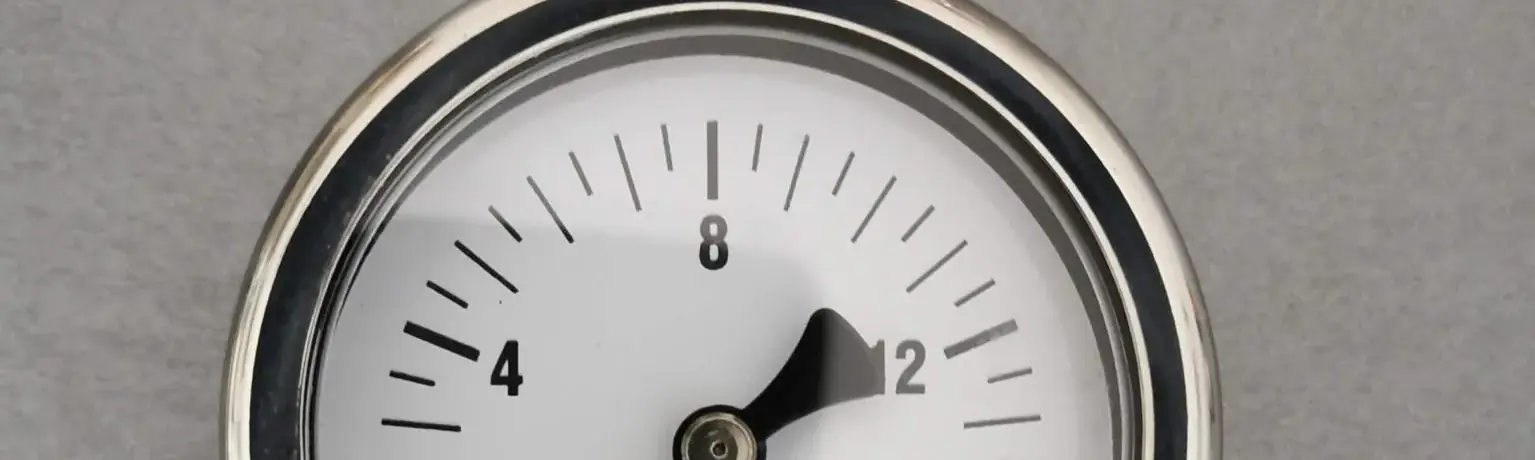
The pressure gauge
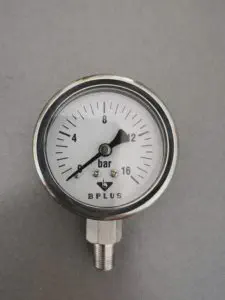
The gauge is graduated from 0 to 16 bar, well above the usual 9 bar for an espresso. Although it appears imposing at first glance, it integrates perfectly with the retro design of the La Pavoni.
The mounting hardware
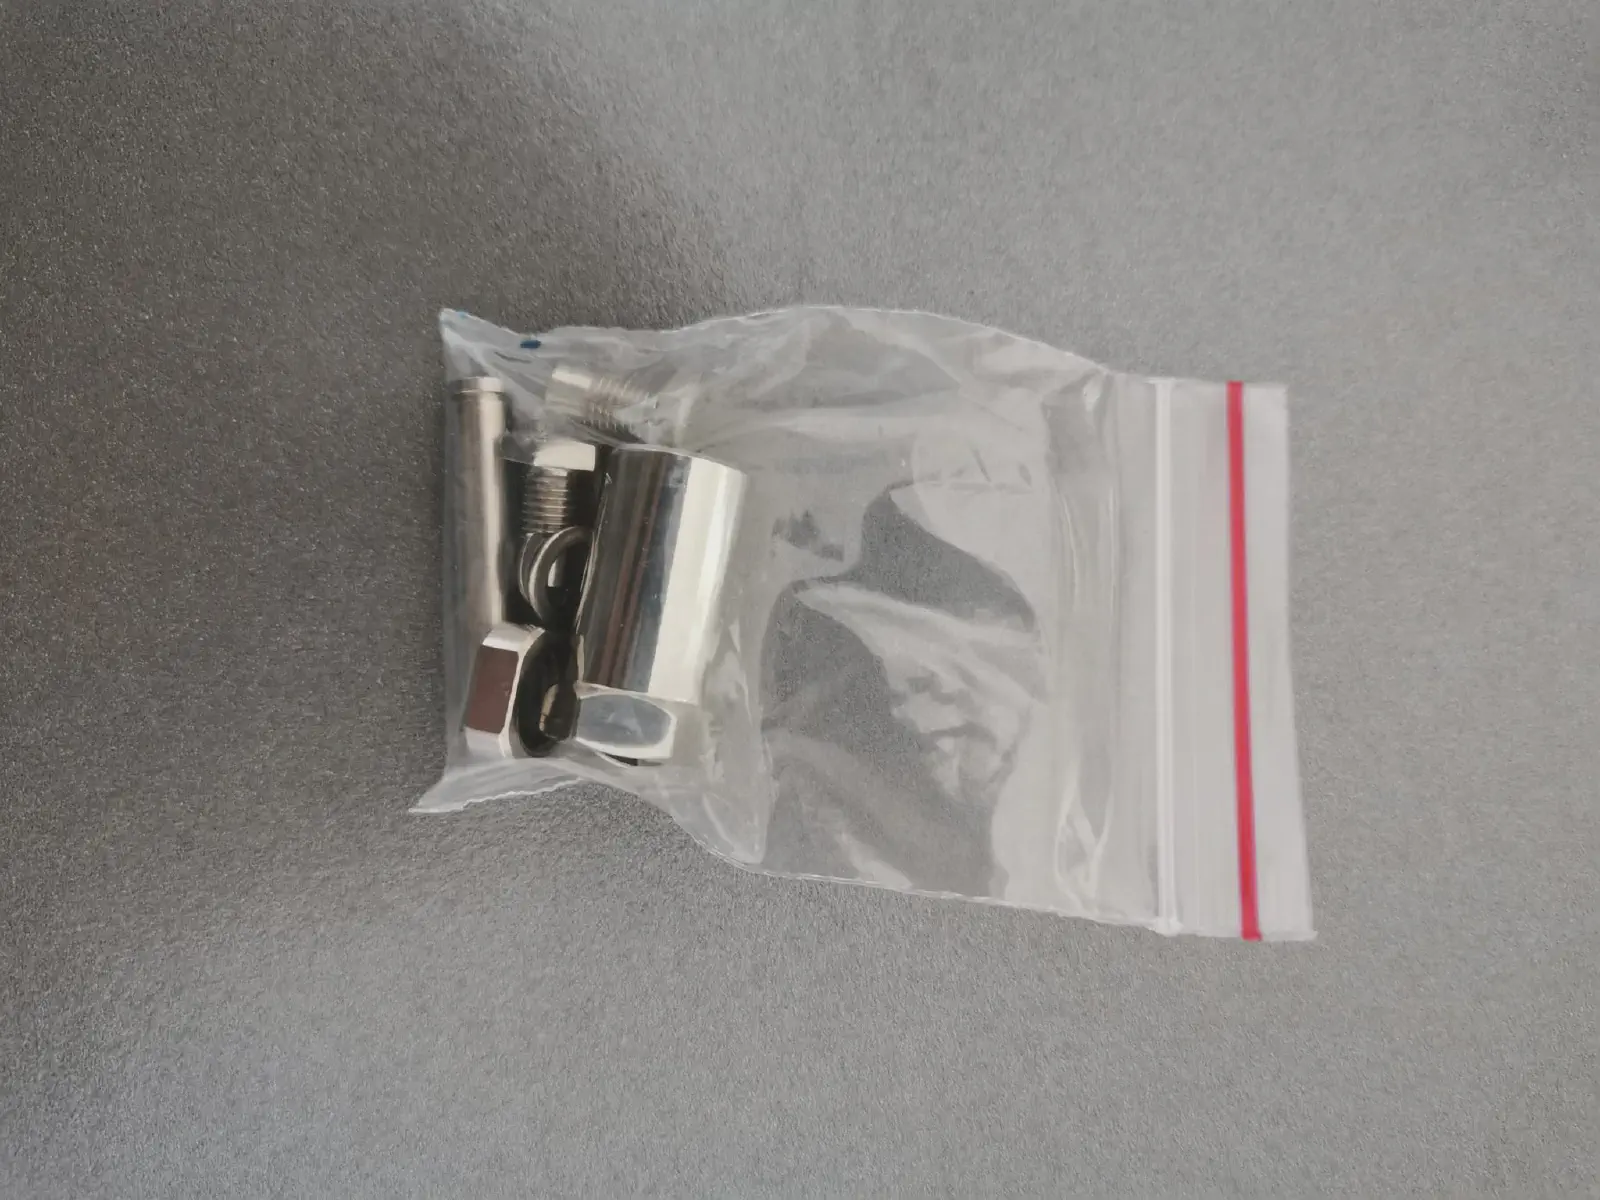
Various nuts, screws, special glue and food-grade grease are provided to ensure a reliable installation and support your future maintenance.
Kit installation
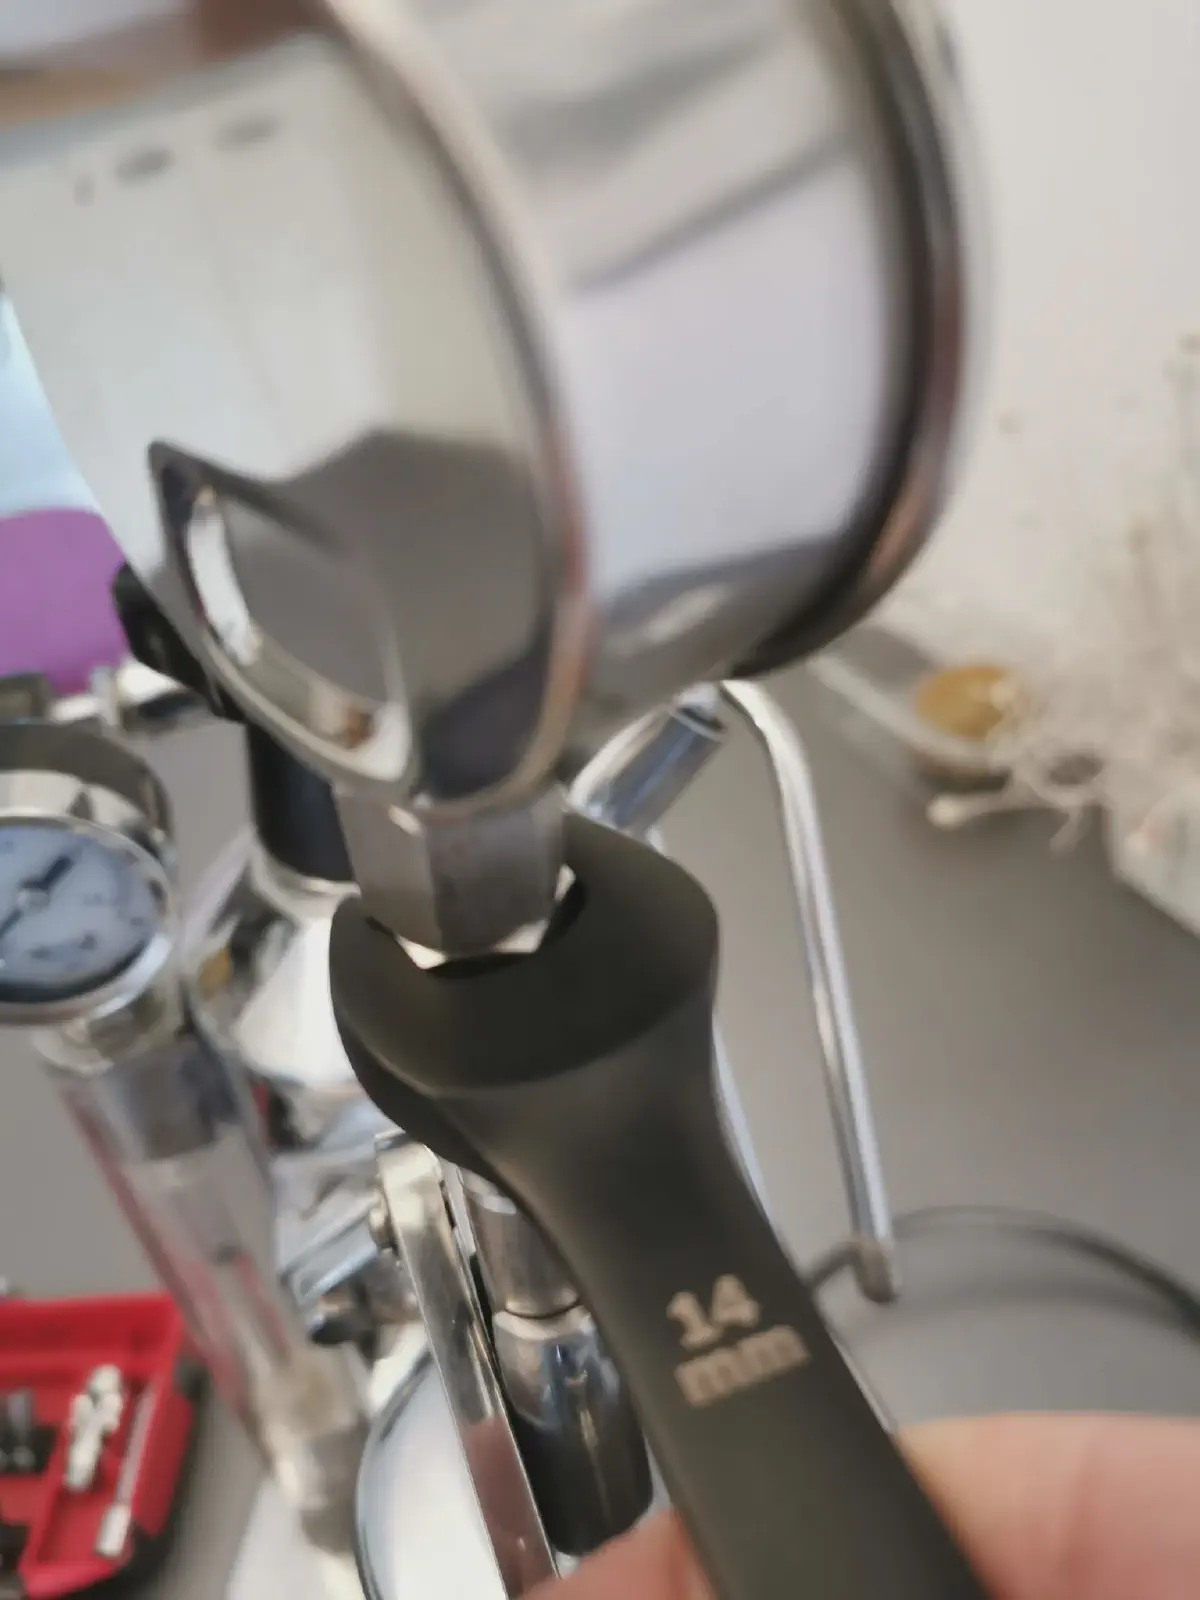
Required tools
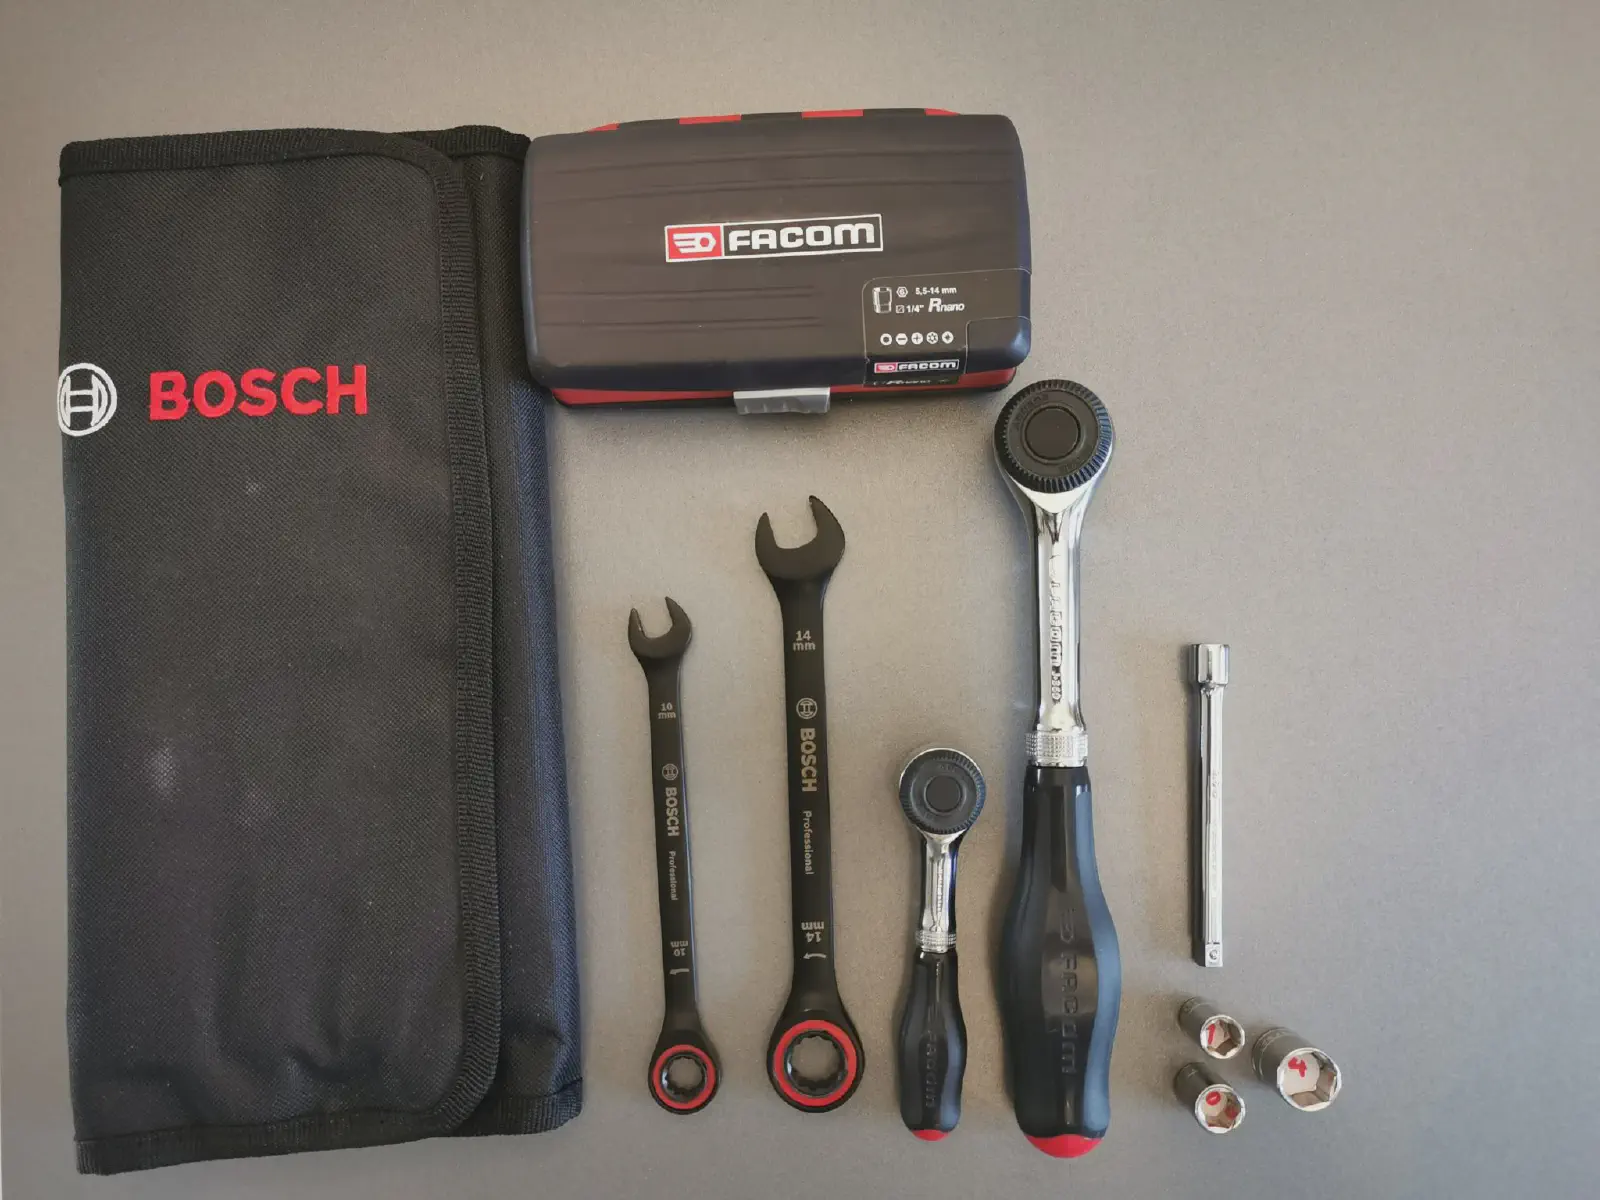
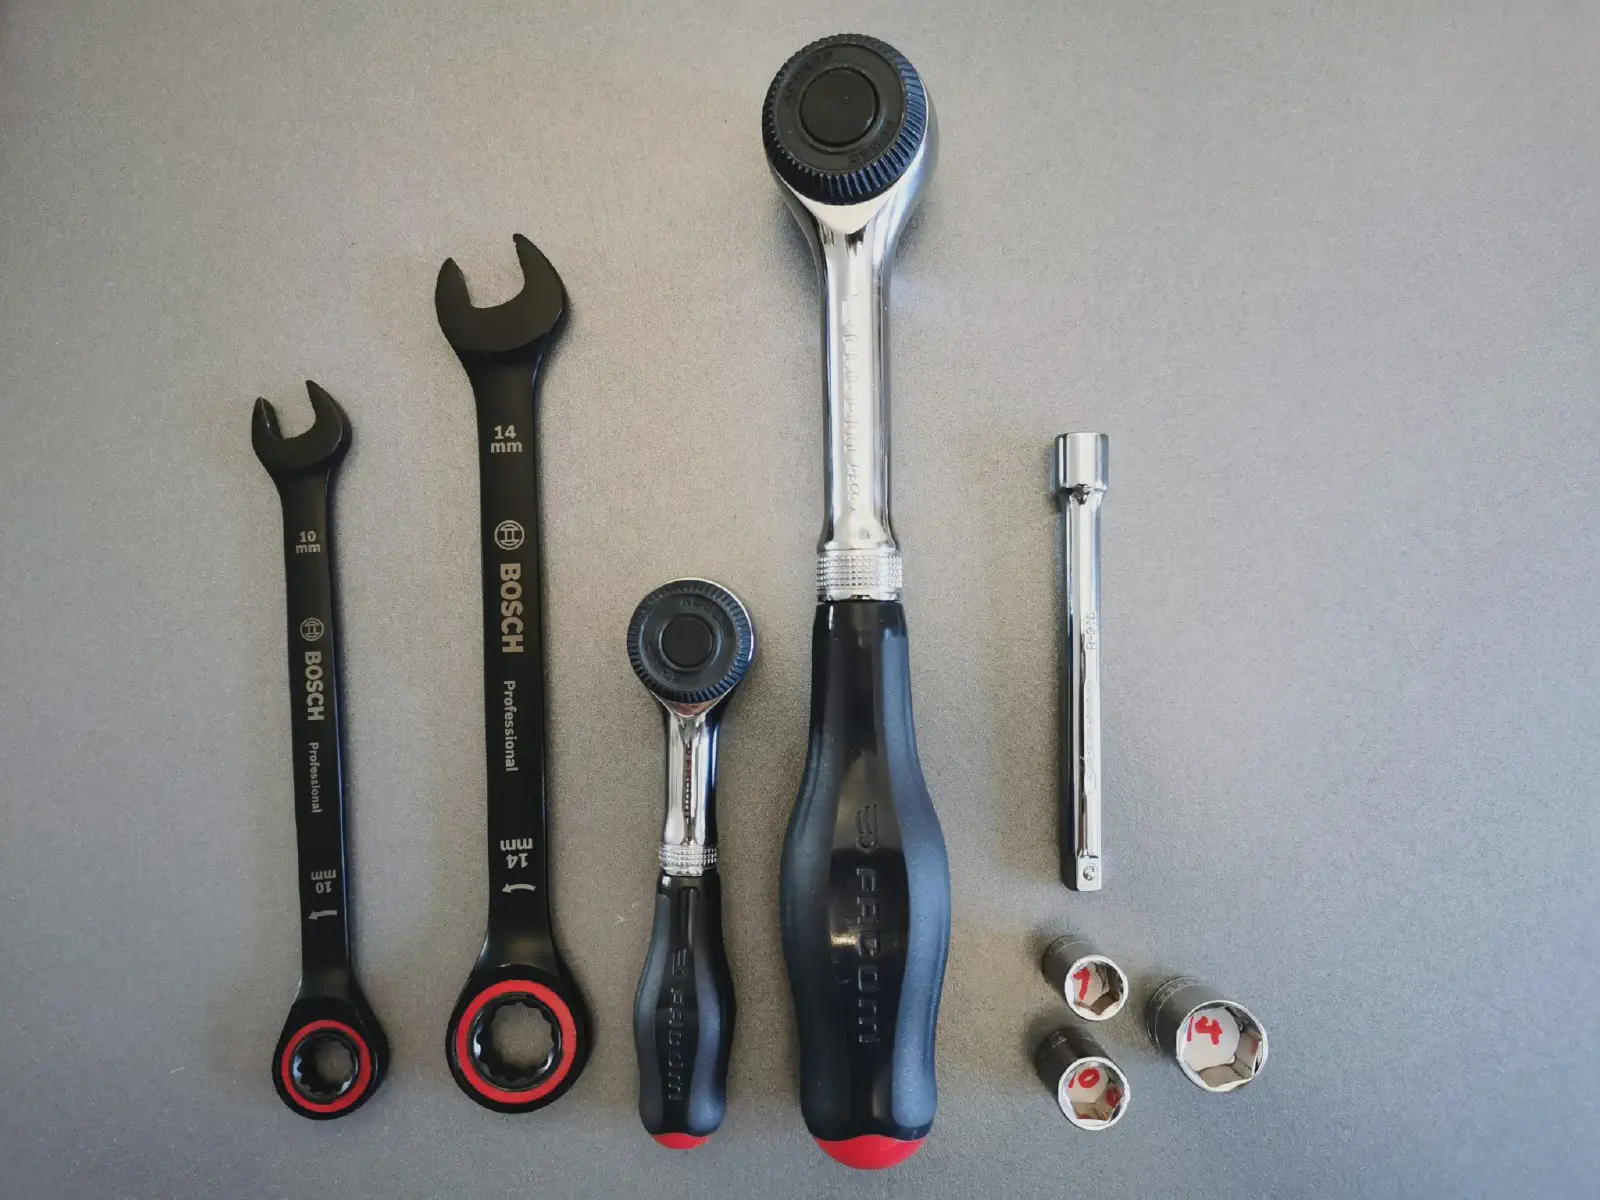
Three wrenches are needed: 9 mm, 10 mm and 14 mm (open-end wrench required for the 14 mm).
Piston Installation
The installation begins by removing the lever and original piston, then greasing and inserting the new brass piston.
A useful tip: press with a rod (I used a butter knife) to compress the seals without damaging them.
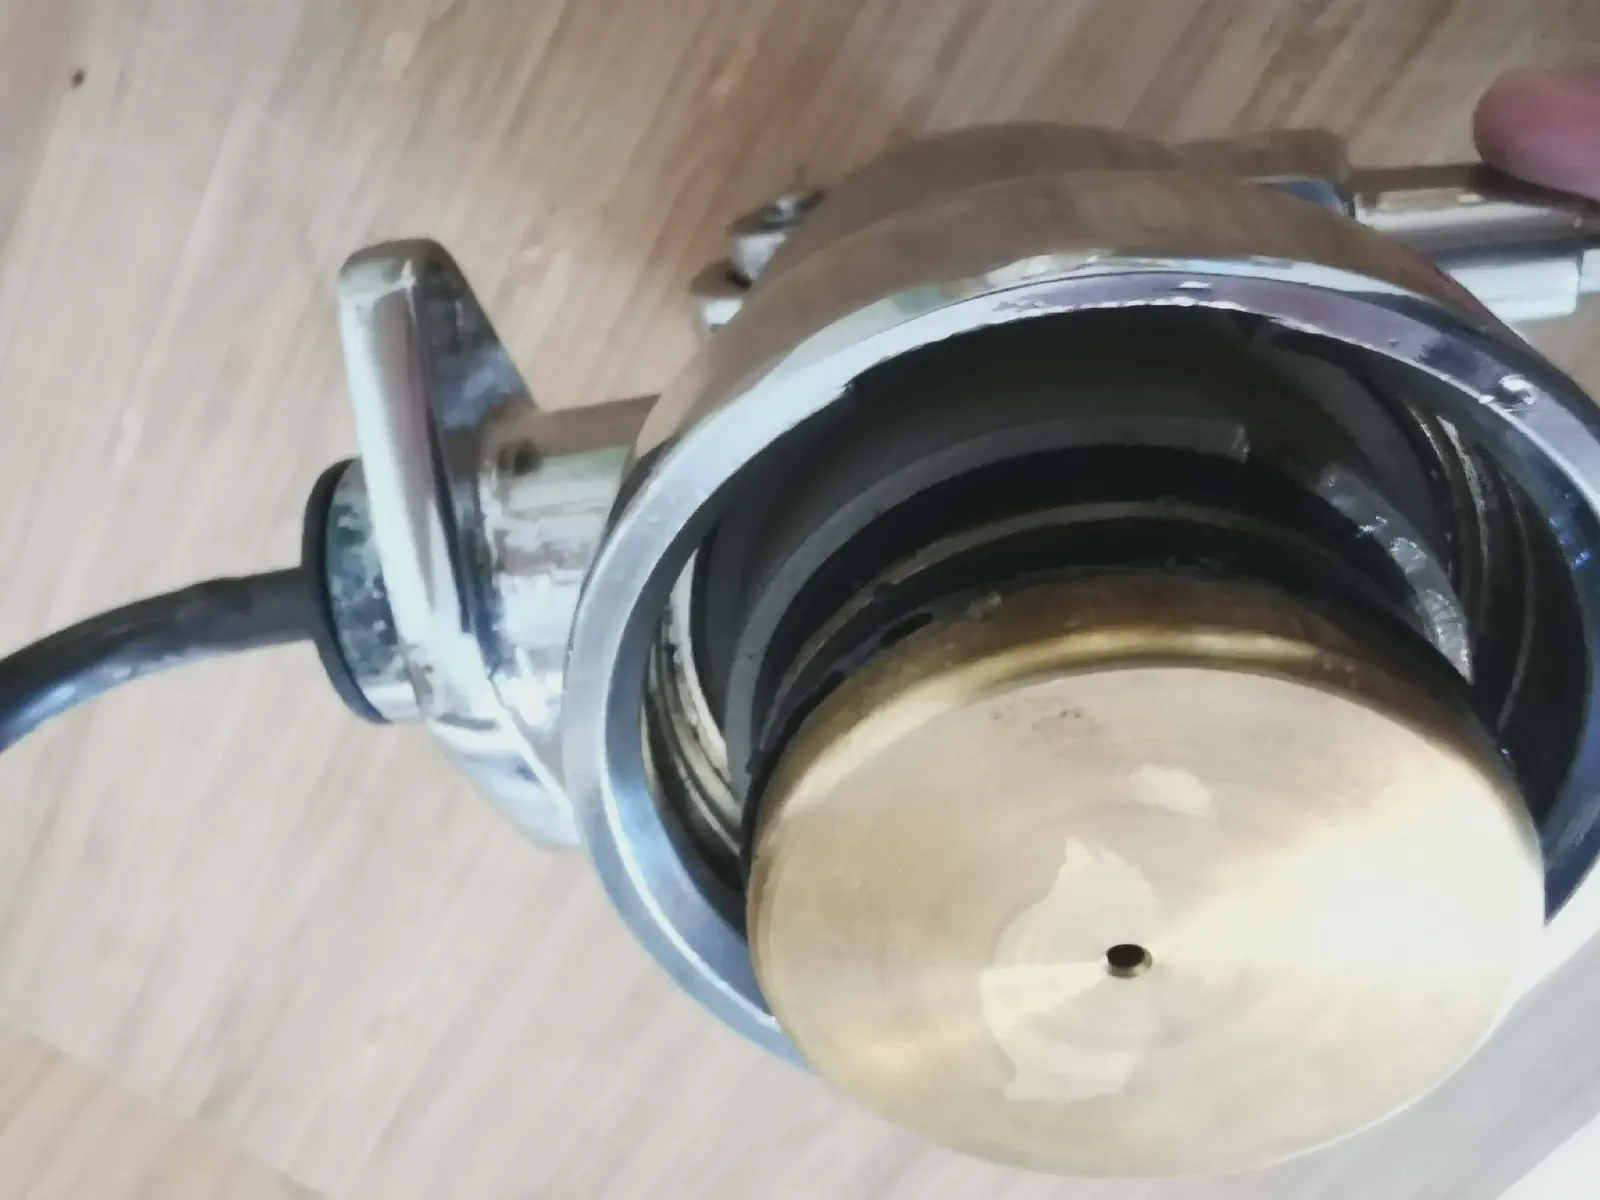
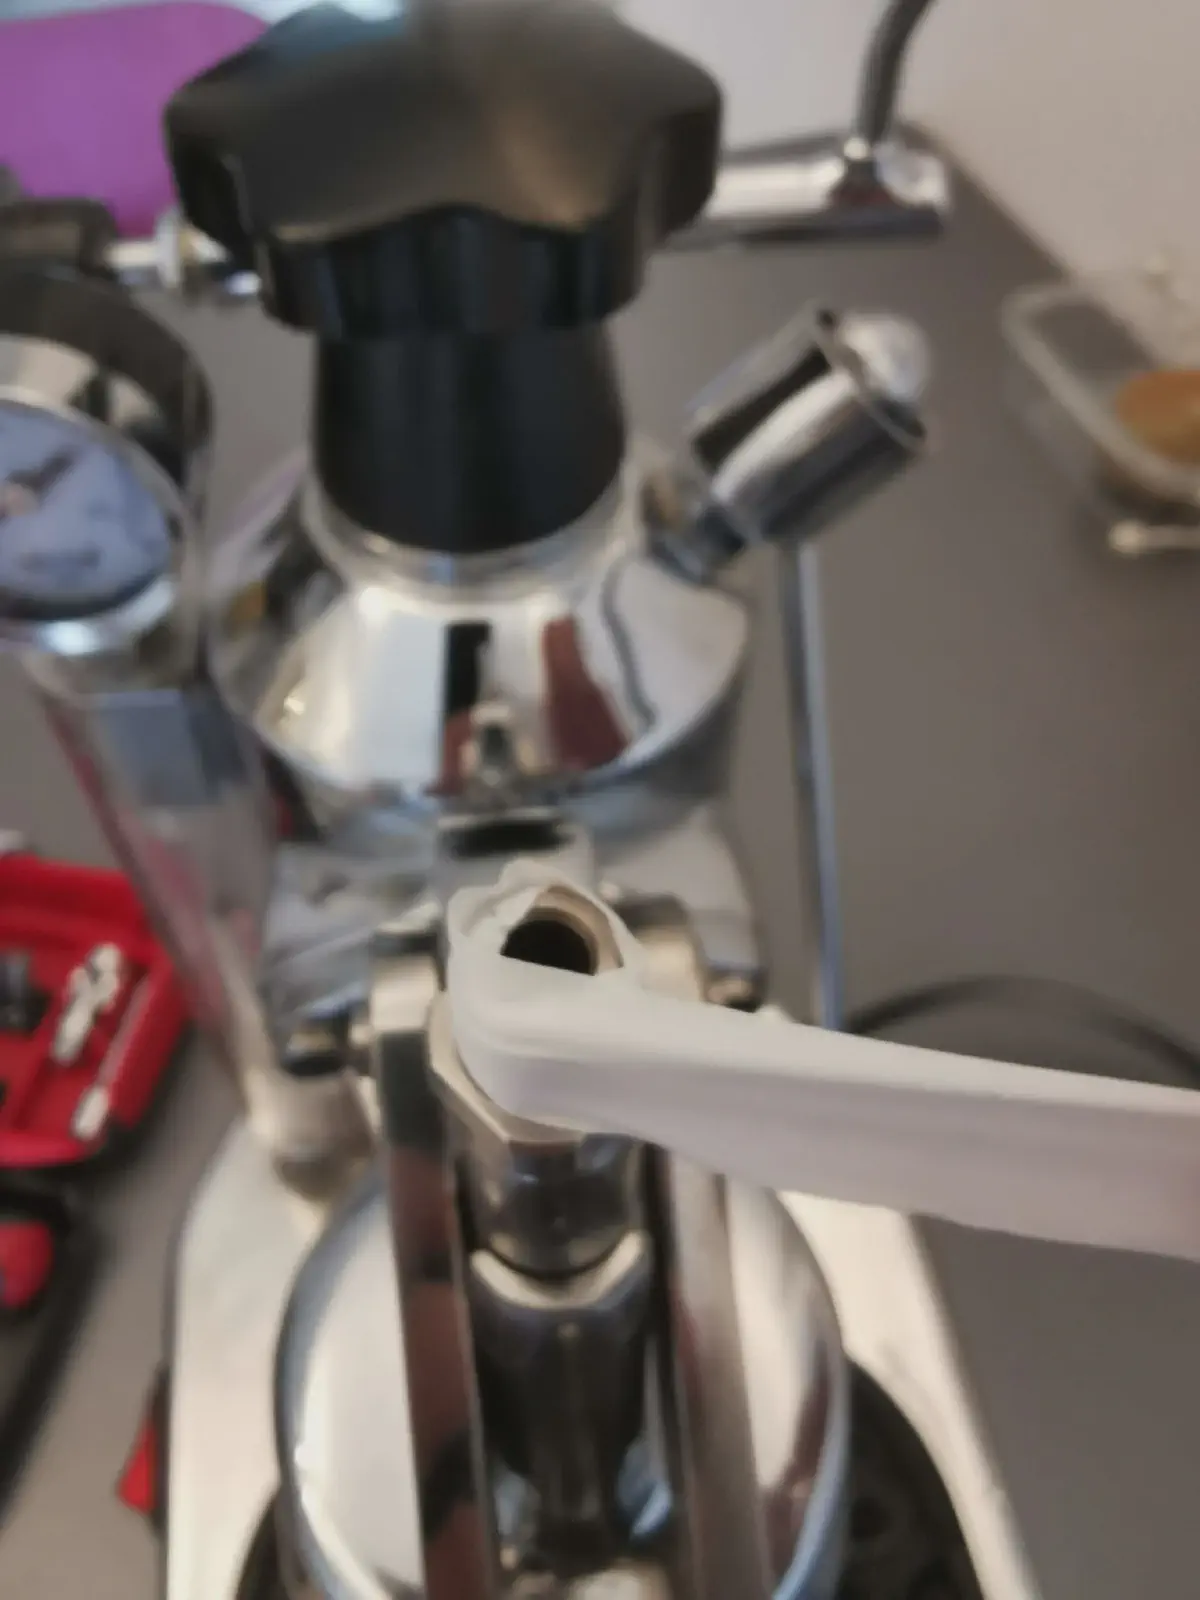
Once the piston is inserted, the new lever is attached using the supplied rivet.
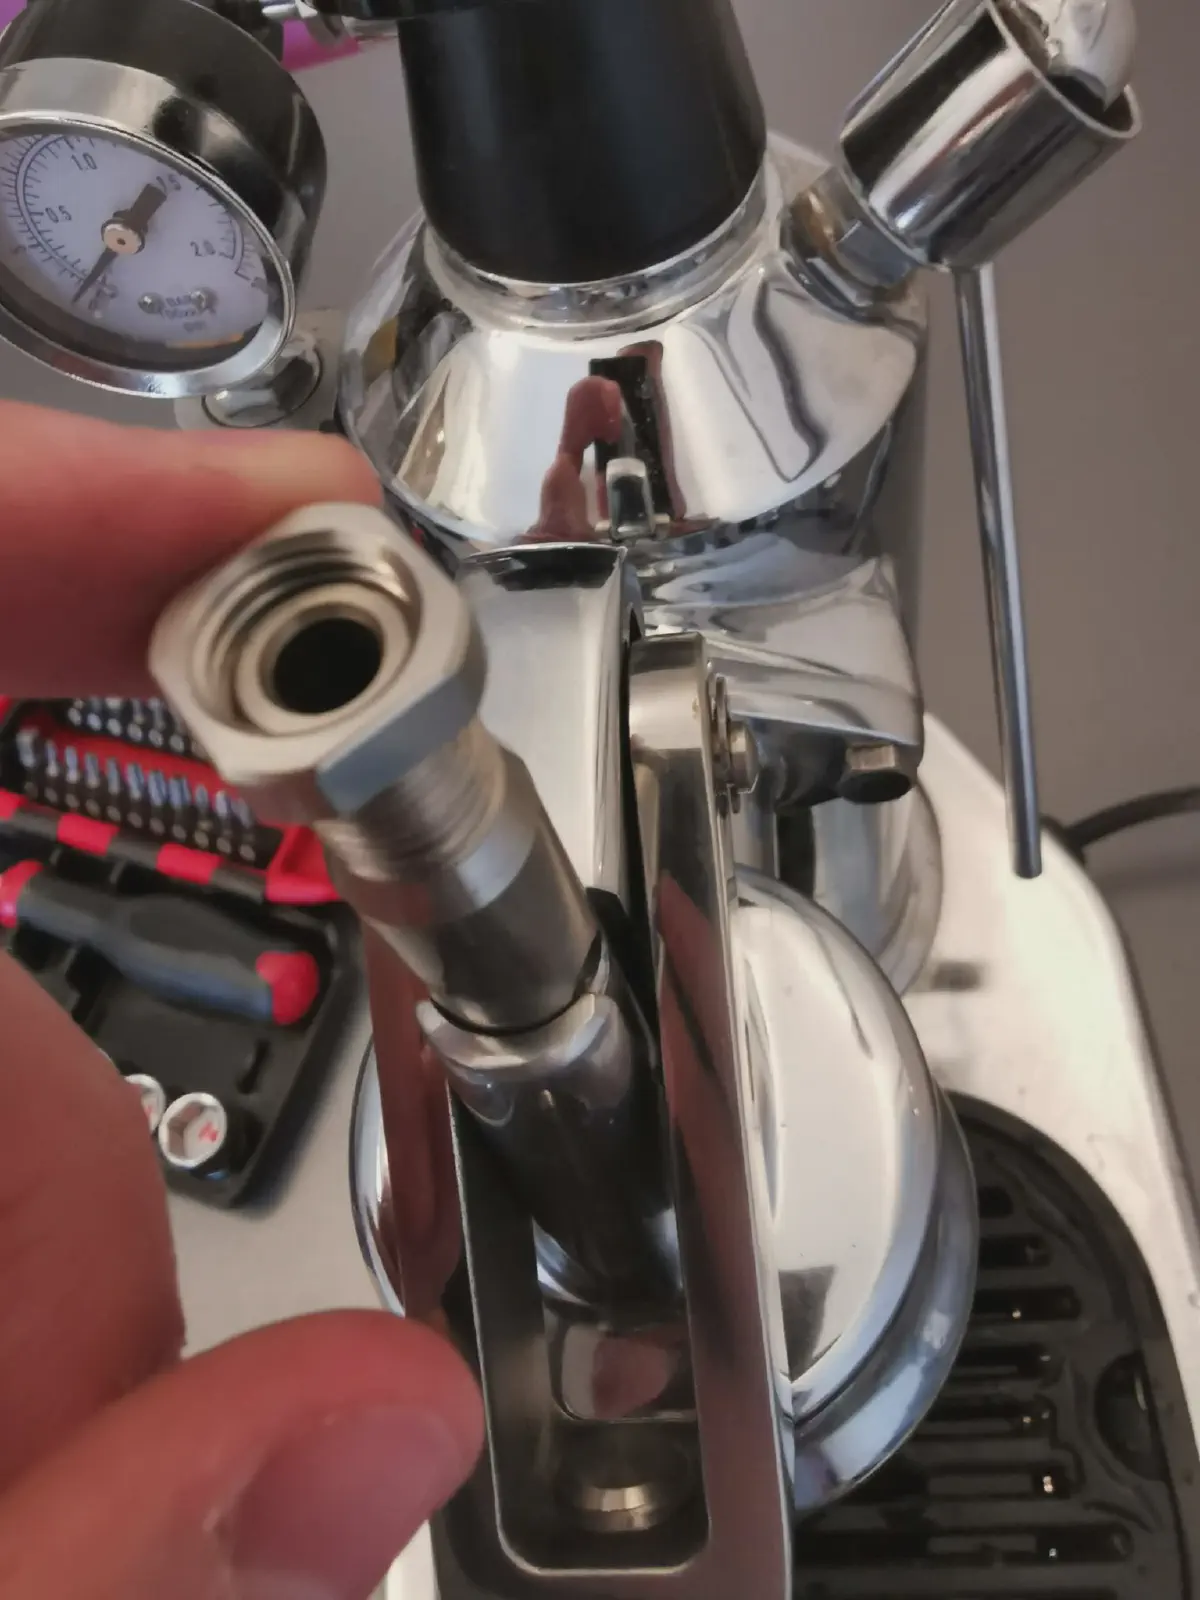
Pressure Gauge Installation
For sealing, two options:
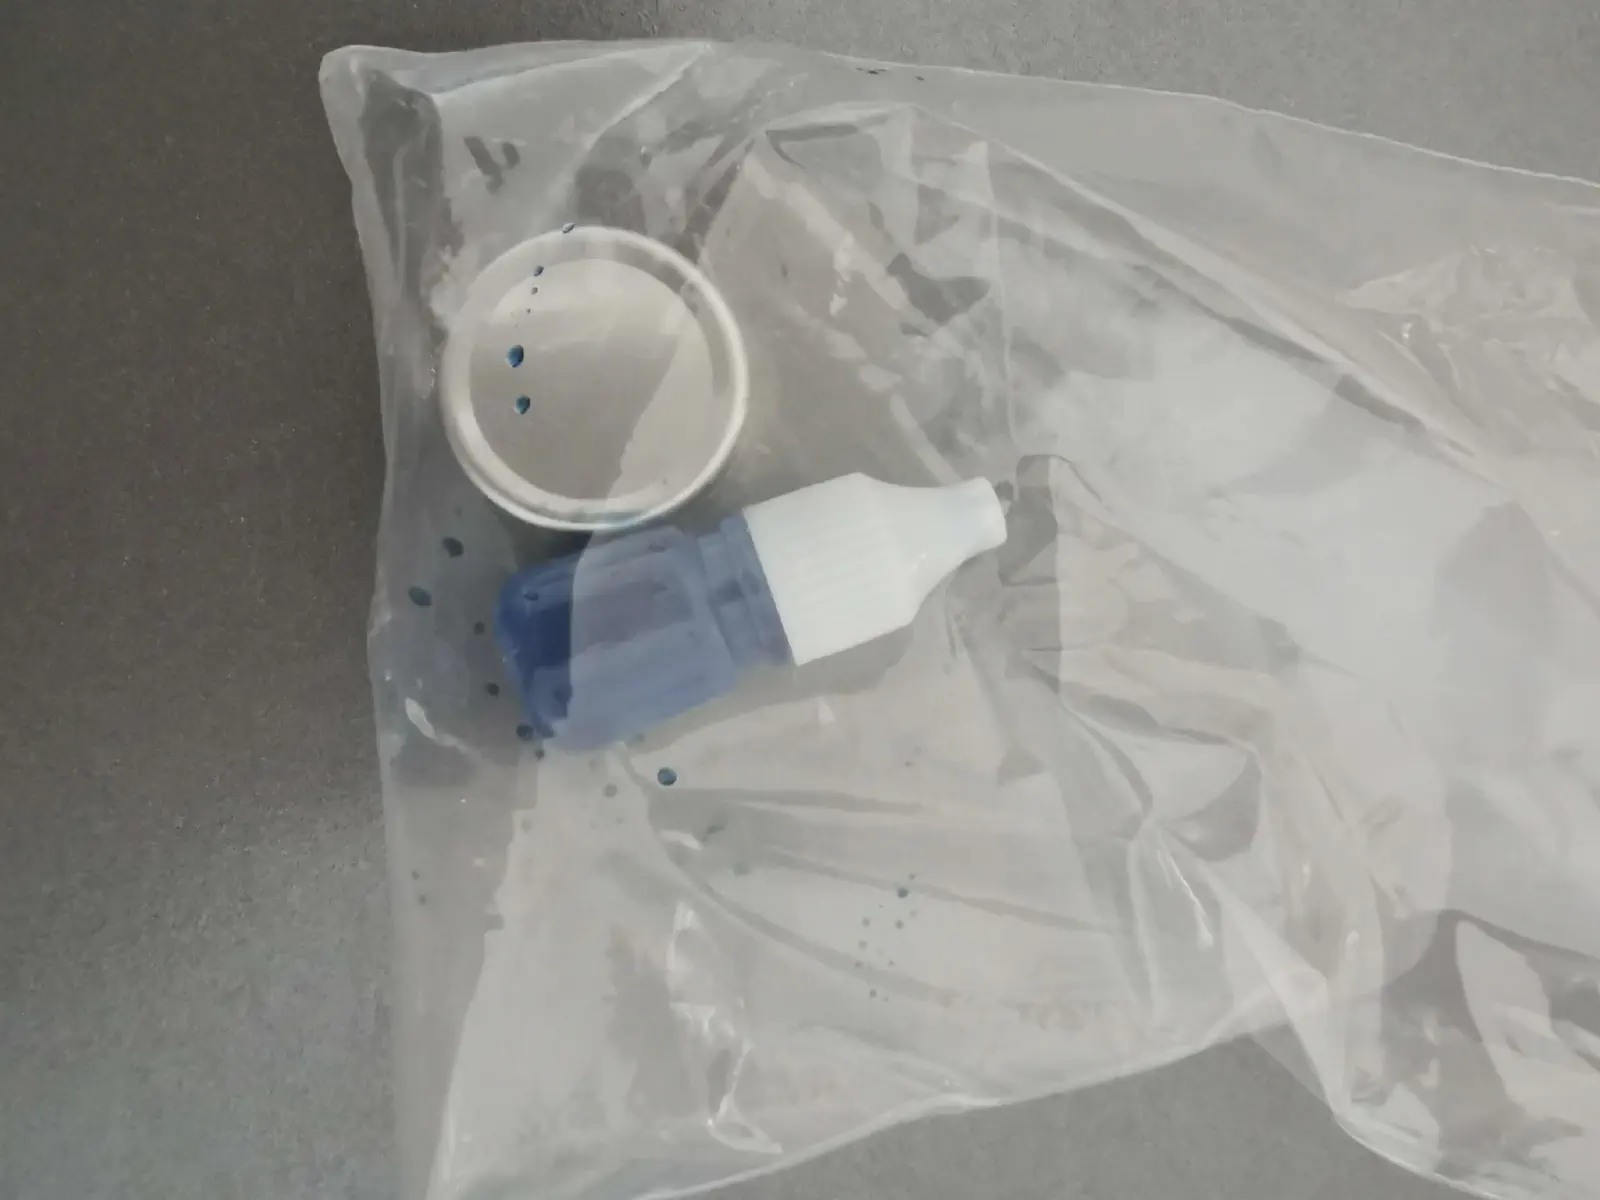
- use Teflon tape (as I did),
- or the blue thread locker provided in the kit.
Simply screw the pressure gauge in firmly, then adjust its orientation before securing the lever.
How the kit works
To see the kit in action:
Conclusion
The BPlus kit is not essential for pulling a good espresso with a La Pavoni, but it offers:
Note: ★★★★★
- a better understanding of pre-infusion (≈ 4 bars) and extraction (≈ 7 bars) pressures,
- a more professional aesthetic,
- an embraced geeky side that makes the experience even more enjoyable.
- I haven’t found any negatives
Measuring and understanding pressure on a La Pavoni
Master water pressure management on your La Pavoni espresso machine to optimize your espresso extraction. Tips, methods and tools to control piston pressure and consistently succeed in your preparations.
Read more...