How to lubricate the lever of an e61 machine?
Discover the best practices for maintaining your E61 coffee machine, with emphasis on the importance of lubricating the lever to ensure optimal performance. This article offers you a complete and detailed guide, with clear steps and useful tips. Learn how to maximize the longevity of your appliance while enjoying remarkably high-quality espressos.
The E61 group is an iconic component of espresso coffee machines, first introduced by the Faema company in 1961. This brew group is famous for its pre-infusion system and its ability to maintain a stable temperature, which improves the quality of coffee extraction. It uses a pump to maintain constant pressure and is generally made of chrome-plated brass, which helps retain heat. Thanks to these characteristics, coffee machines equipped with the E61 group are prized by espresso enthusiasts for their reliability and performance.
However, regular maintenance is essential to ensure optimal performance, particularly by properly lubricating the machine’s lever. In this article, we will explain how to lubricate the lever of your coffee machine equipped with an E61 group.
Tutorial: Lubricating the lever of an E61 coffee machine
To lubricate the lever of the E61 group coffee machine, start by turning off and unplugging the machine for safety reasons. Remove the lever and clean all moving parts with a clean cloth to remove coffee residue and old grease. Apply a small amount of food-grade lubricant specifically designed for coffee machines to the moving parts, particularly on the seals and lever shafts. Reassemble the lever making sure all parts are properly aligned and tightened. Finally, turn the machine back on and operate the lever several times to distribute the lubricant evenly.
Prerequisites
- A flat-head screwdriver affiliate link
- An adjustable wrench affiliate link
- Some gaffer tape affiliate link
- Some food-grade grease for coffee machines affiliate link
Also make sure to perform this operation on a cold and turned off machine.
I will now guide you through this procedure on a Lelit Mara X V2.
Detailed steps
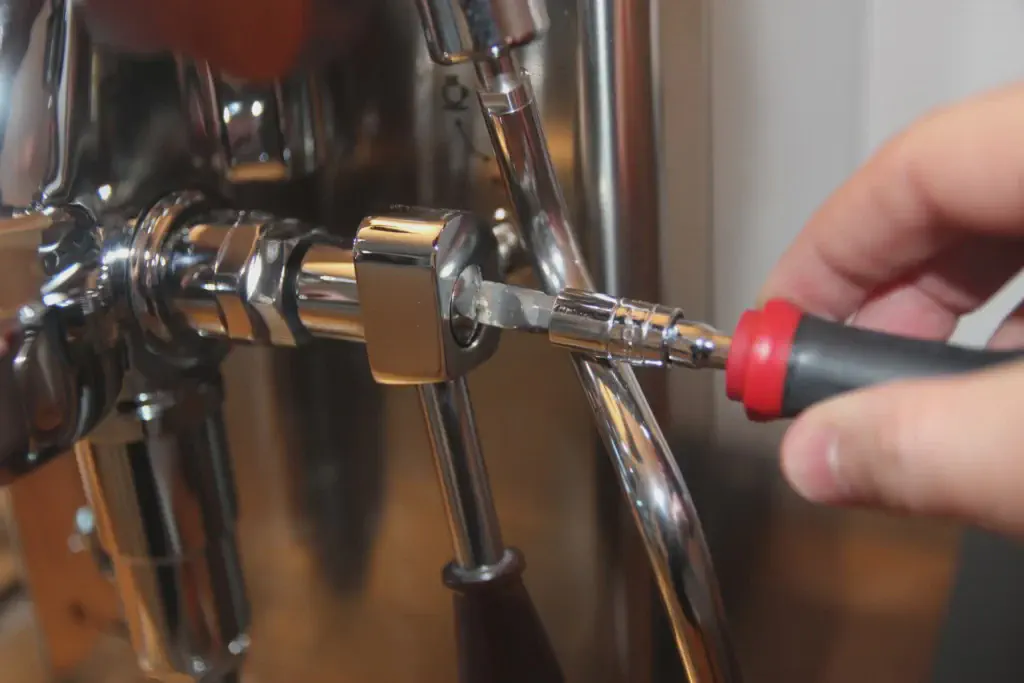
Step 1
- Start by unscrewing the lever using a large flat-head screwdriver.

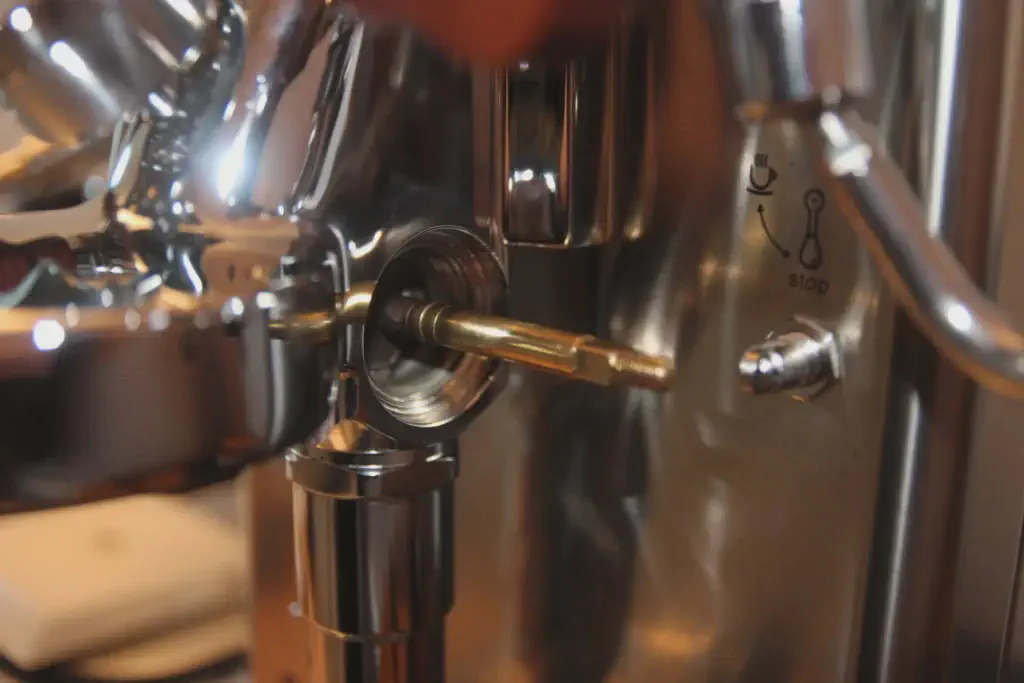
Step 2
- The released lever reveals the brass water inlet shaft that needs to be lubricated.
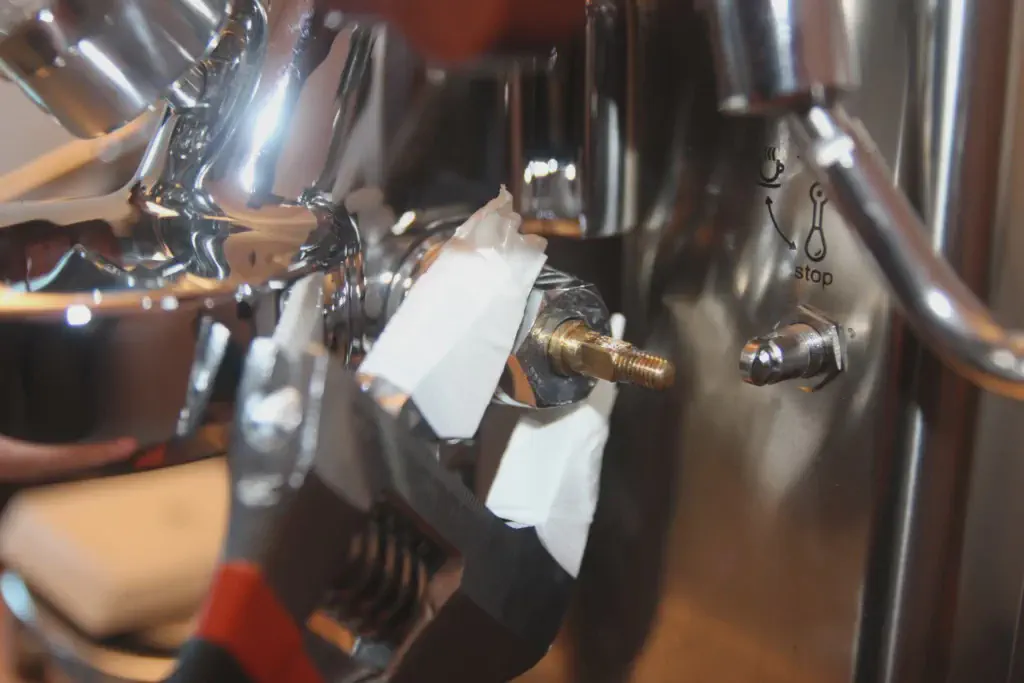
Step 3
- Unscrew the large nut using a large adjustable wrench. Cover the wrench with several layers of duct tape to protect your espresso machine.
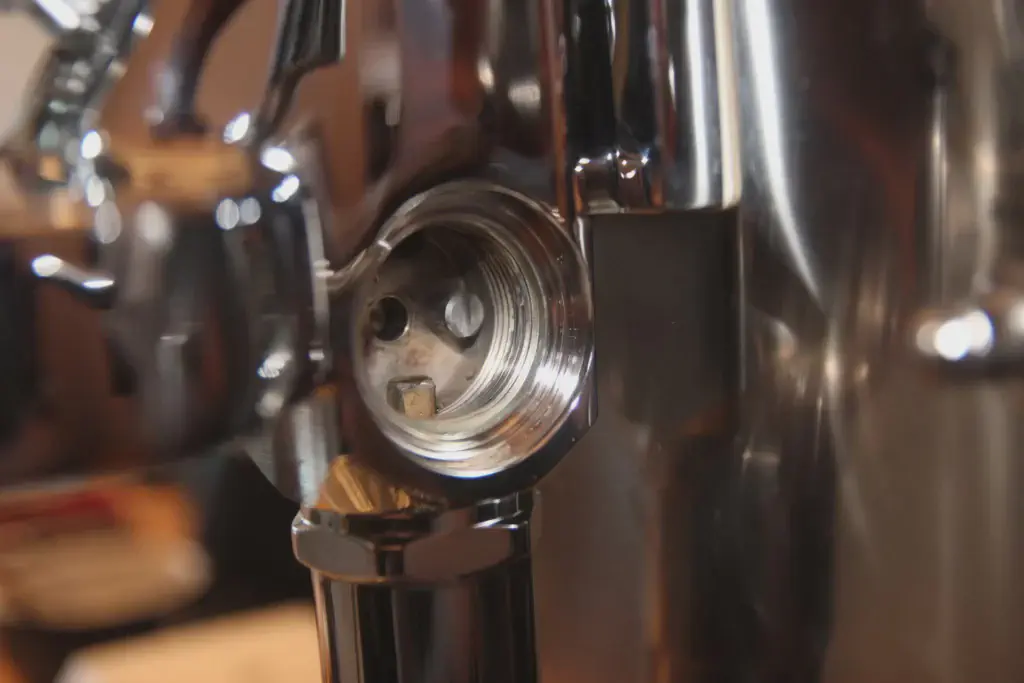
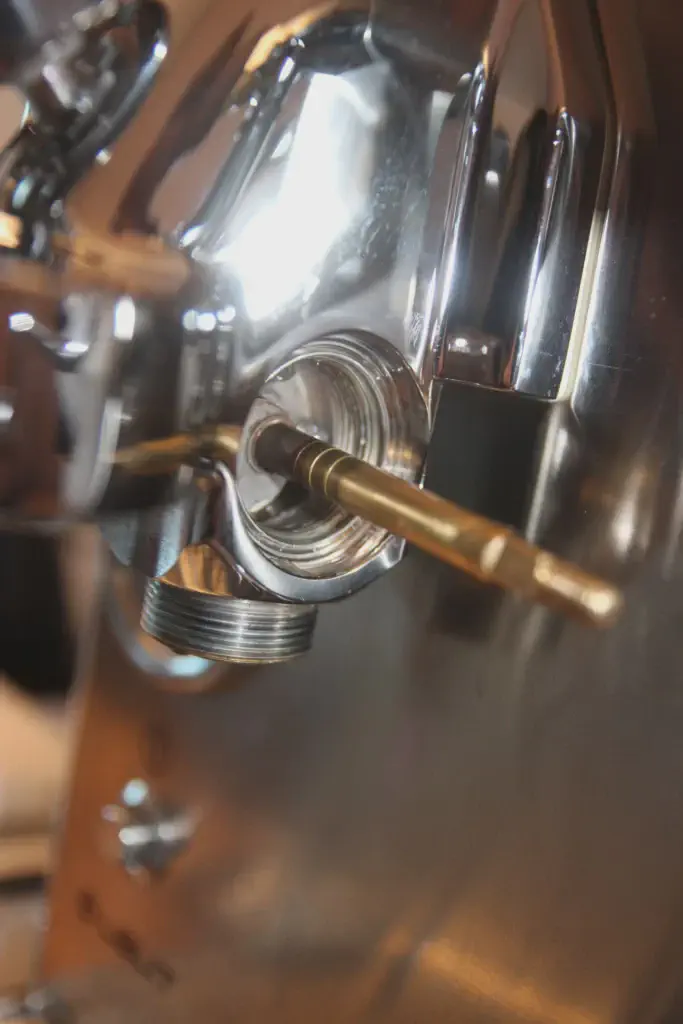
Step 4
- Once the nut is removed, the shaft is completely released. Take a photo of the water inlet shaft location to make reassembly easier.
Step 5
Lubricate the piston chamber with food-grade grease affiliate link. Step 6
Lubricate the water inlet shaft.
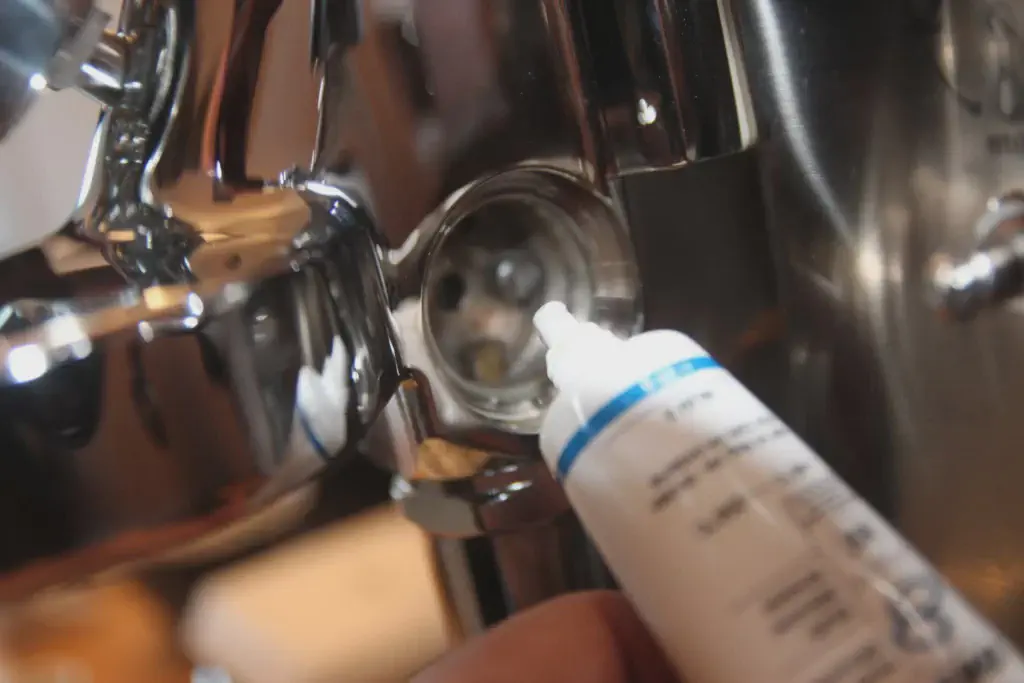
Step 7
- Apply food-grade grease affiliate linkgenerously.
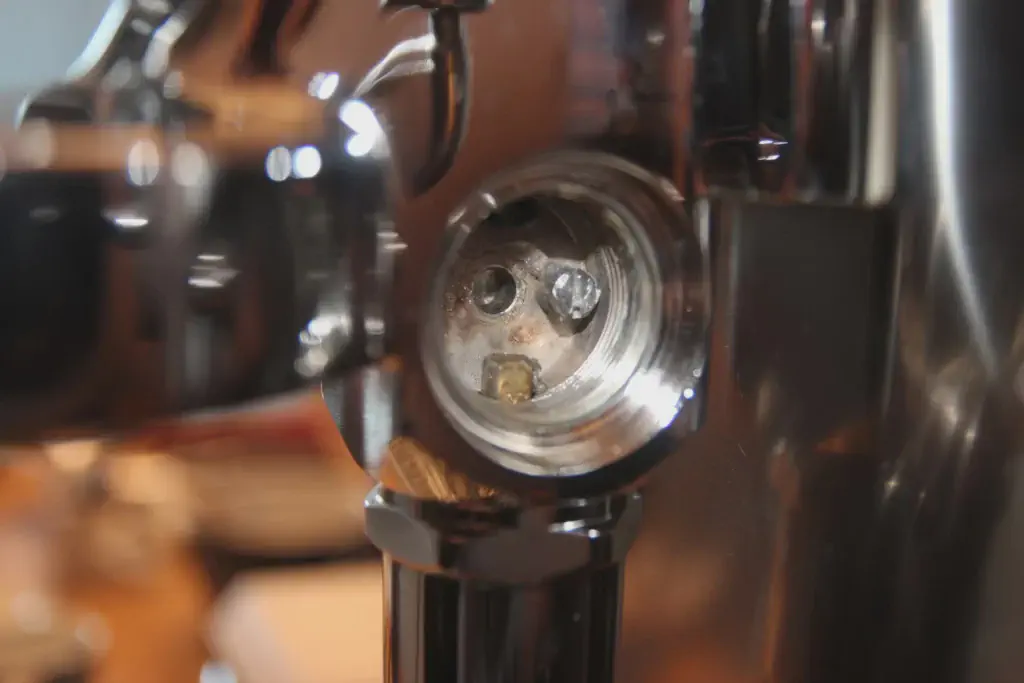
Step 8
- The chamber after being lubricated.
Step 9
- Disassemble the 3-way solenoid valve to lubricate it as well.

Step 10 Step 10
- As before, unscrew the pre-infusion valve with the flat wrench covered with duct tape. Caution, there is a spring inside.
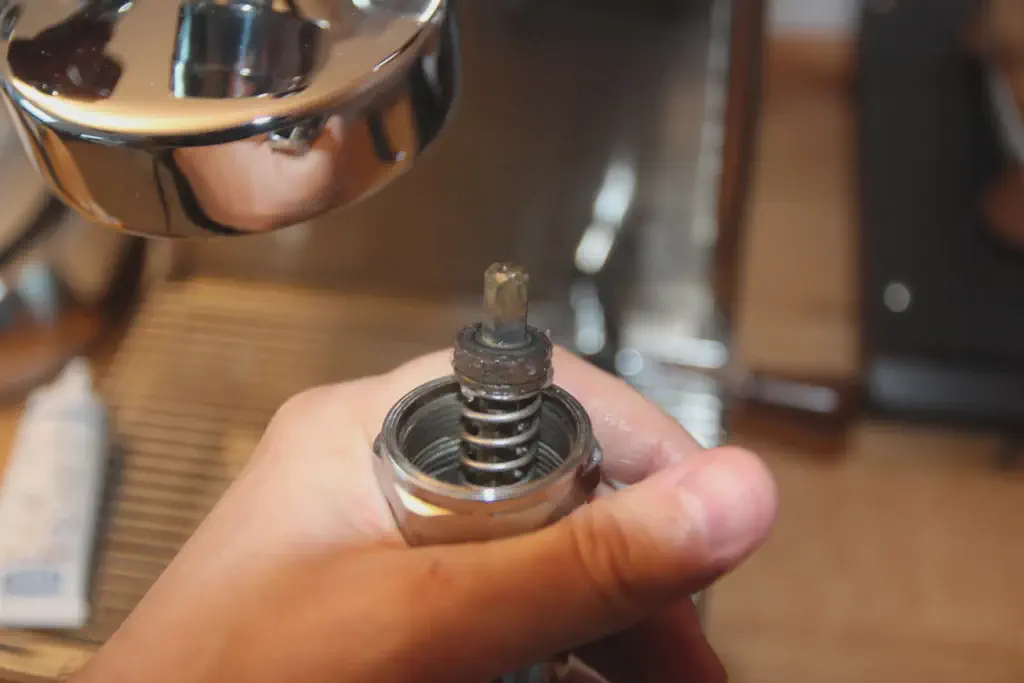
Step 11
- Lubricate the top of the spring (the pre-infusion valve).
Step 12
- Here’s what the disassembled elements look like.

Step 13
- During reassembly, lift the lever (as if dispensing water). The pre-infusion valve will be easier to replace because the spring will be released.

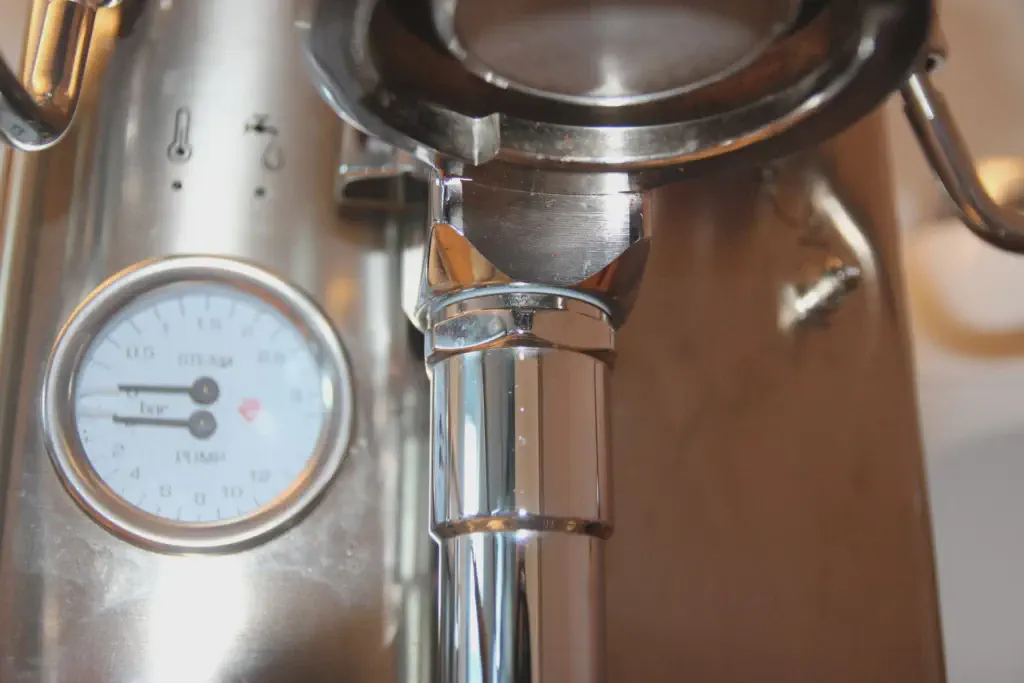
Step 14
Here’s a photo of the rod location on my Mara X for reassembly.
Conclusion
The operation is simple and makes the lever perfectly smooth while eliminating squeaks. After a deep cleaning with a coffee machine cleaner (such as Puly affiliate link), this step often becomes essential.
We hope this short tutorial will help you fully enjoy your coffee machine!
