How to maintain a La Pavoni?
Discover how to extend the life of your La Pavoni coffee machine through regular maintenance. In this article, I share practical tips based on my experience, along with a video tutorial that will guide you step by step through disassembling, cleaning, and reassembling the boiler and pistons. Optimize your machine’s performance and enjoy exceptional coffee year after year.
La Pavoni coffee machines are extremely robust and well-designed. But, like any appliance, they require regular maintenance. I had already covered this topic in this article, when I was starting out with my La Pavoni. Today, I’m expanding on this information by focusing on boiler and piston maintenance.
This operation should be performed approximately every 6 months.
Proper maintenance ensures the longevity of your La Pavoni.
To write this article, I relied on my personal experience as well as a video (at the end of the article) published on the brand’s YouTube channel.
We’ll look at how to completely disassemble the machine, clean it, and then reassemble it.
The Secrets of Using the La Pavoni Lever Machine
Perfect your espresso mastery with the La Pavoni lever machine. This article explores the challenges you might encounter at first and offers solutions for achieving exceptional coffee. You'll also discover the importance of quality water and freshly roasted beans to enhance your preparations.
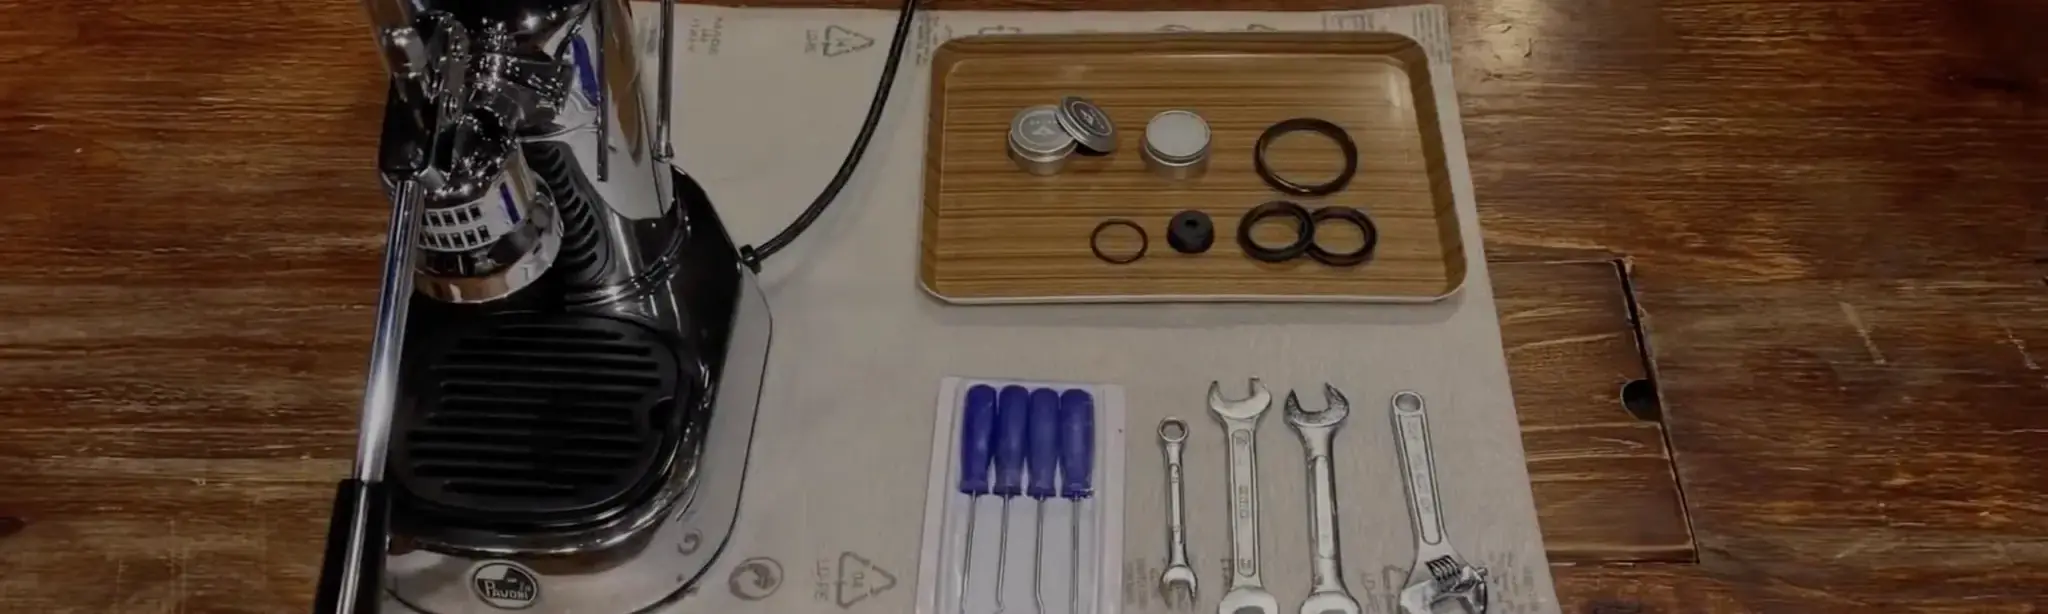
Read more...Required Equipment
- 14mm open-end wrench (x2) affiliate link: essential for unscrewing the lever nuts and safely disassembling the piston.
- Food-grade grease affiliate link: allows you to lubricate the piston and its seals to ensure smooth movement and prevent premature wear.
- La Pavoni seal kit affiliate link: useful for replacing worn seals and ensuring perfect sealing during reassembly.
- Descaling tablets affiliate link: to be used in the boiler to remove limescale and extend the lifespan of the machine.
- Screwdriver affiliate link: necessary for removing certain screws and facilitating disassembly.
- O-ring pick affiliate link: very practical for extracting hard-to-reach seals without damaging them.
- White vinegar: ideal for descaling the copper tube and effectively dissolving limescale deposits.
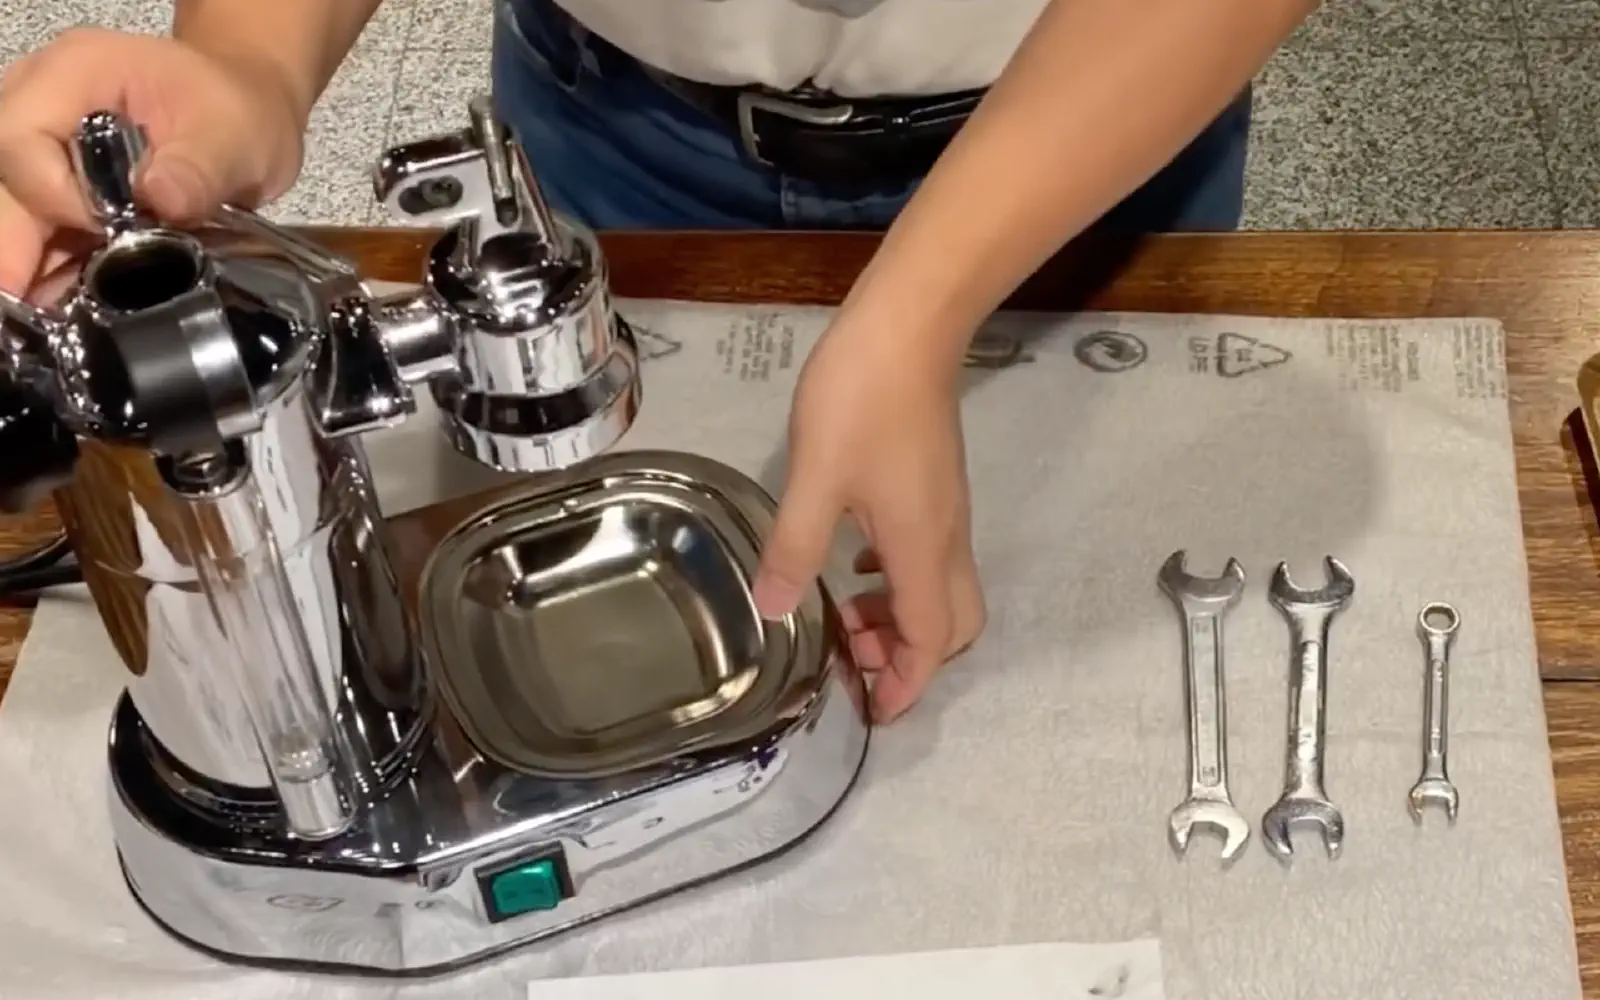
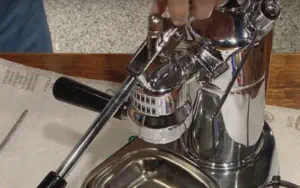
Disassembling a La Pavoni
- Unplug the machine and, once cooled, empty the water from the boiler.
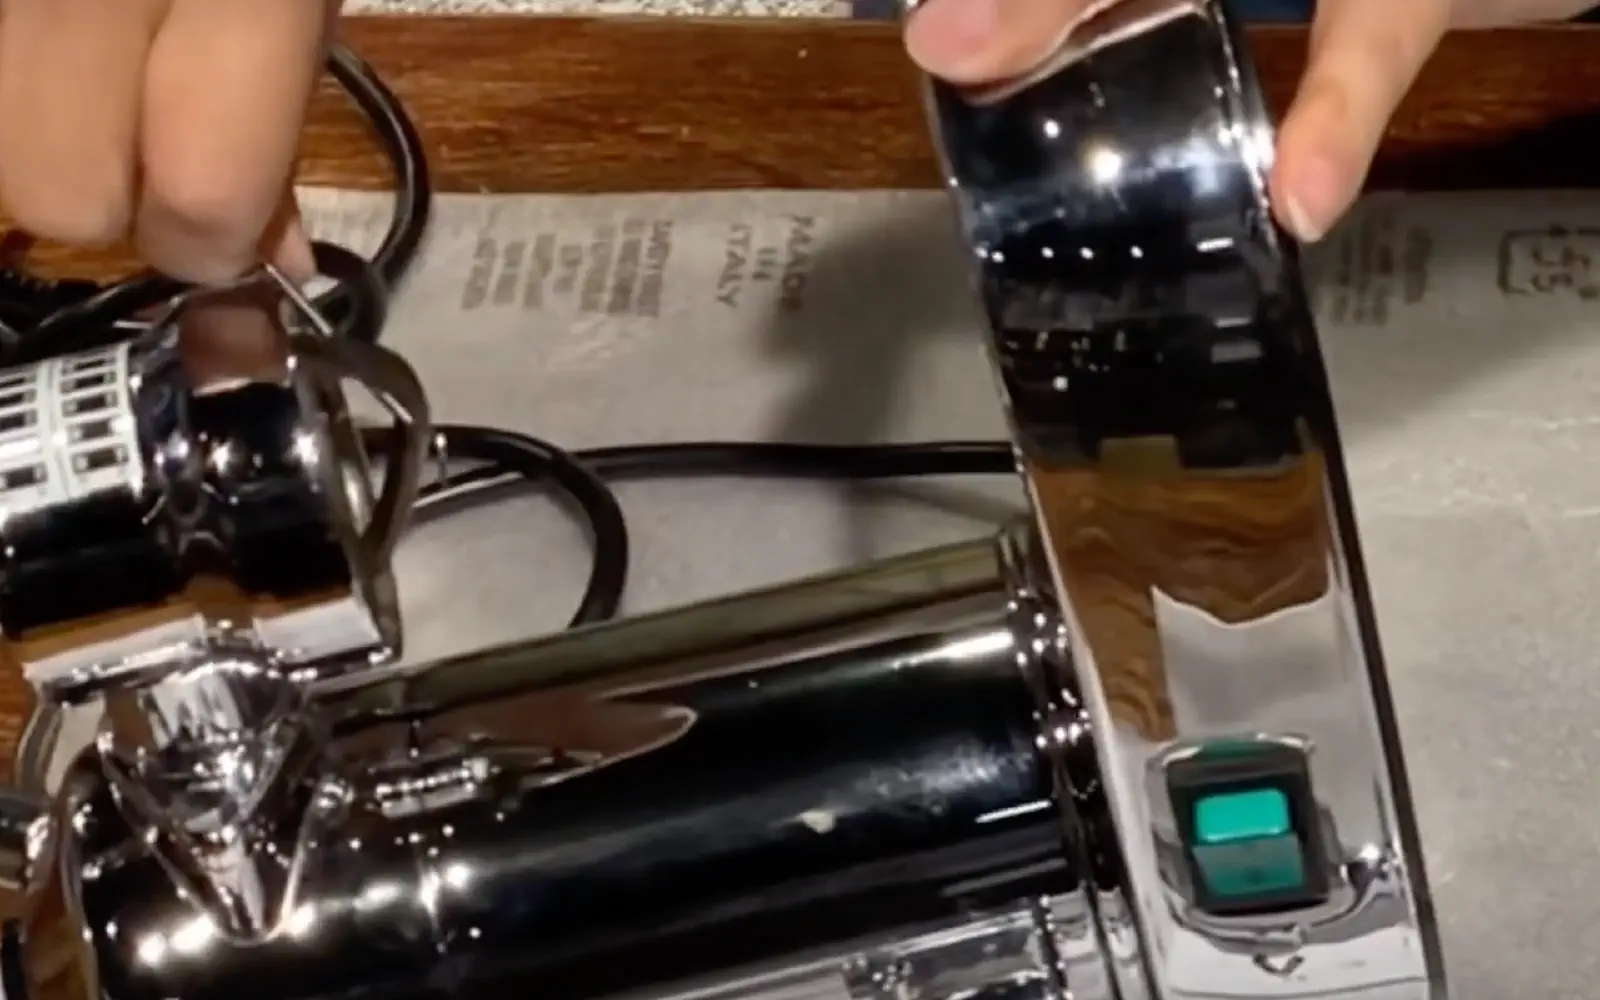
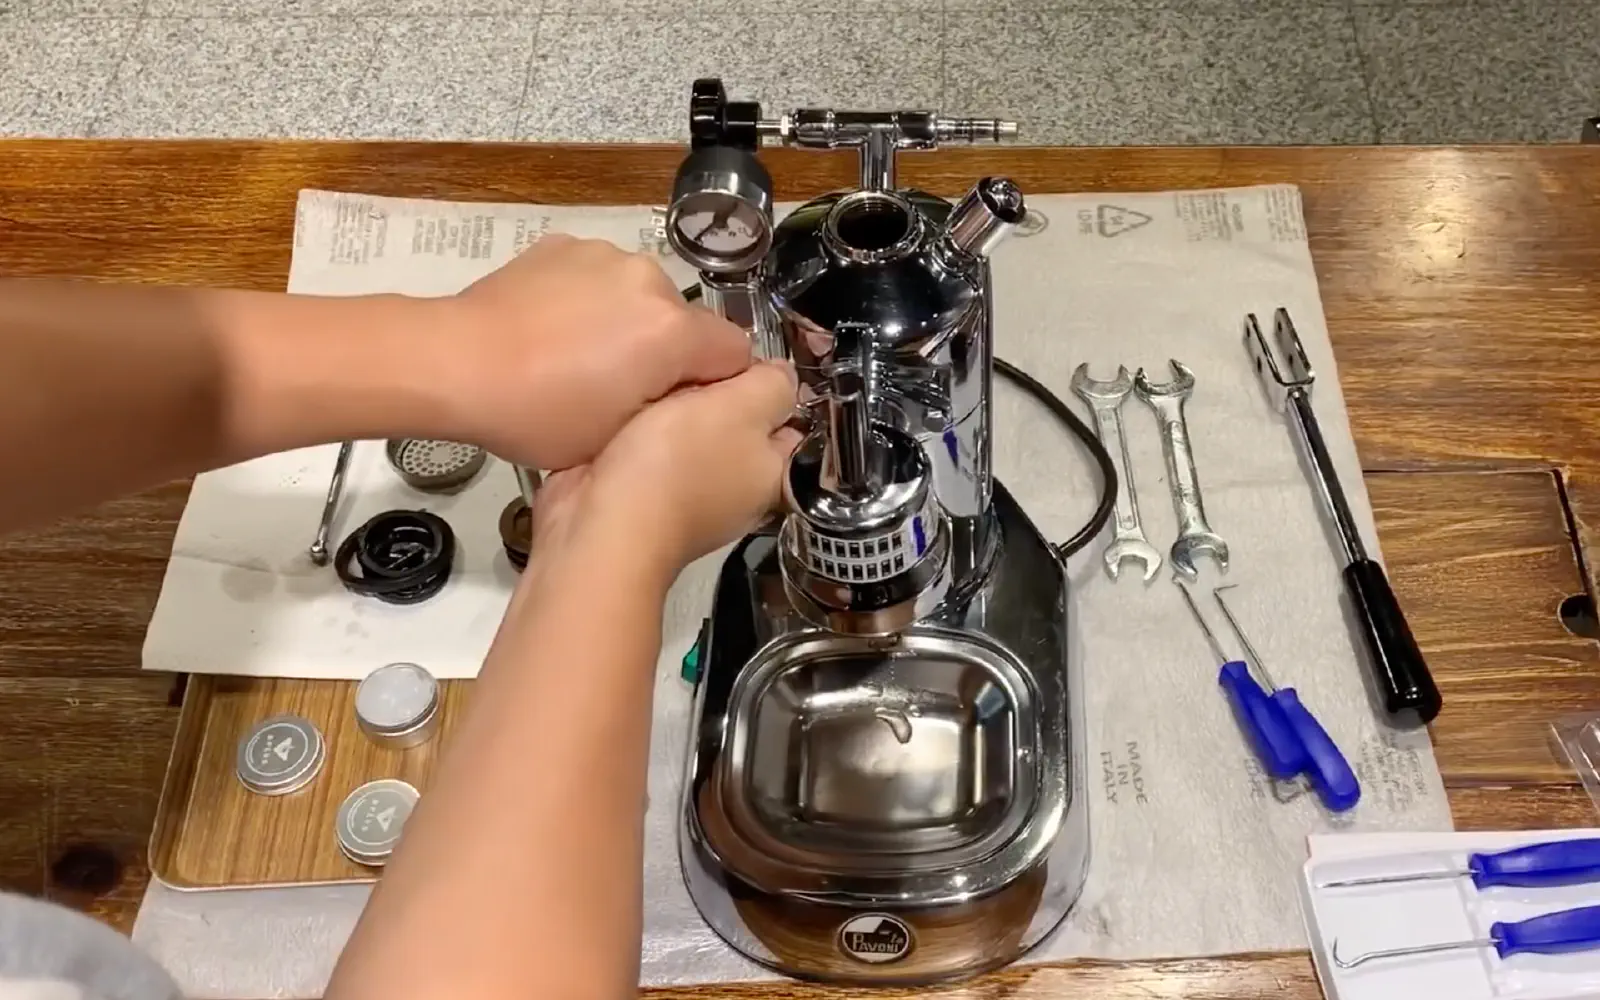
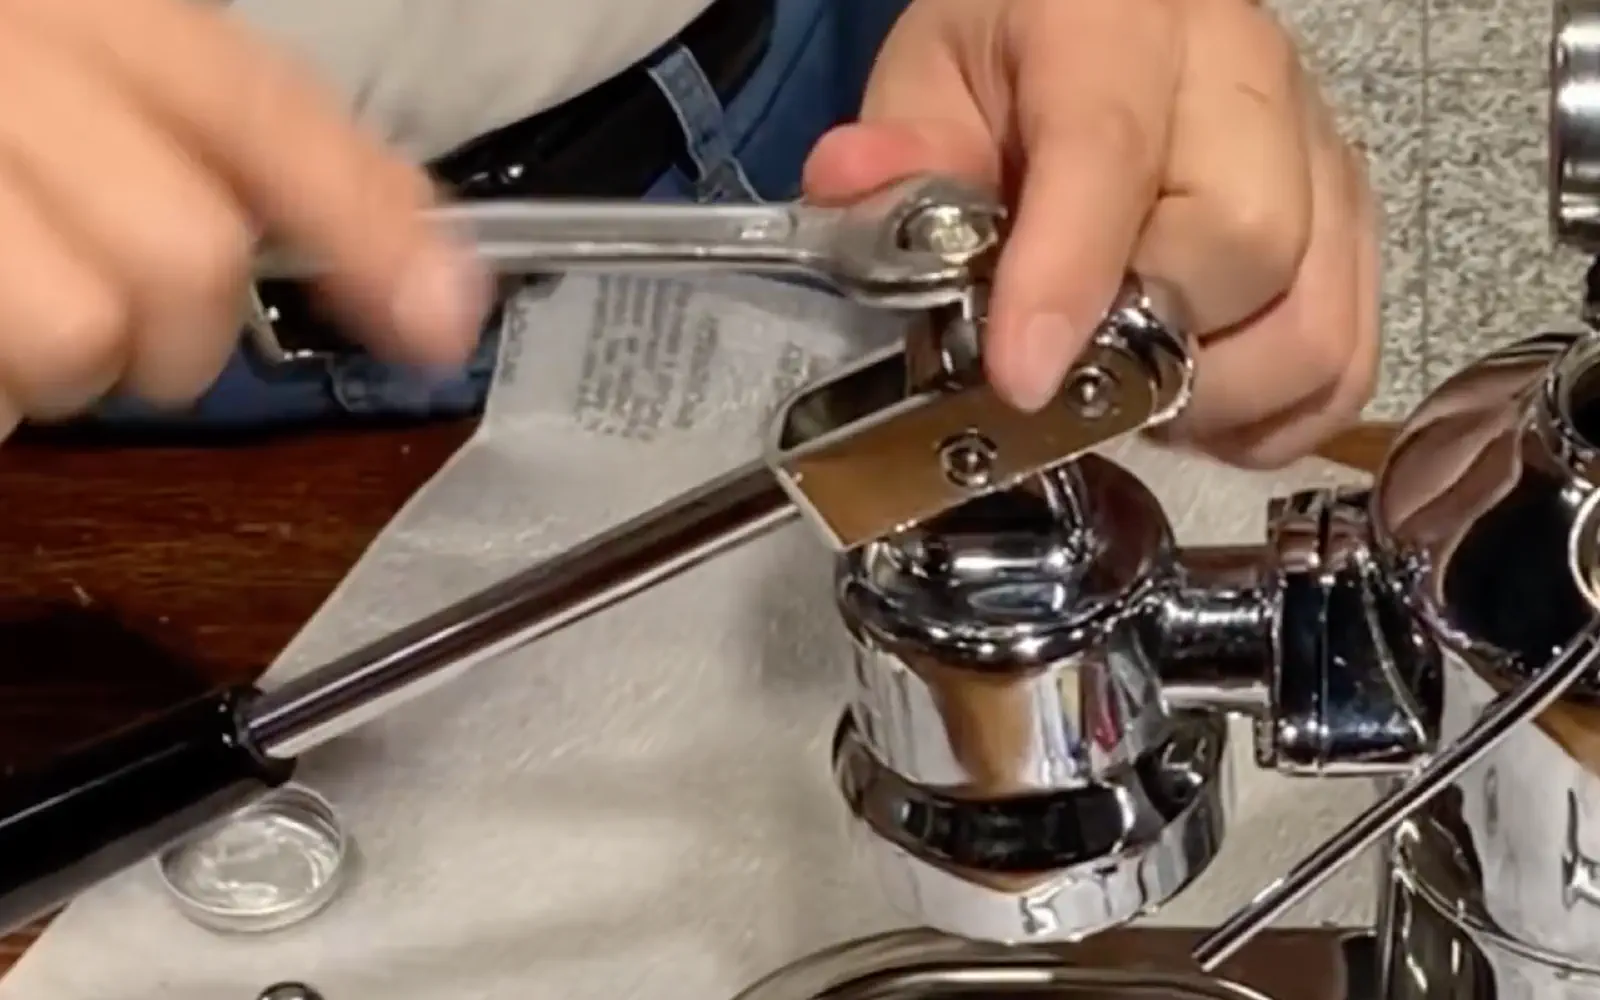
- With two 14mm open-end wrenches affiliate link, unscrew the two nuts above the piston that secure the lever.
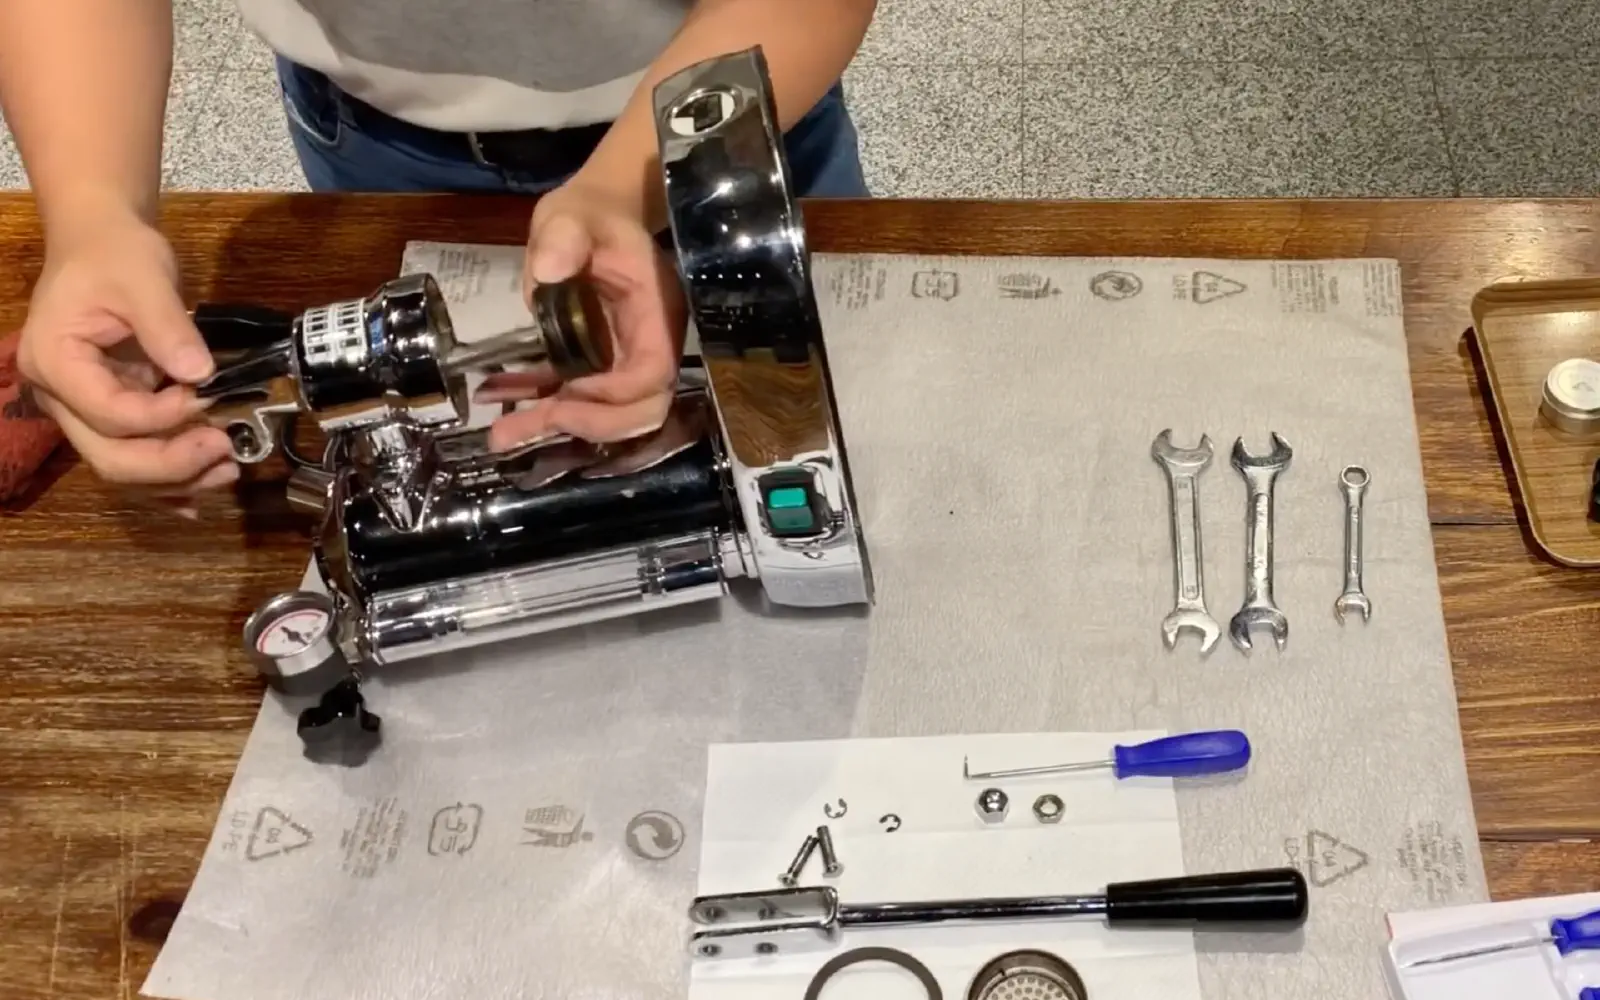
- Remove the two pins that hold the lever in place. If necessary, use a screwdriver.
- Carefully store the pins to avoid losing them.
- Remove the lever then tilt the machine on its side.

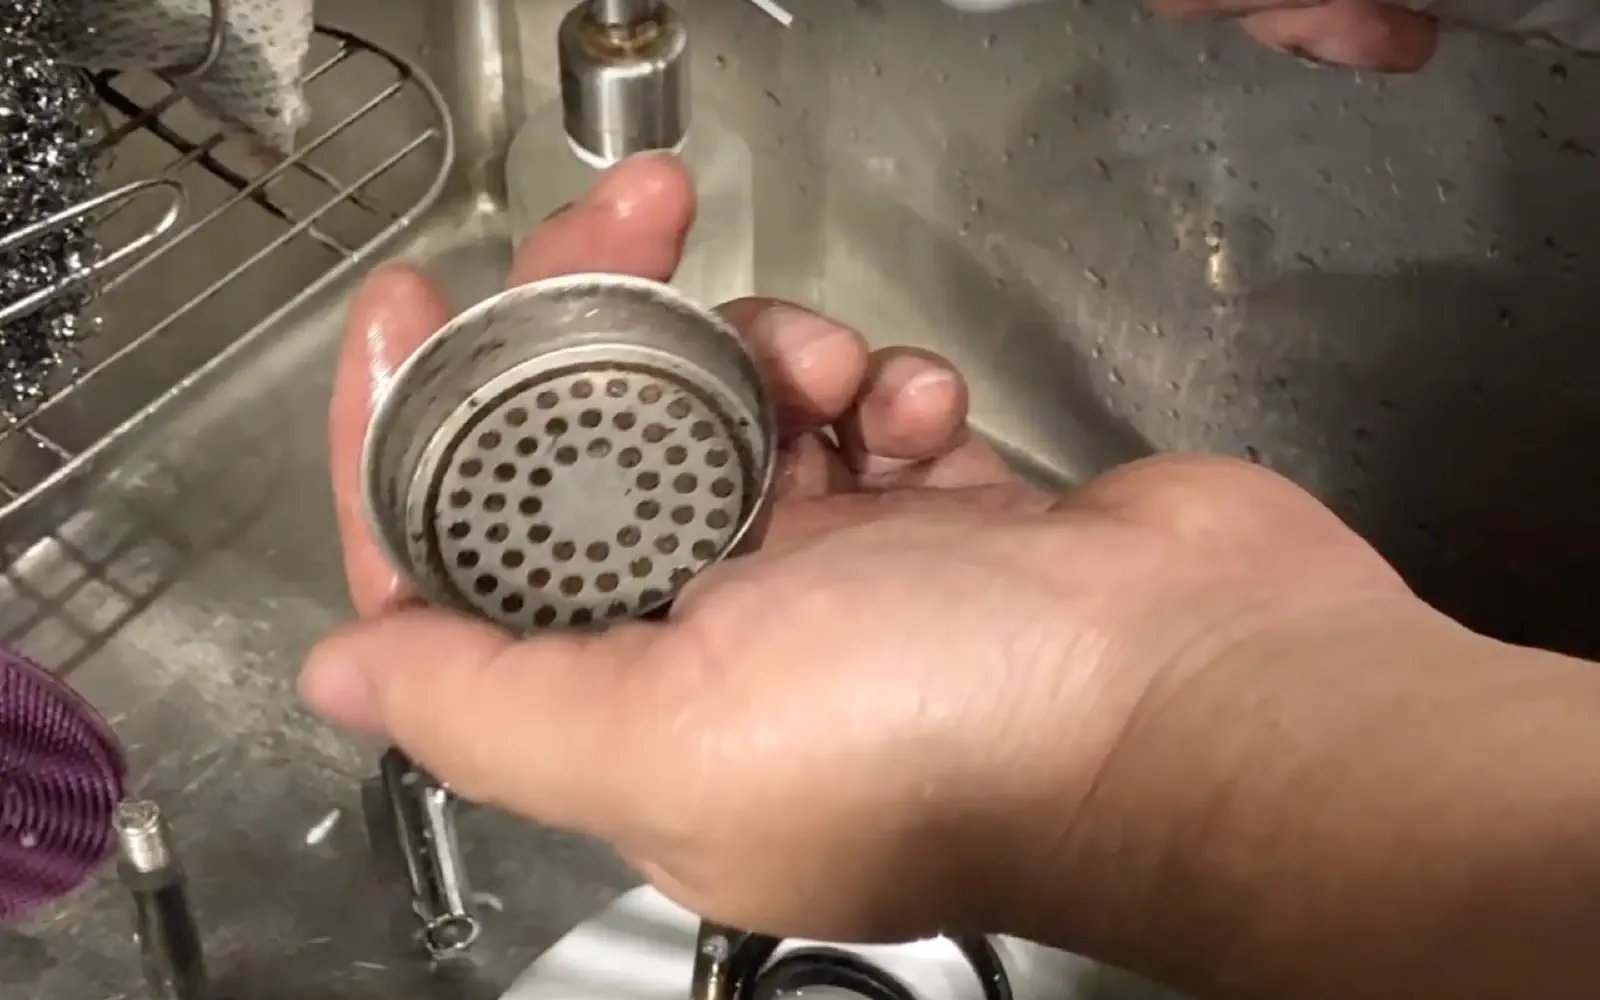
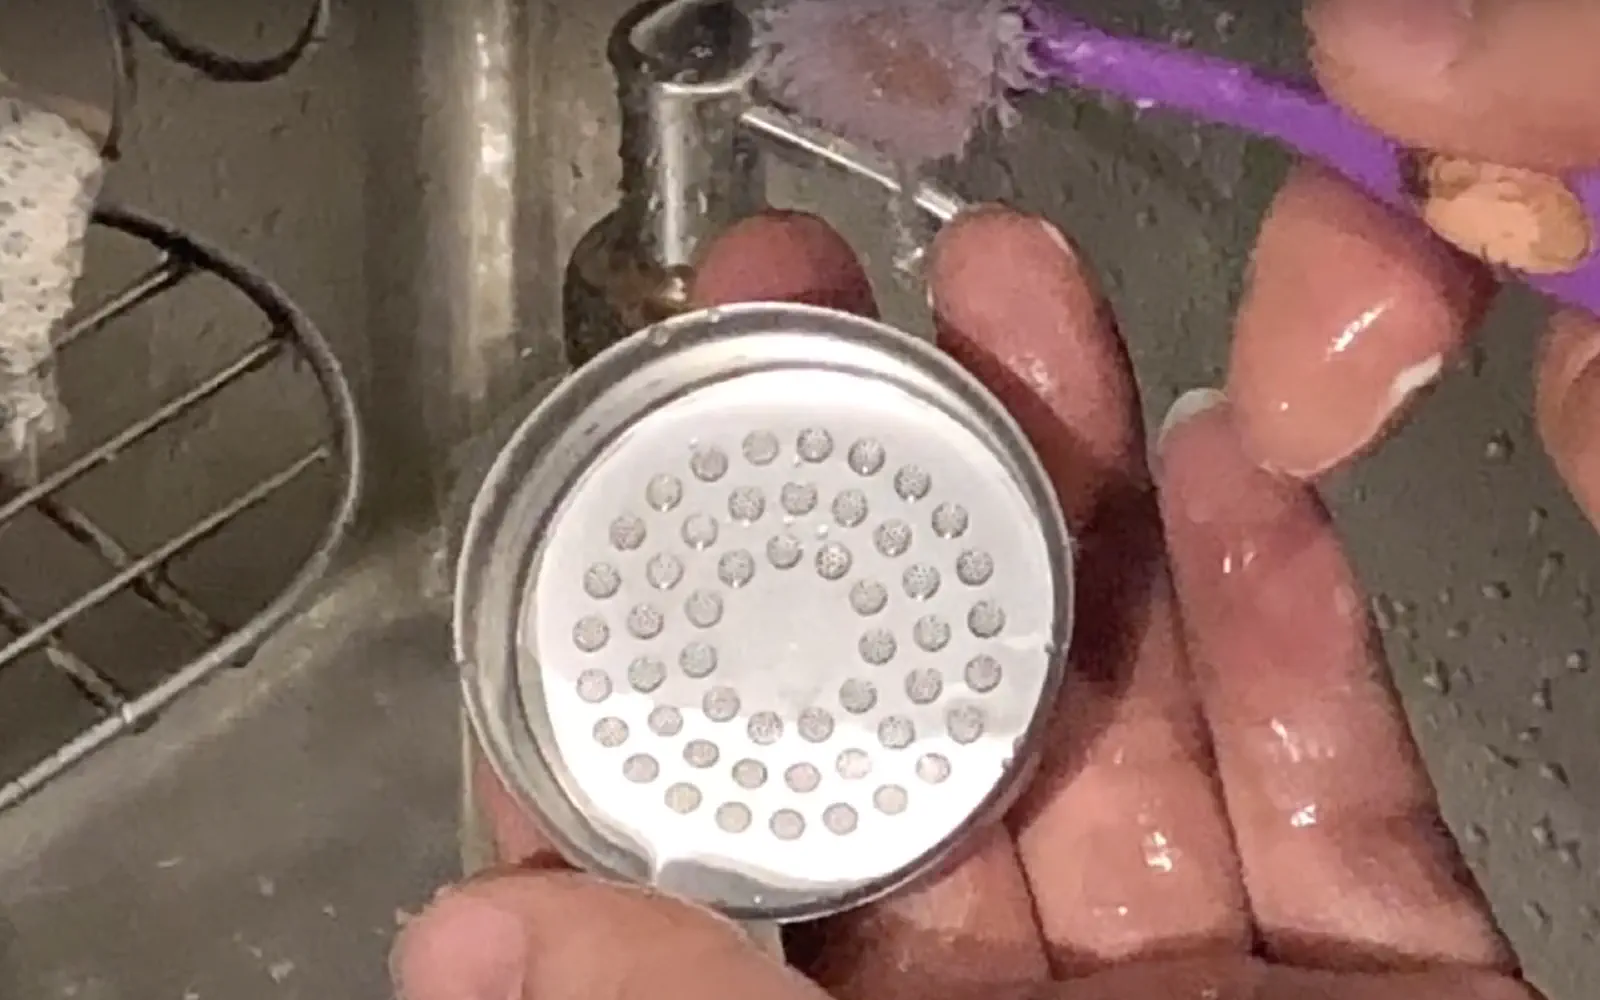
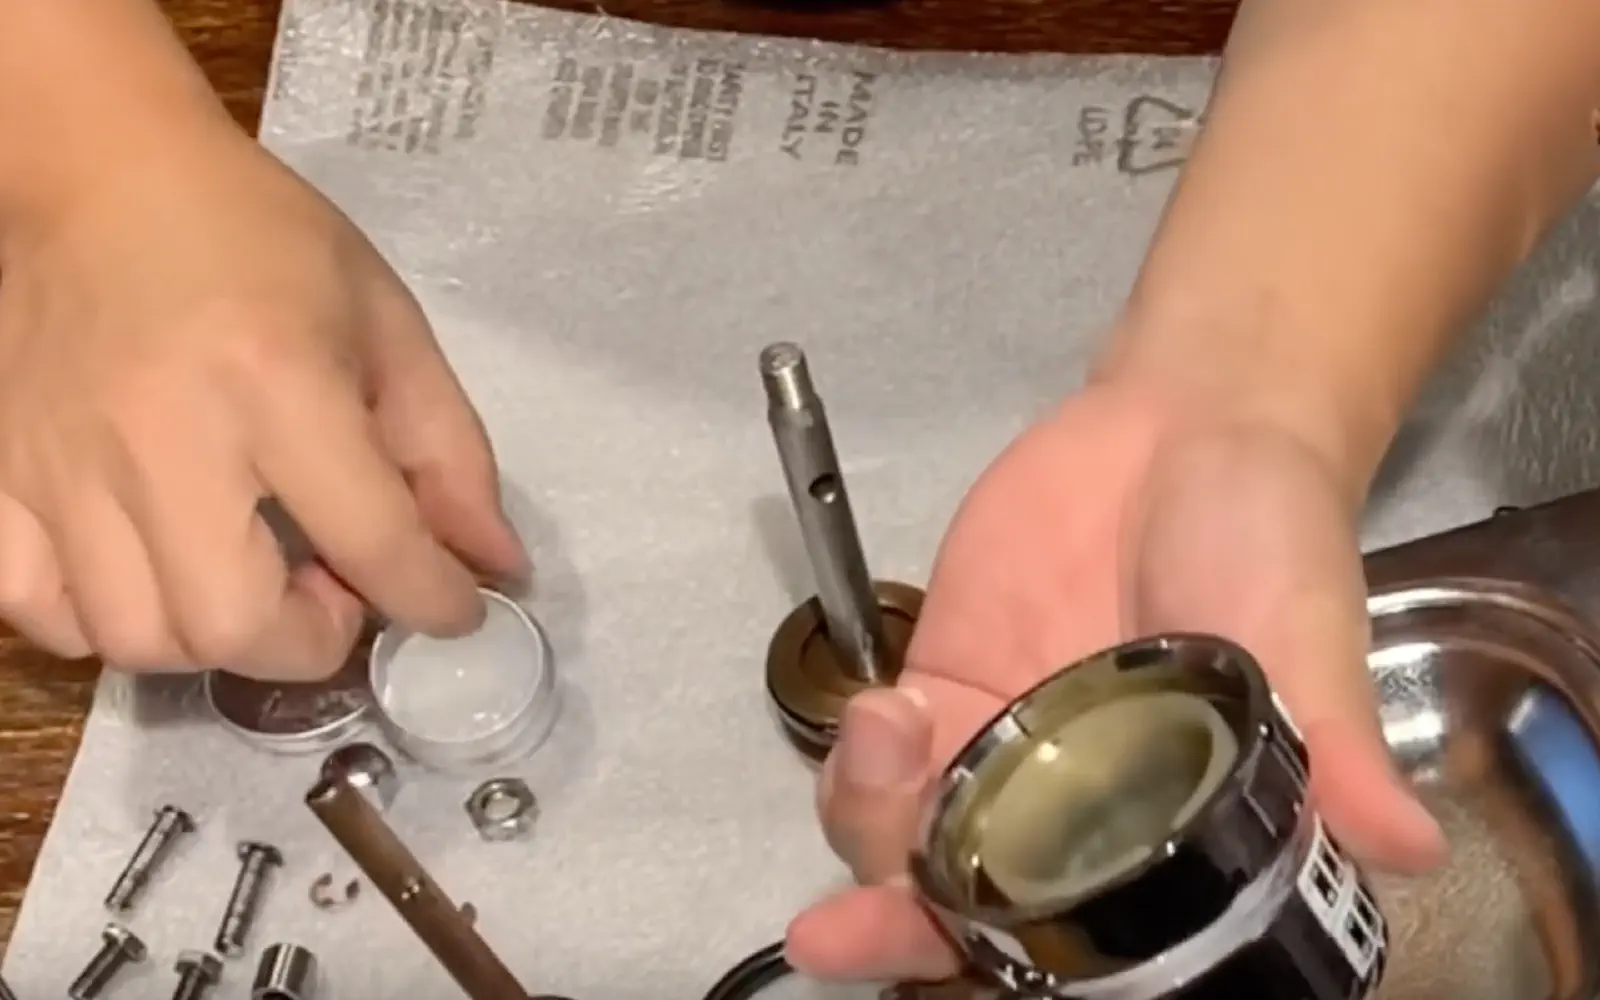
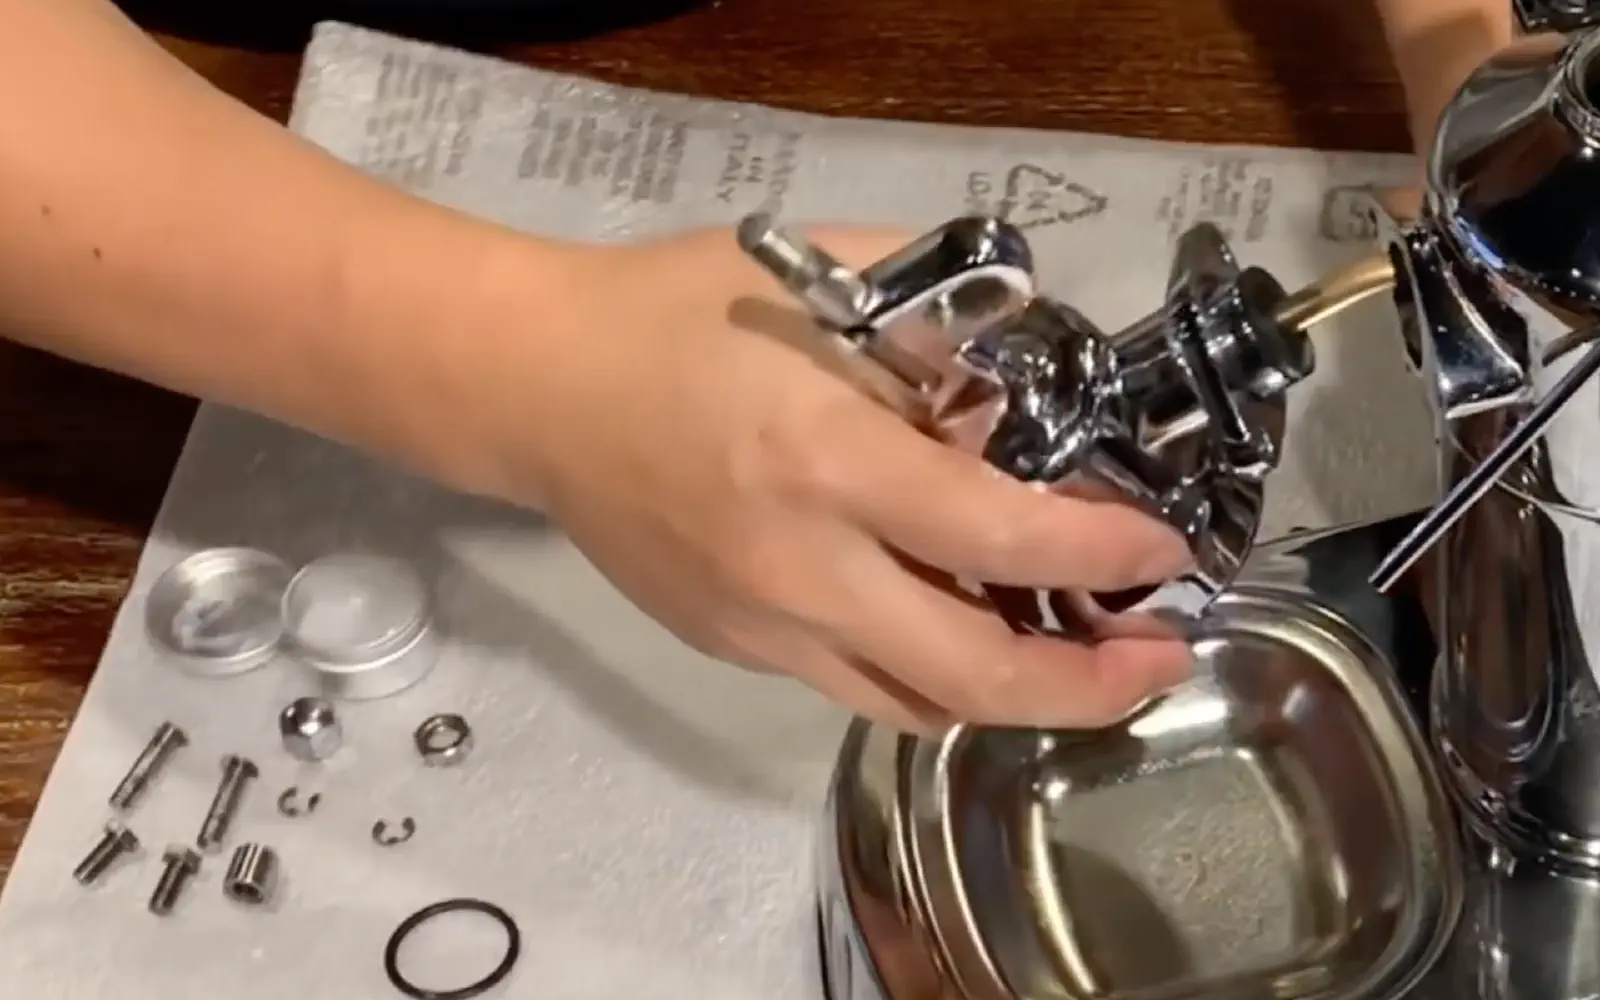
- Using a hook, remove the seal surrounding the shower screen under the piston.
- Extract the shower screen by pushing on the piston rod.
- Then, remove the piston.
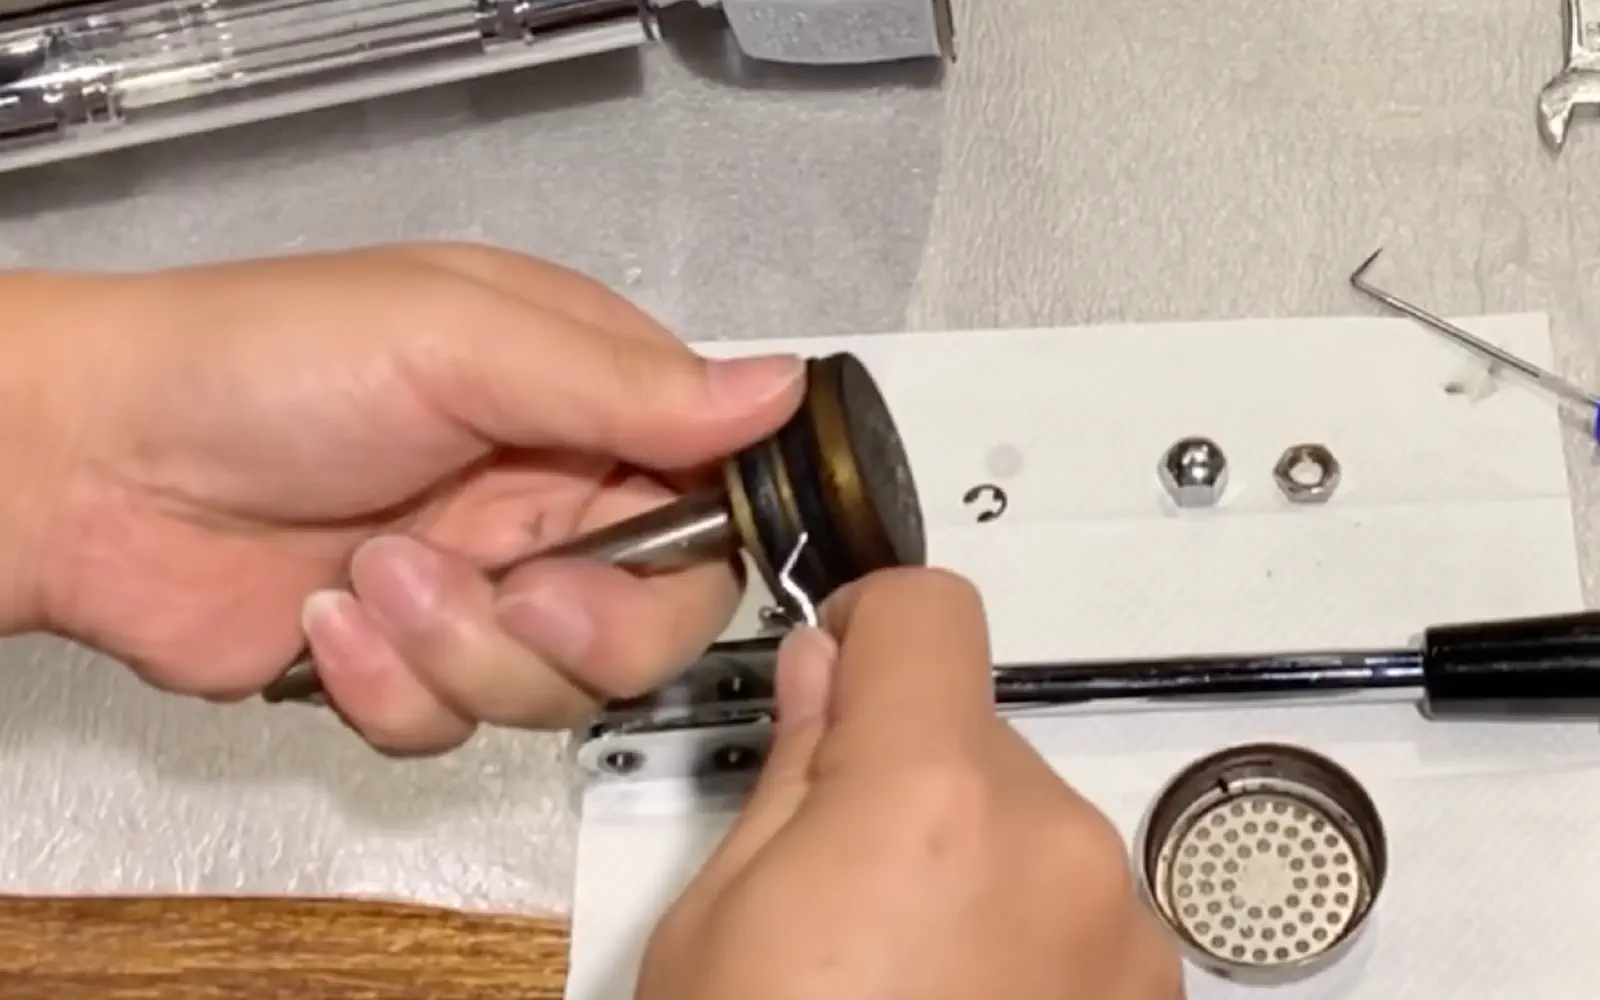
- Proceed with the piston maintenance: using the hook, remove the two piston seals. This may require some force.
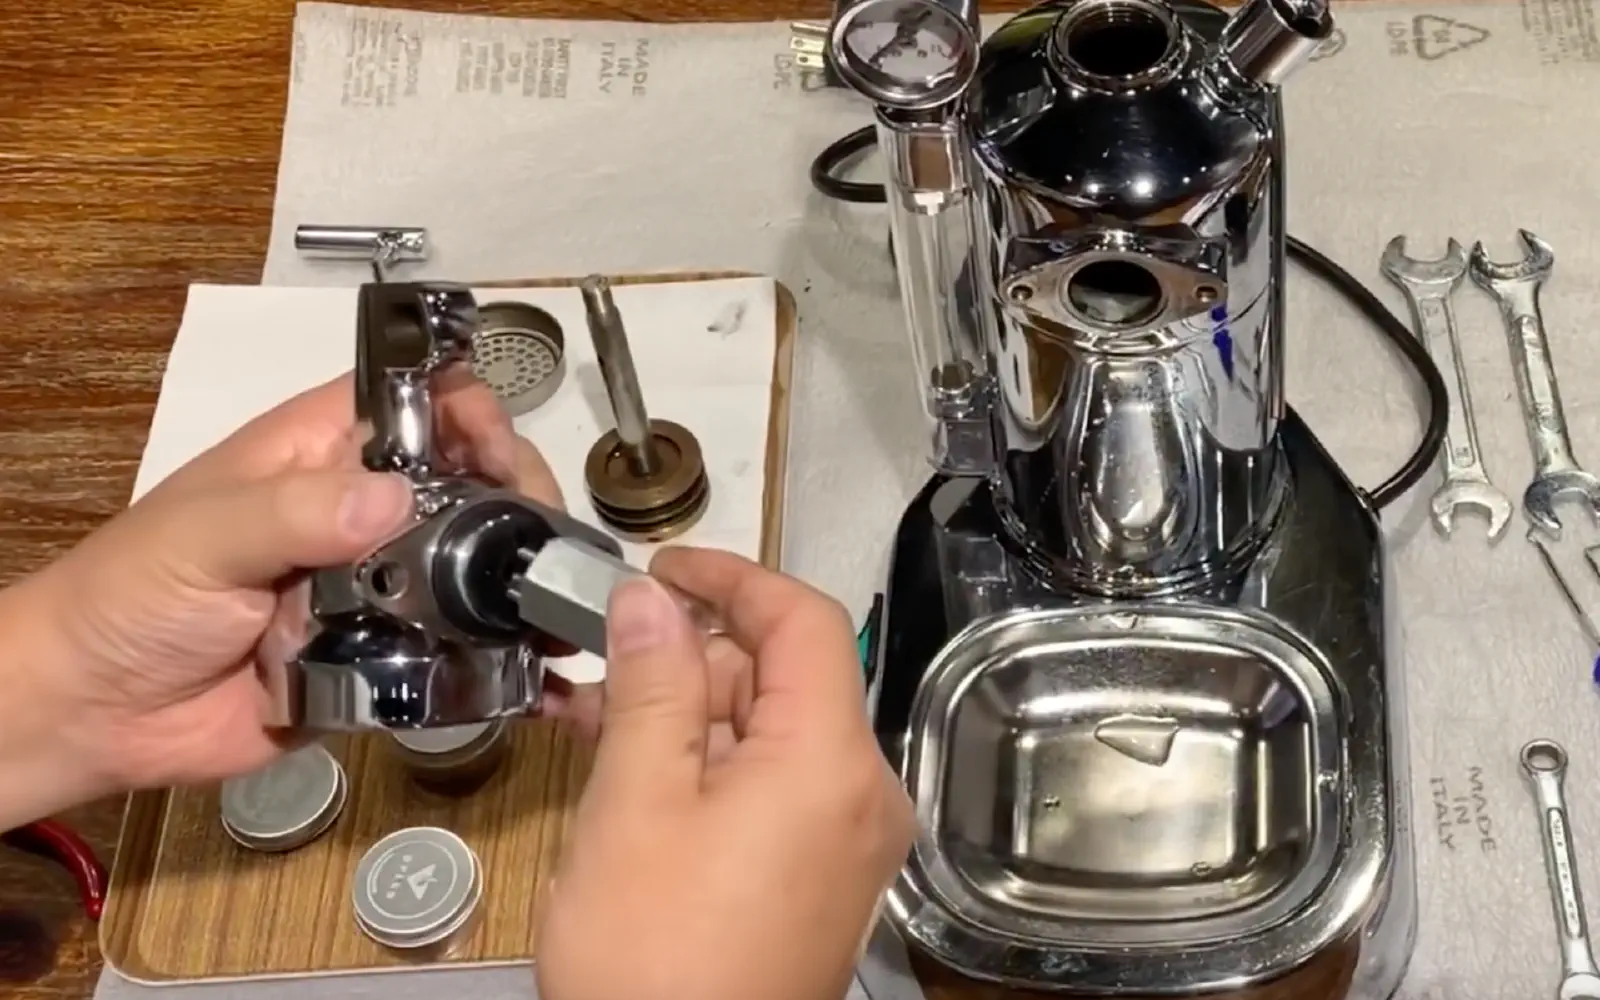
- On the machine, unscrew the two bolts holding the piston body.
- Remove the piston body carefully. Be careful with the copper tube that extends into the boiler.
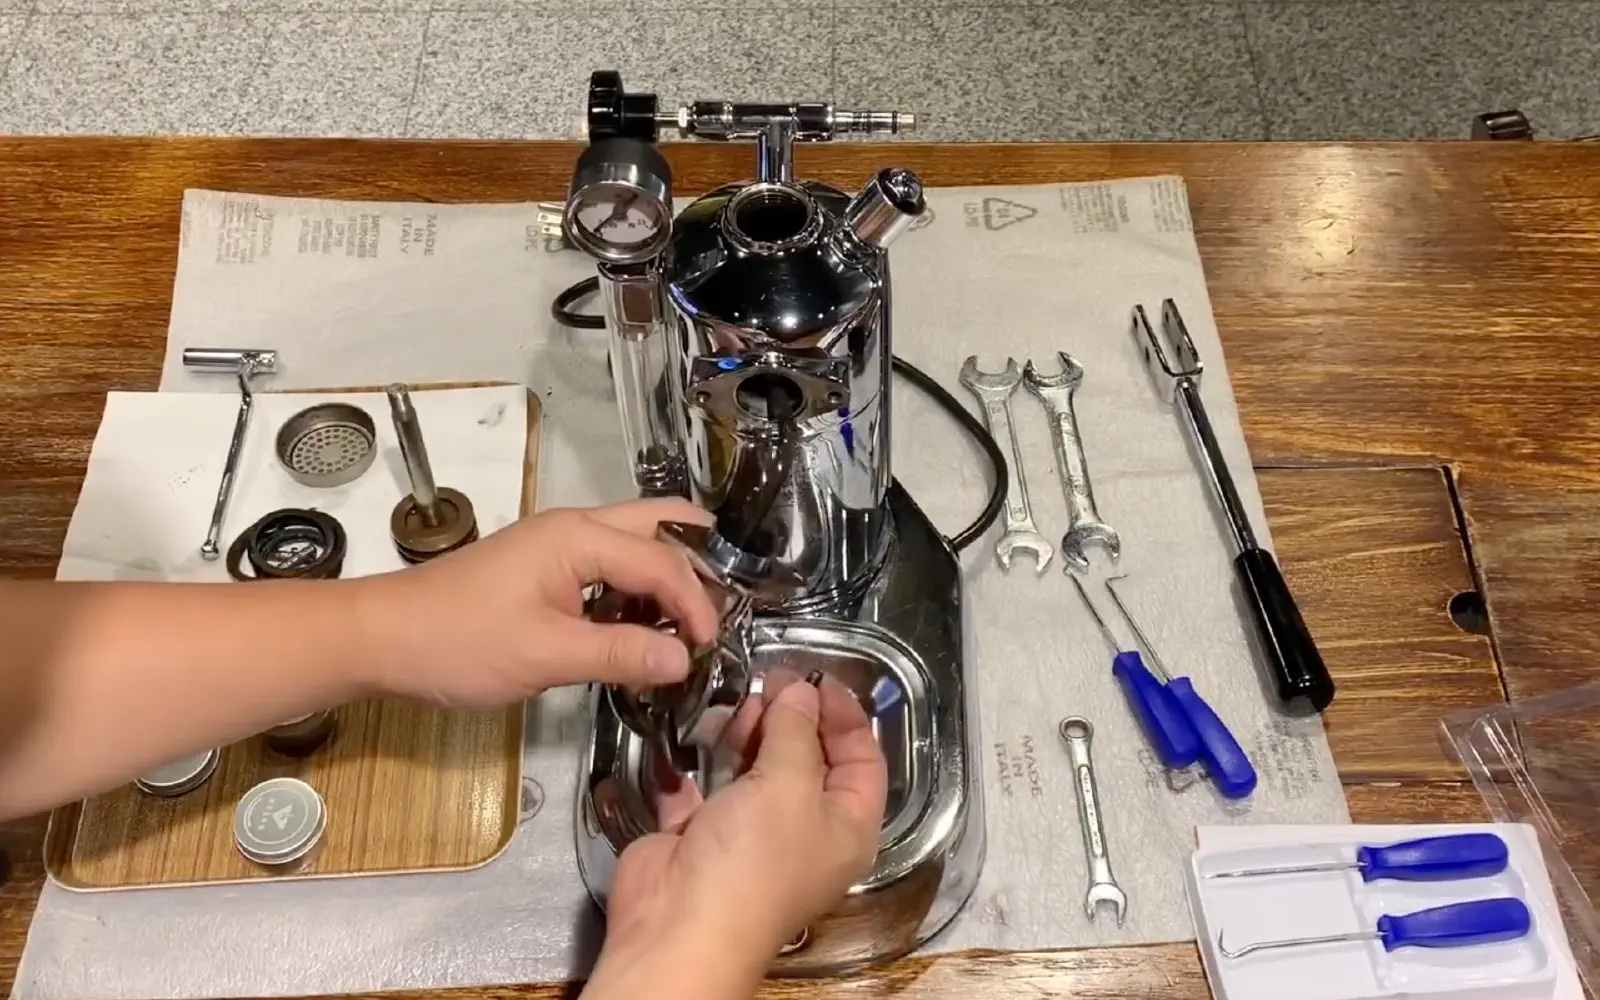
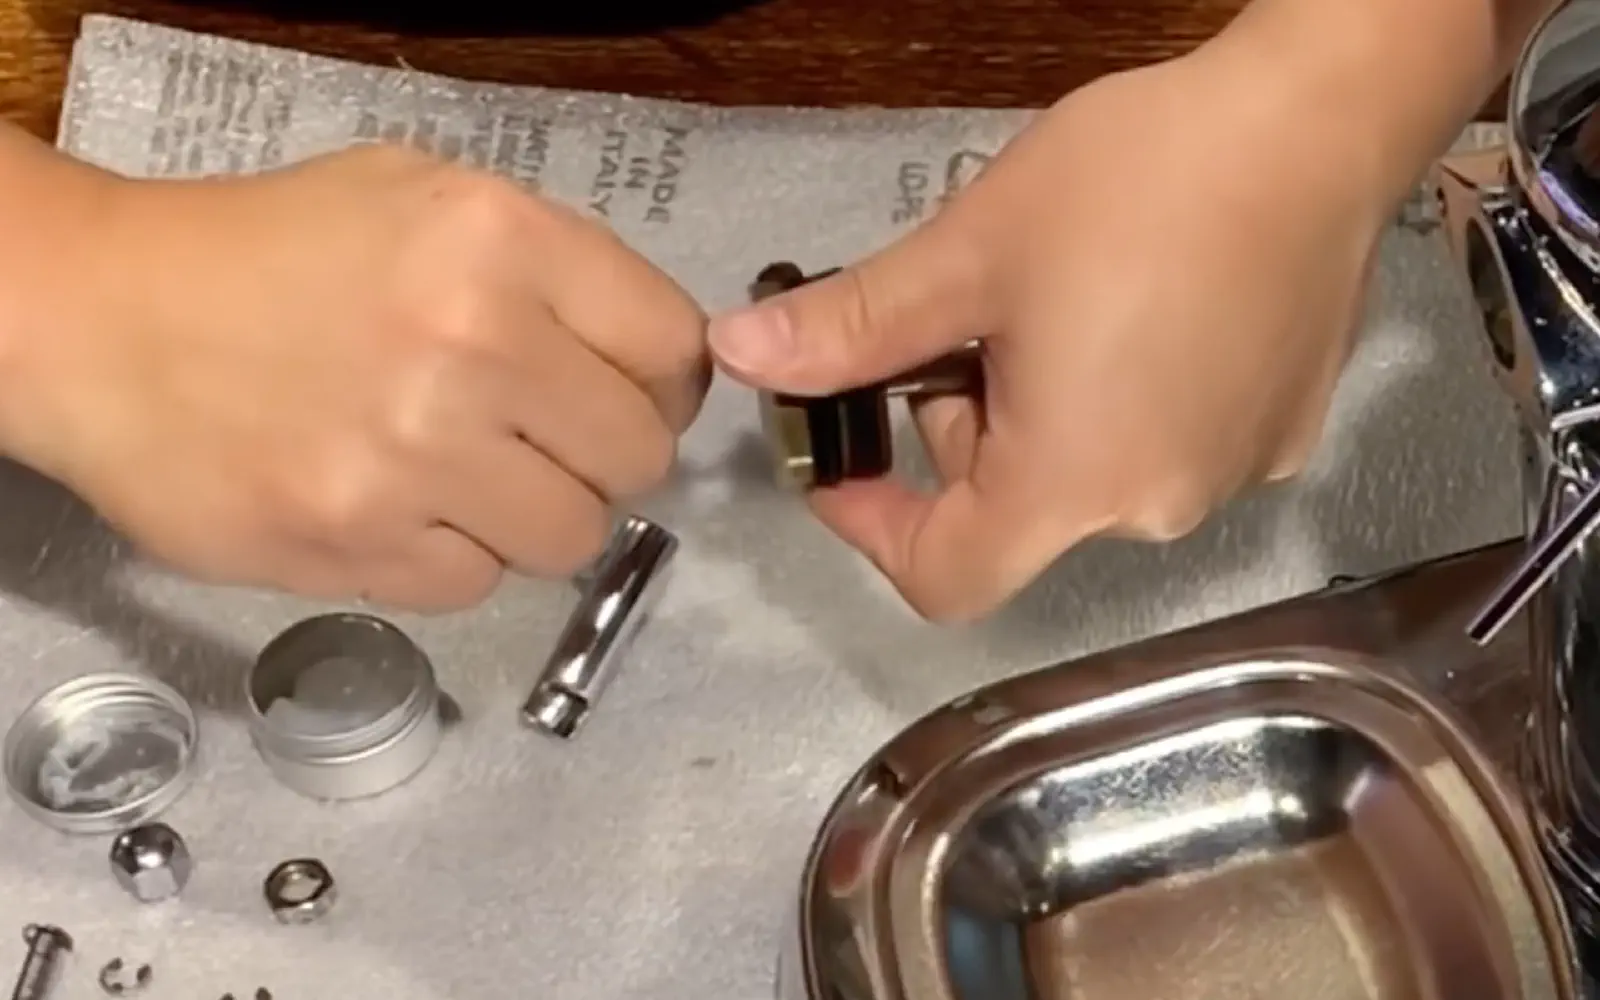
- Unscrew the copper pipe from the piston body.
- Using a tool or by hand, unscrew the plastic tip that holds the pipe.

Deep cleaning of the La Pavoni
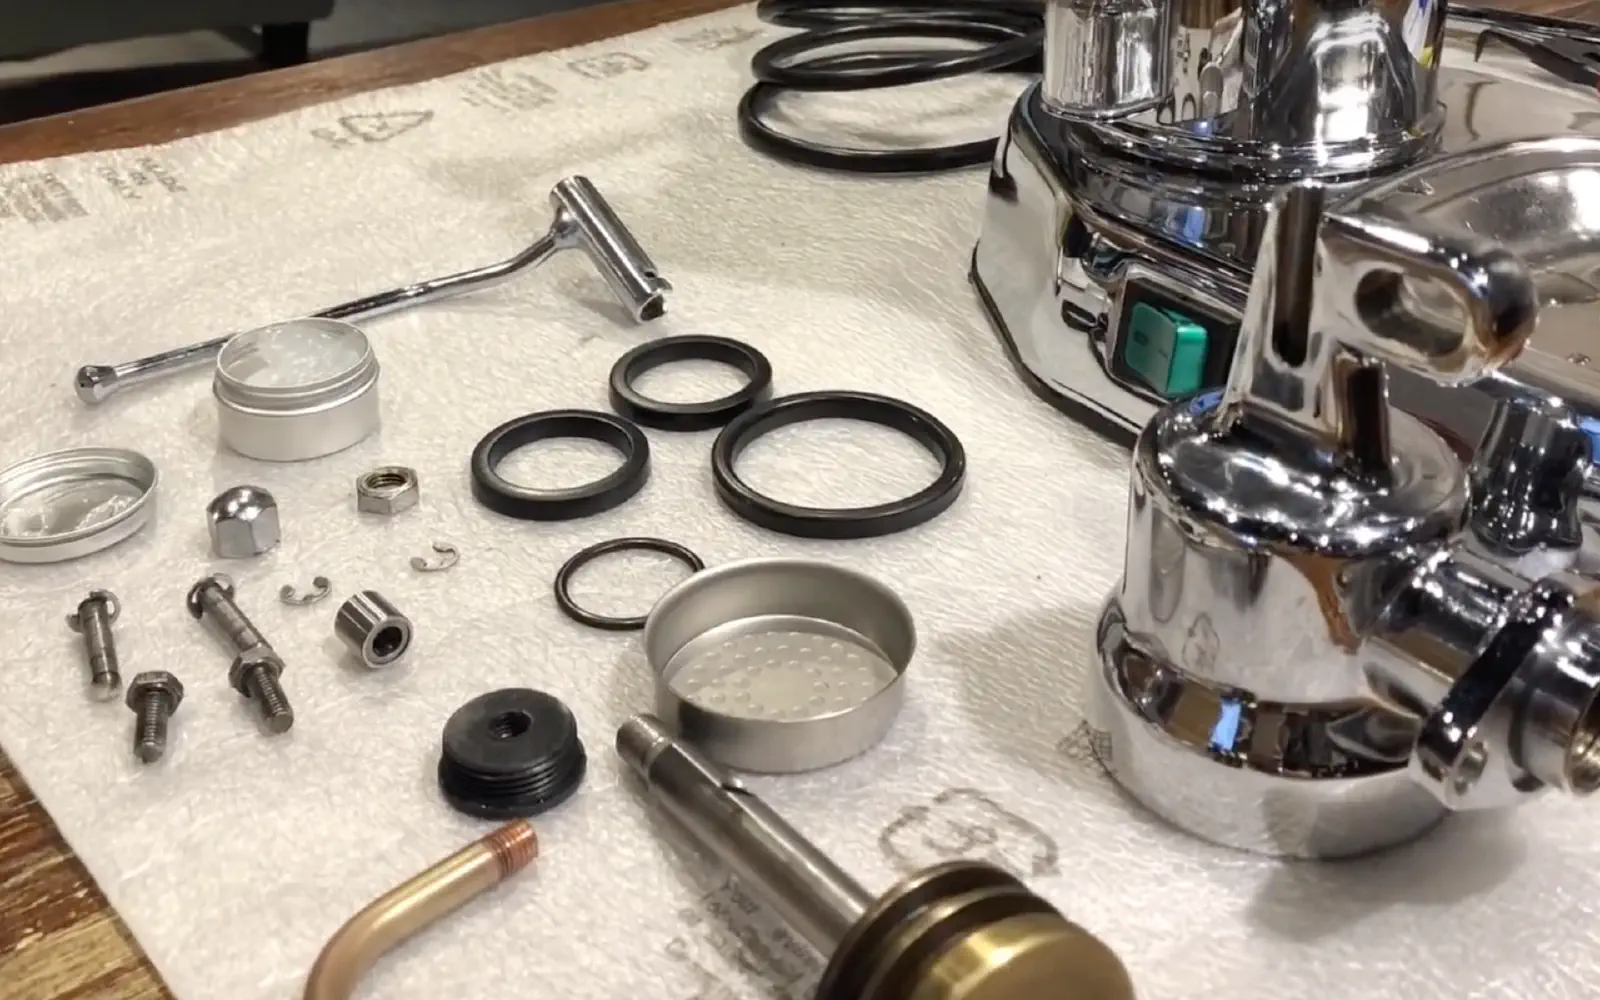
With the machine disassembled, it’s time for cleaning.
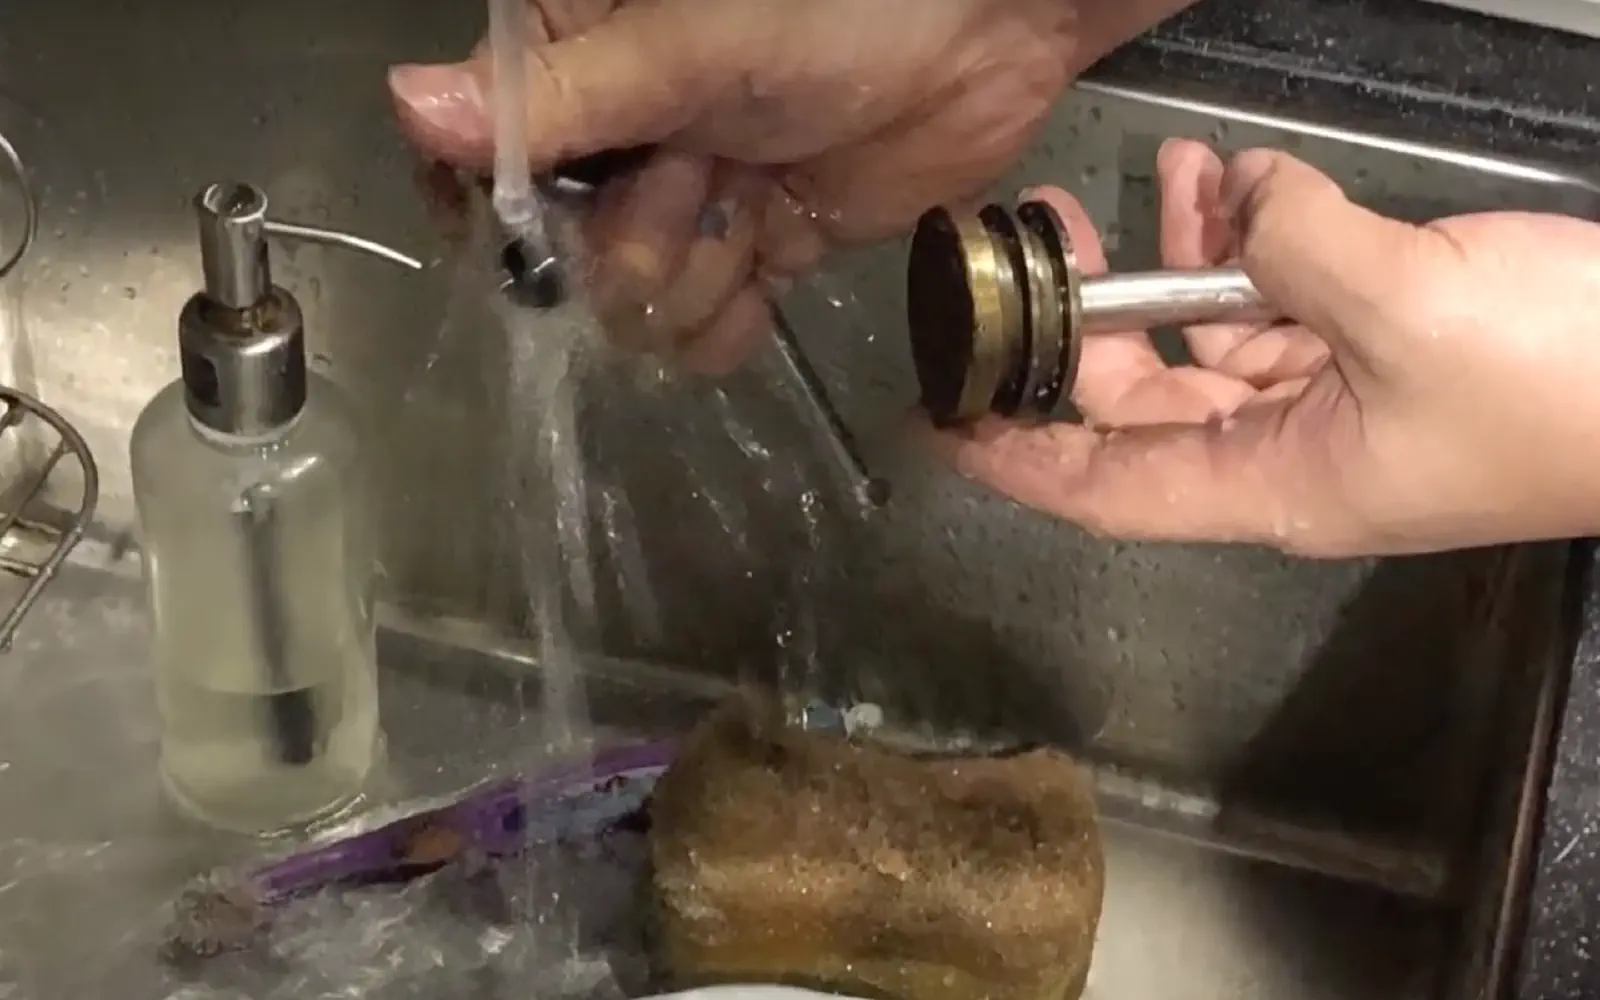
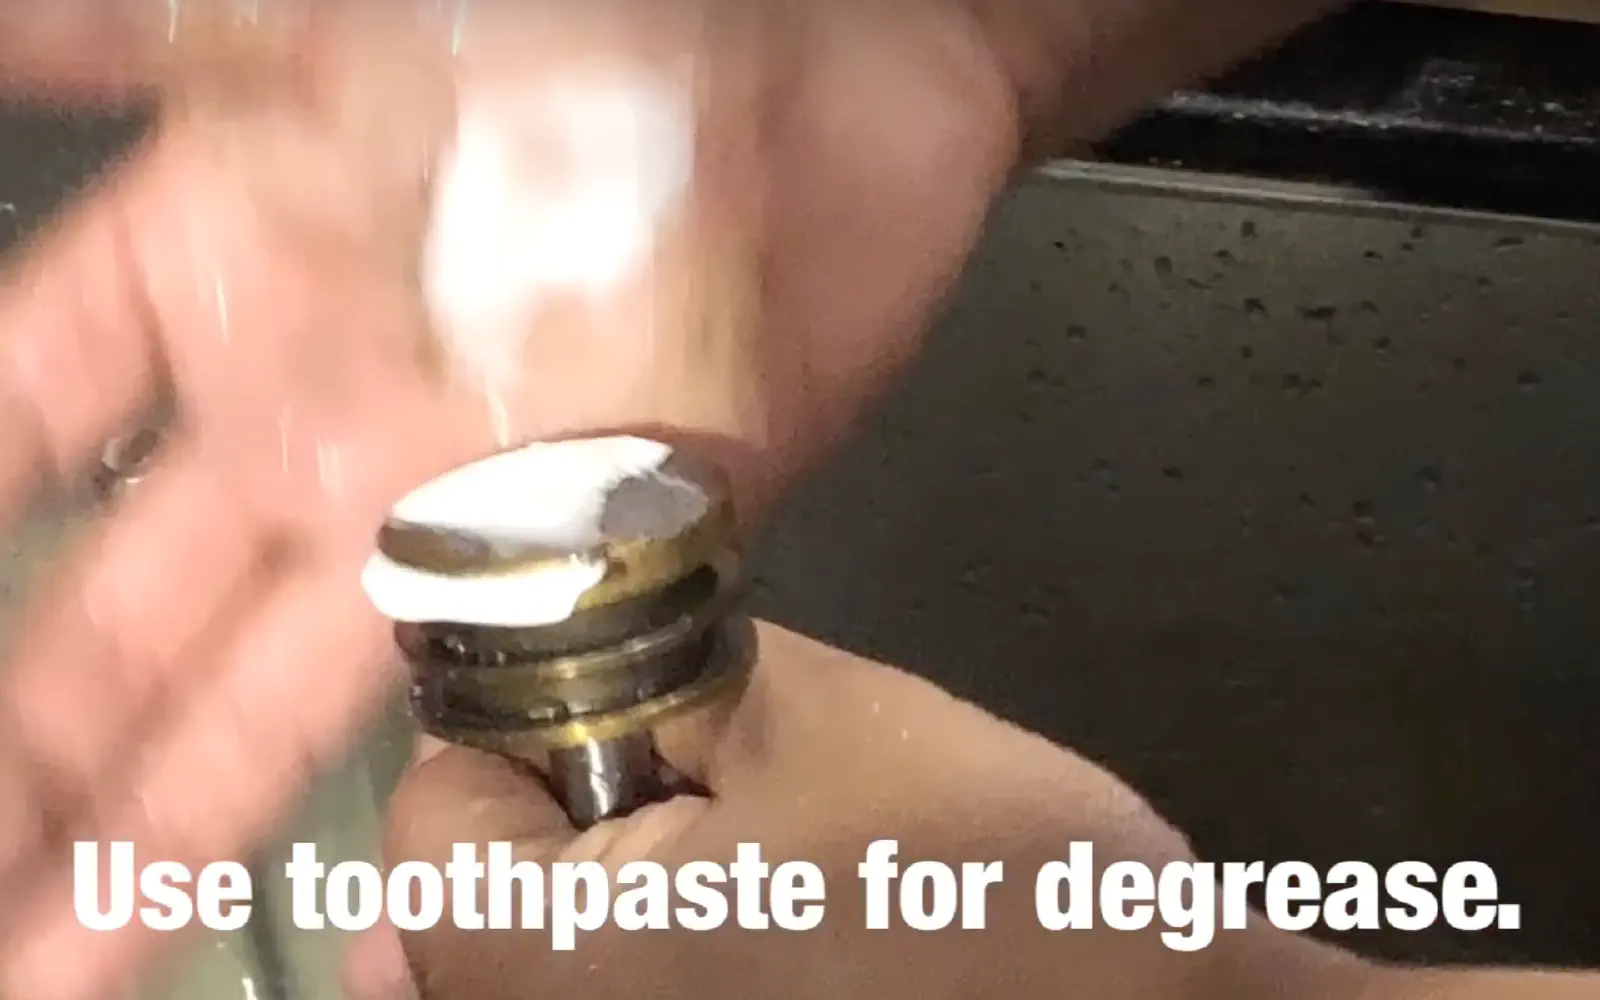
- Thoroughly scrub all the seals and the inside of the piston body with soapy degreasing water.
- A toothbrush or a cloth will work perfectly.
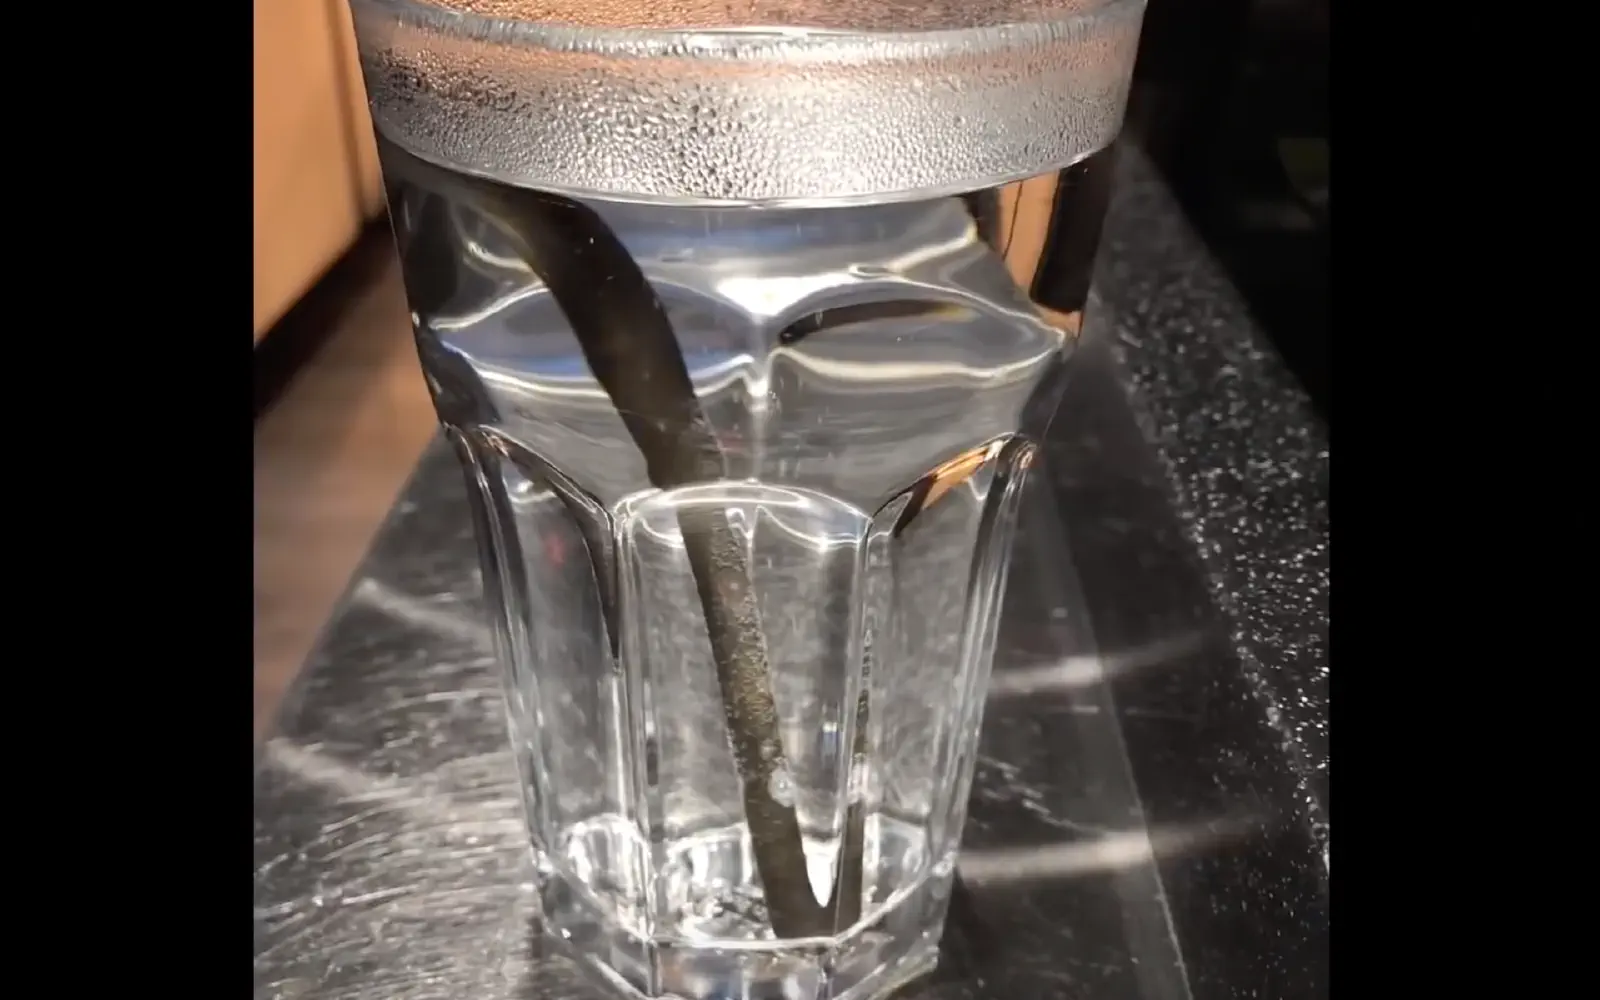
- Soak the copper pipe in white vinegar for 15 to 20 minutes to effectively descale it.
You can also put a few
descaling tablets
affiliate linkin the boiler.
I recommend doing this at this stage, as the tank is easier to empty and rinse when the piston head is disassembled.
Reassembling the La Pavoni
Once all the parts are clean, it’s time to reassemble the machine.
If some parts are worn, consider replacing them. For example, a
La Pavoni gasket set
affiliate linkmay be necessary.
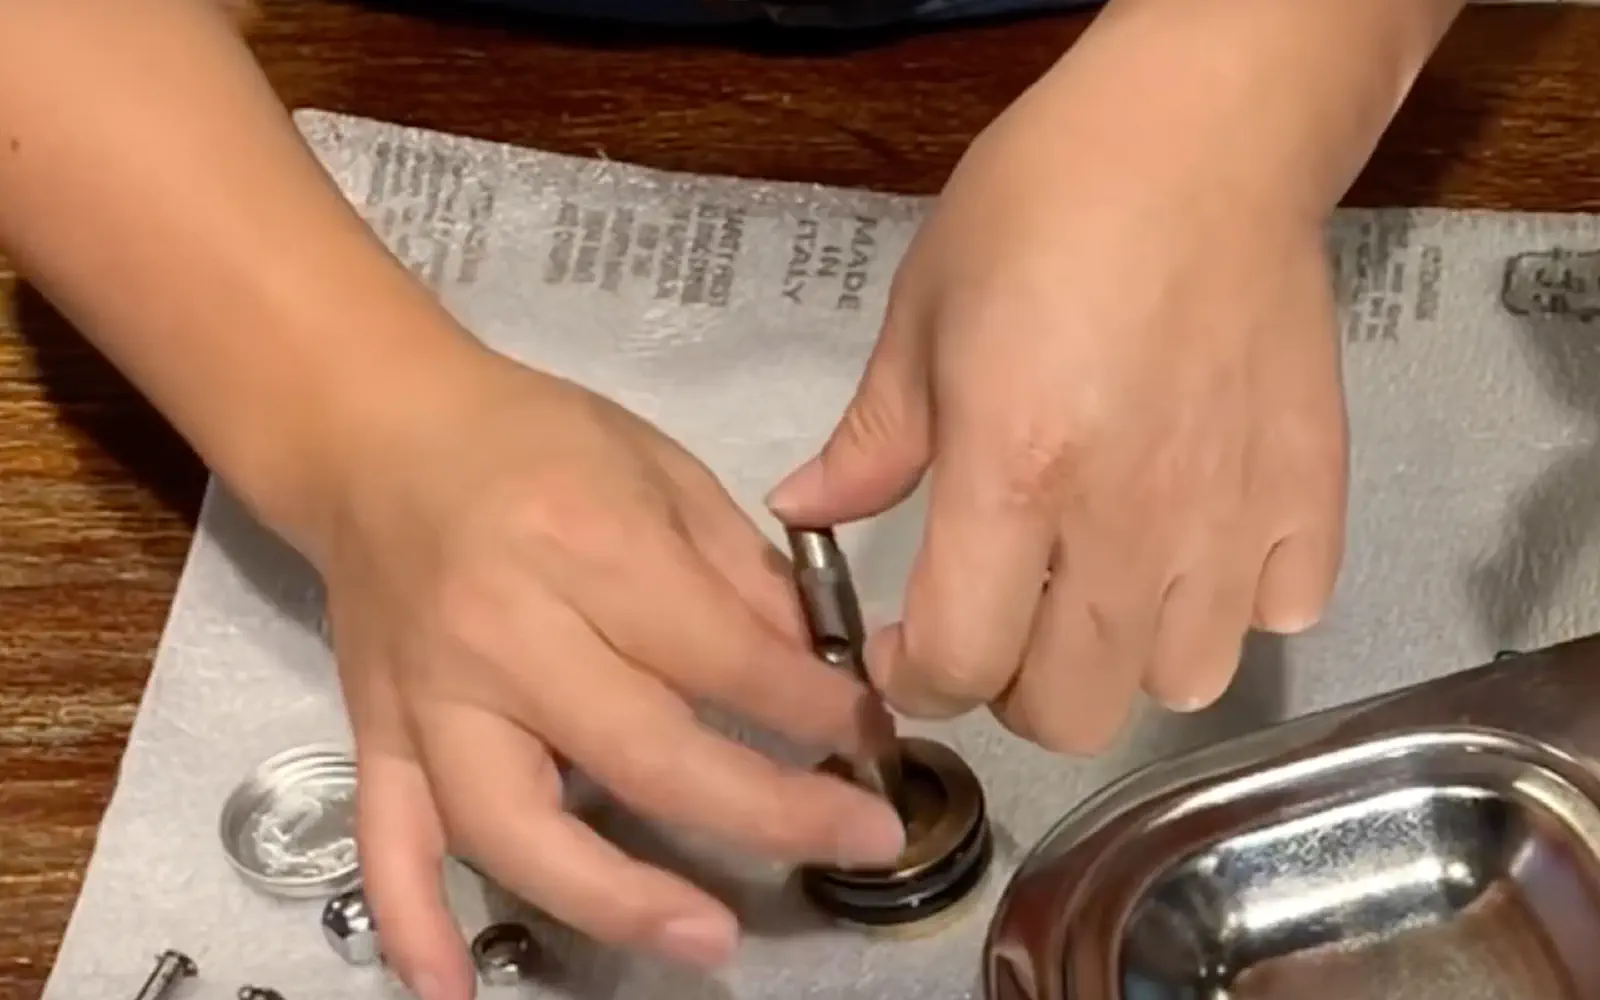
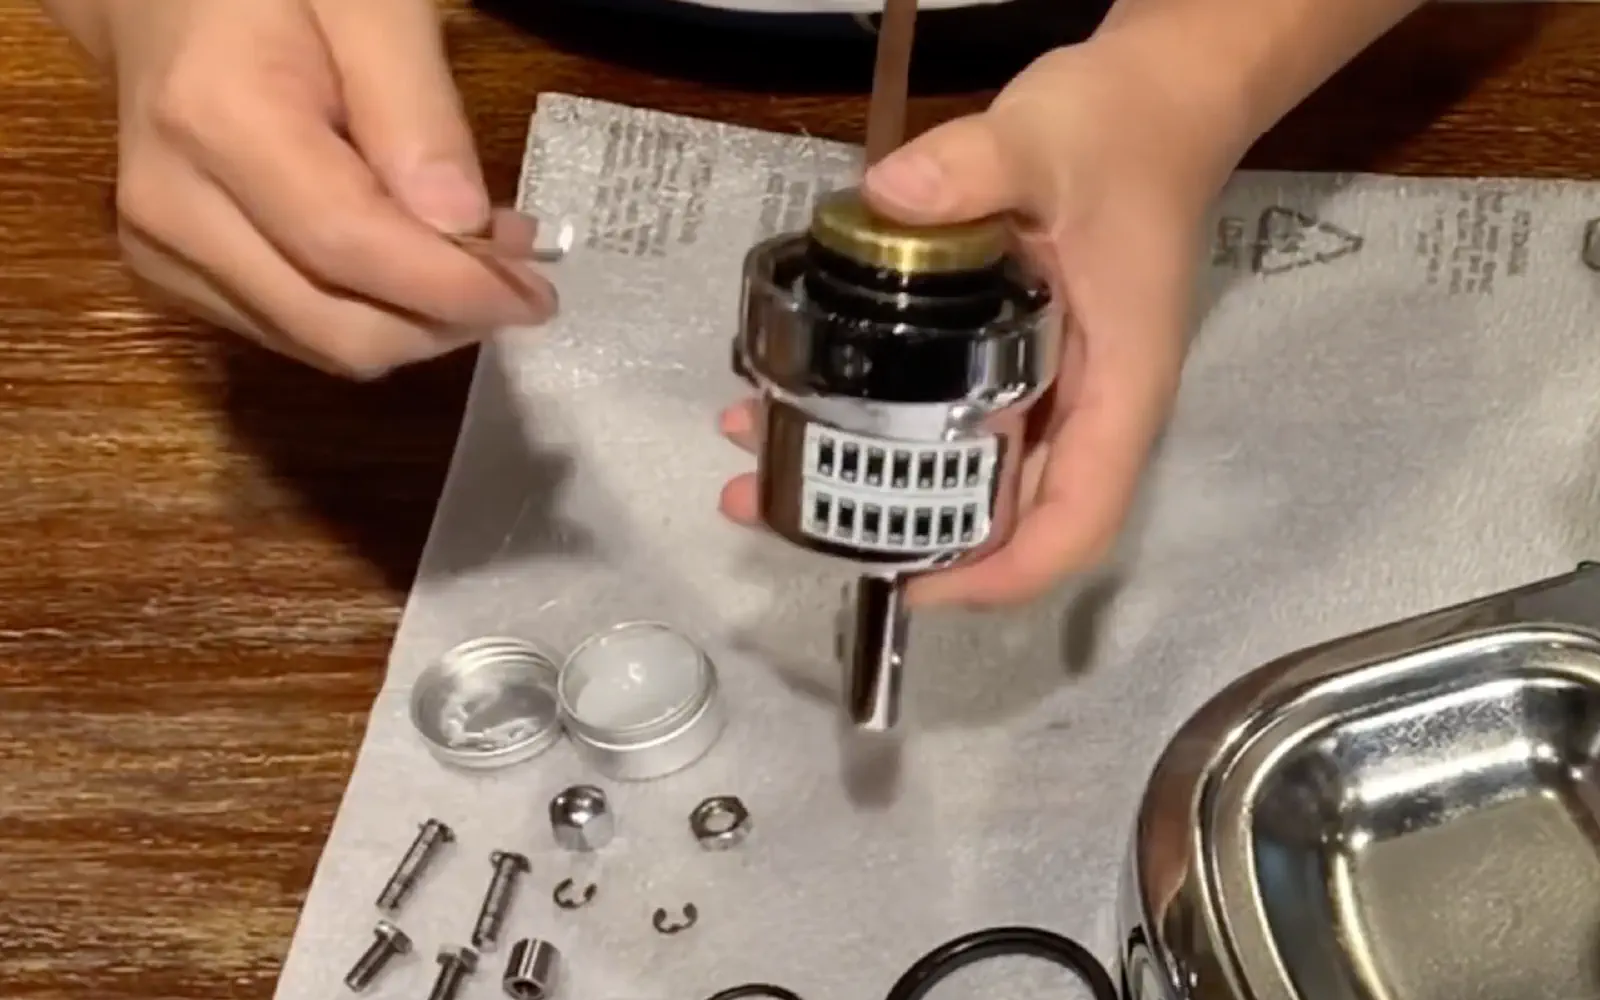
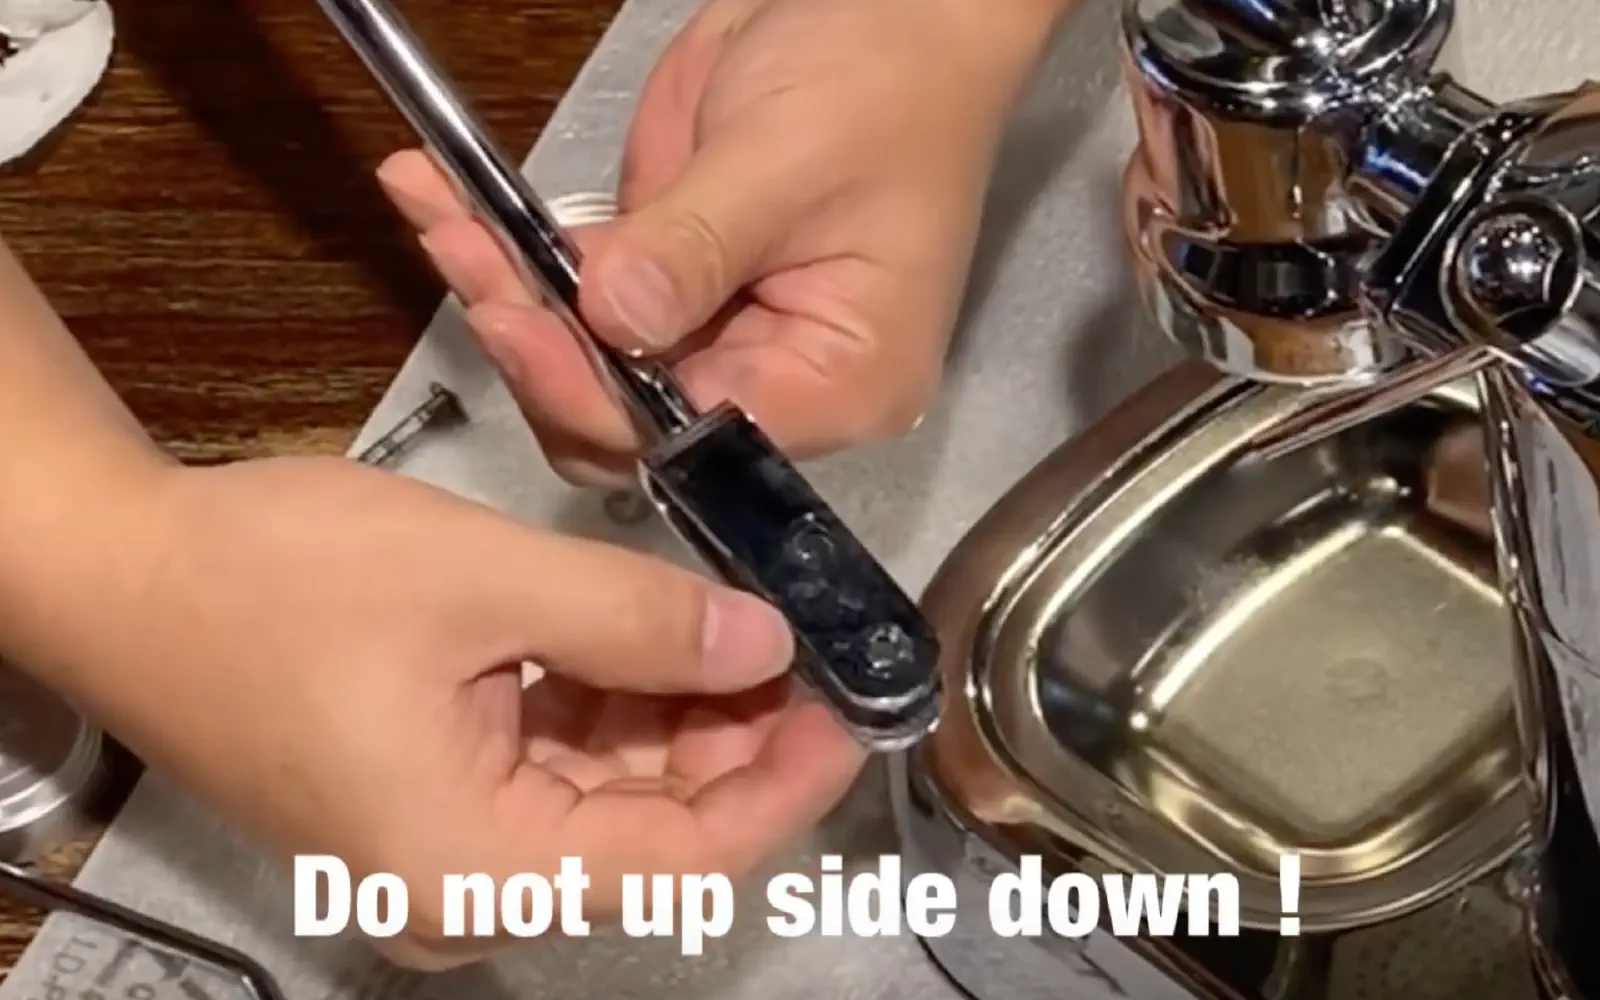
Pay attention to the direction of mounting the gaskets on the piston: the wider parts must face outward.
Since the gaskets are difficult to put back, using a screwdriver can help.
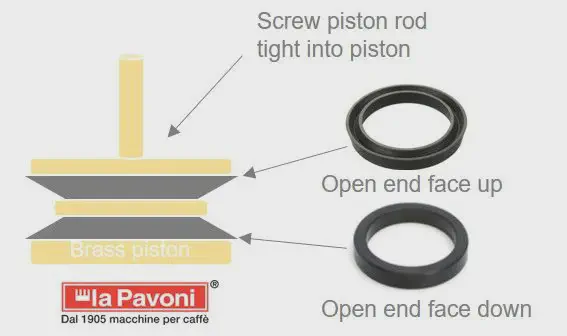
<figcaption>Direction for inserting the piston seals</figcaption>
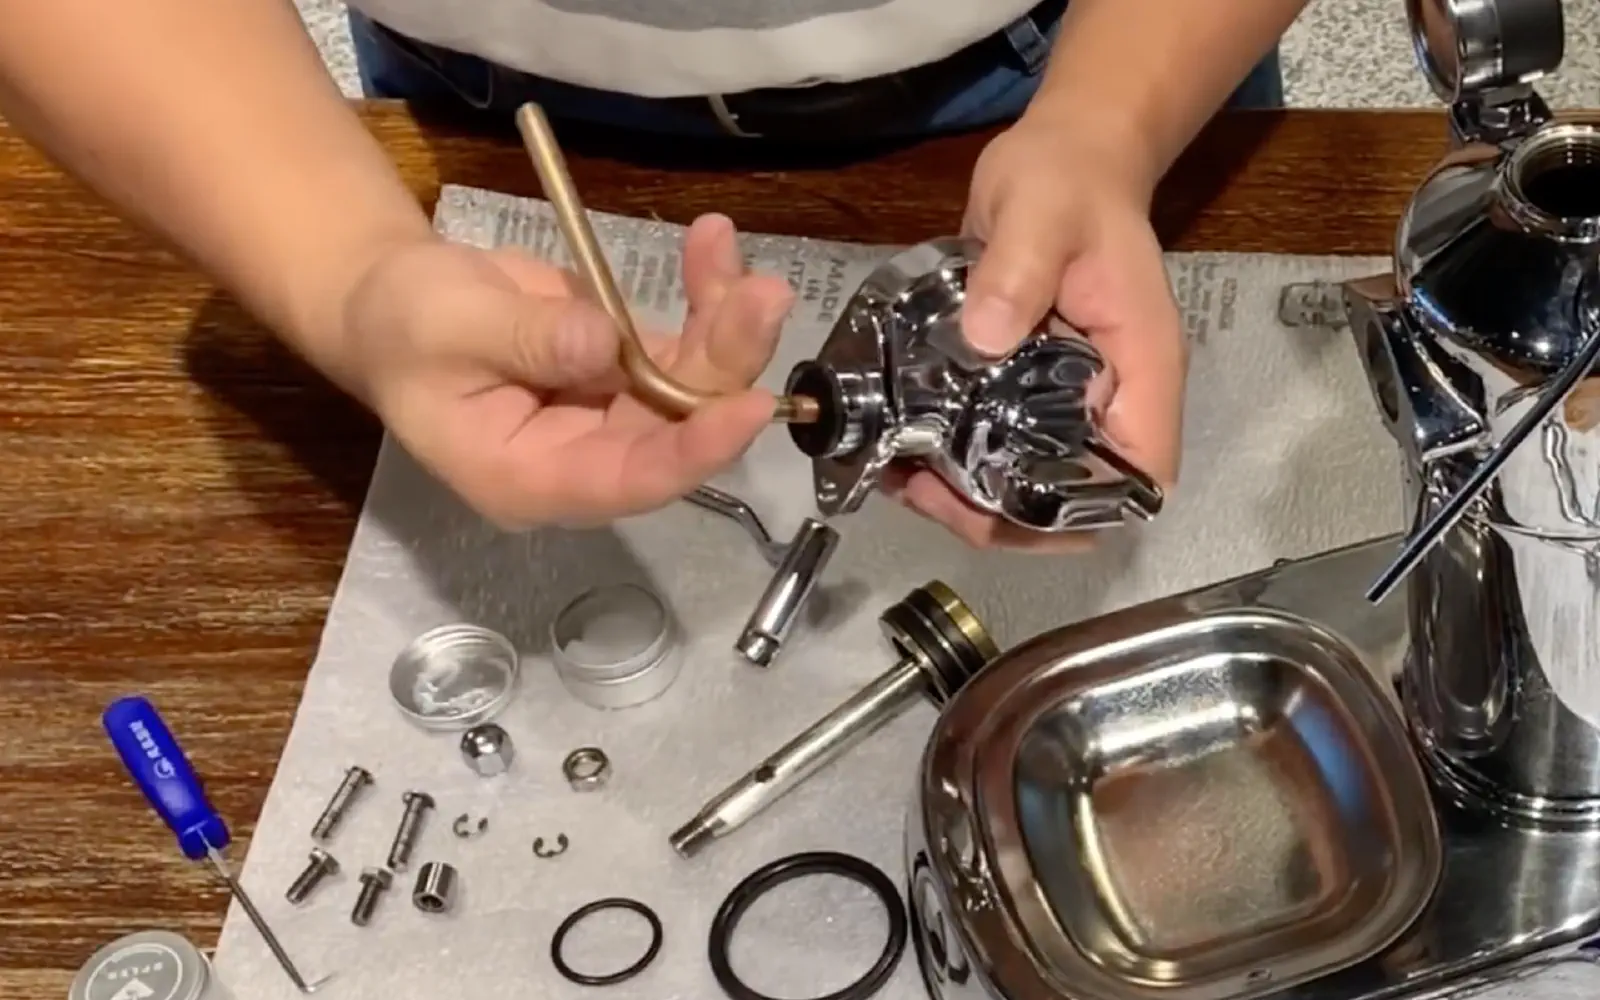
- Screw the plastic tip that connects the tube to the piston body.
- Attach the copper tube to it, making sure to orient it correctly downward so that it dips properly into the boiler tank.
- Grease the moving parts of the machine:
- Apply food-grade grease around the piston and on its rod.
Here is the type of grease to use affiliate link. - Add grease inside the piston body.
- Apply food-grade grease around the piston and on its rod.
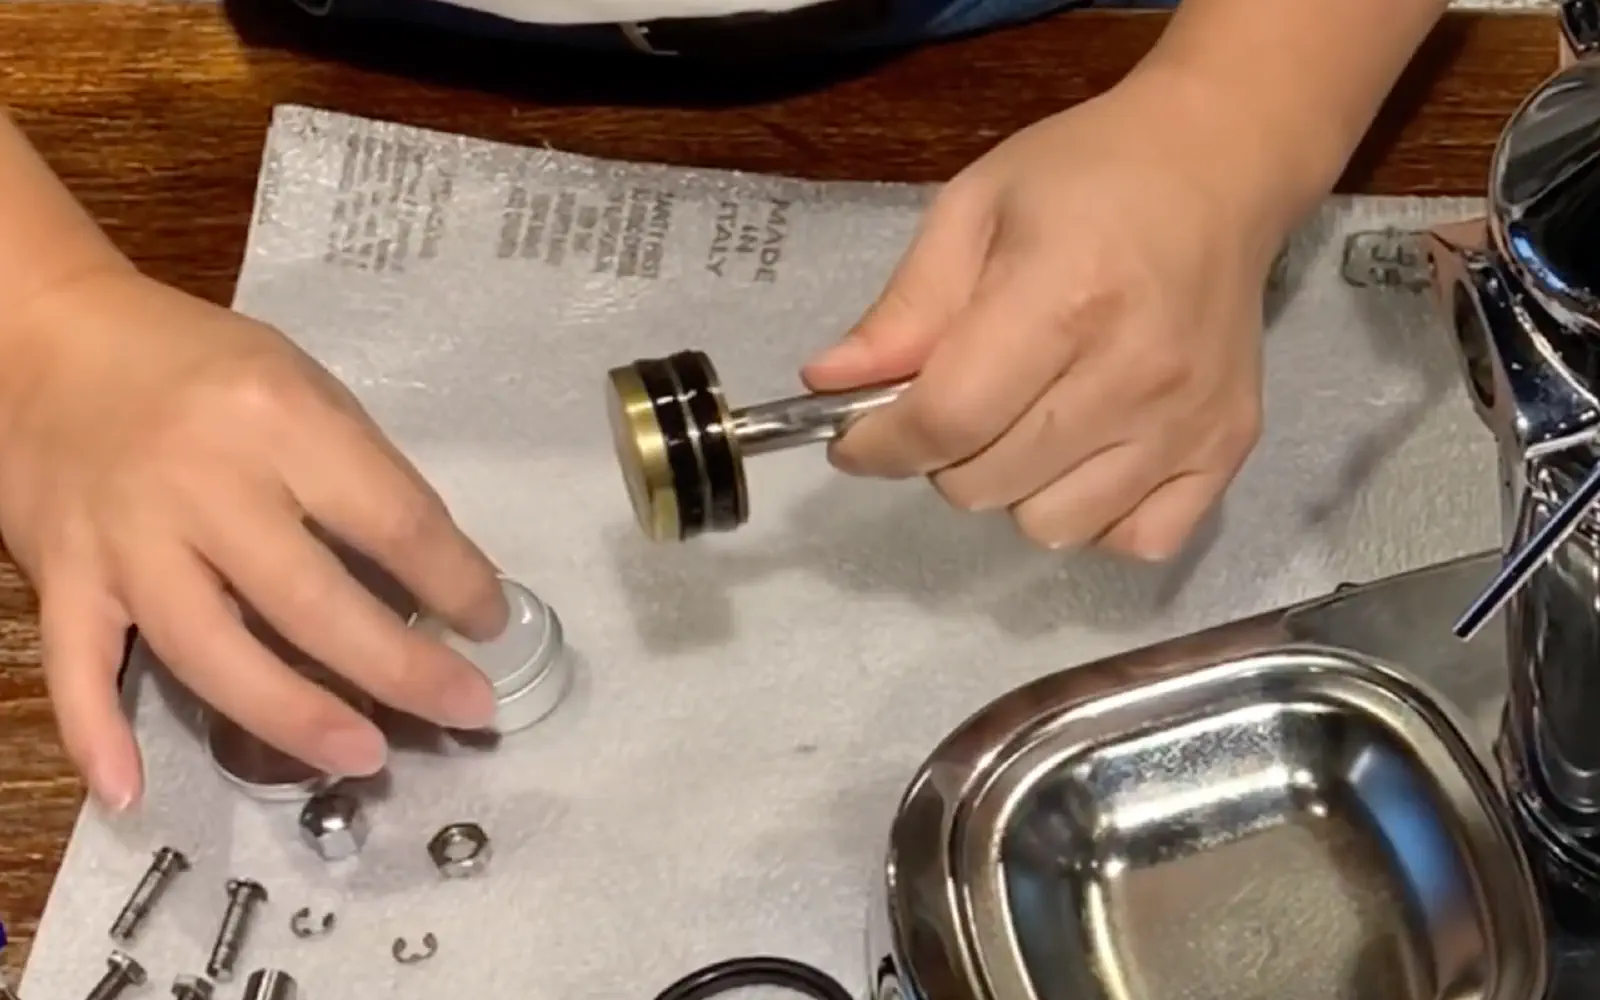
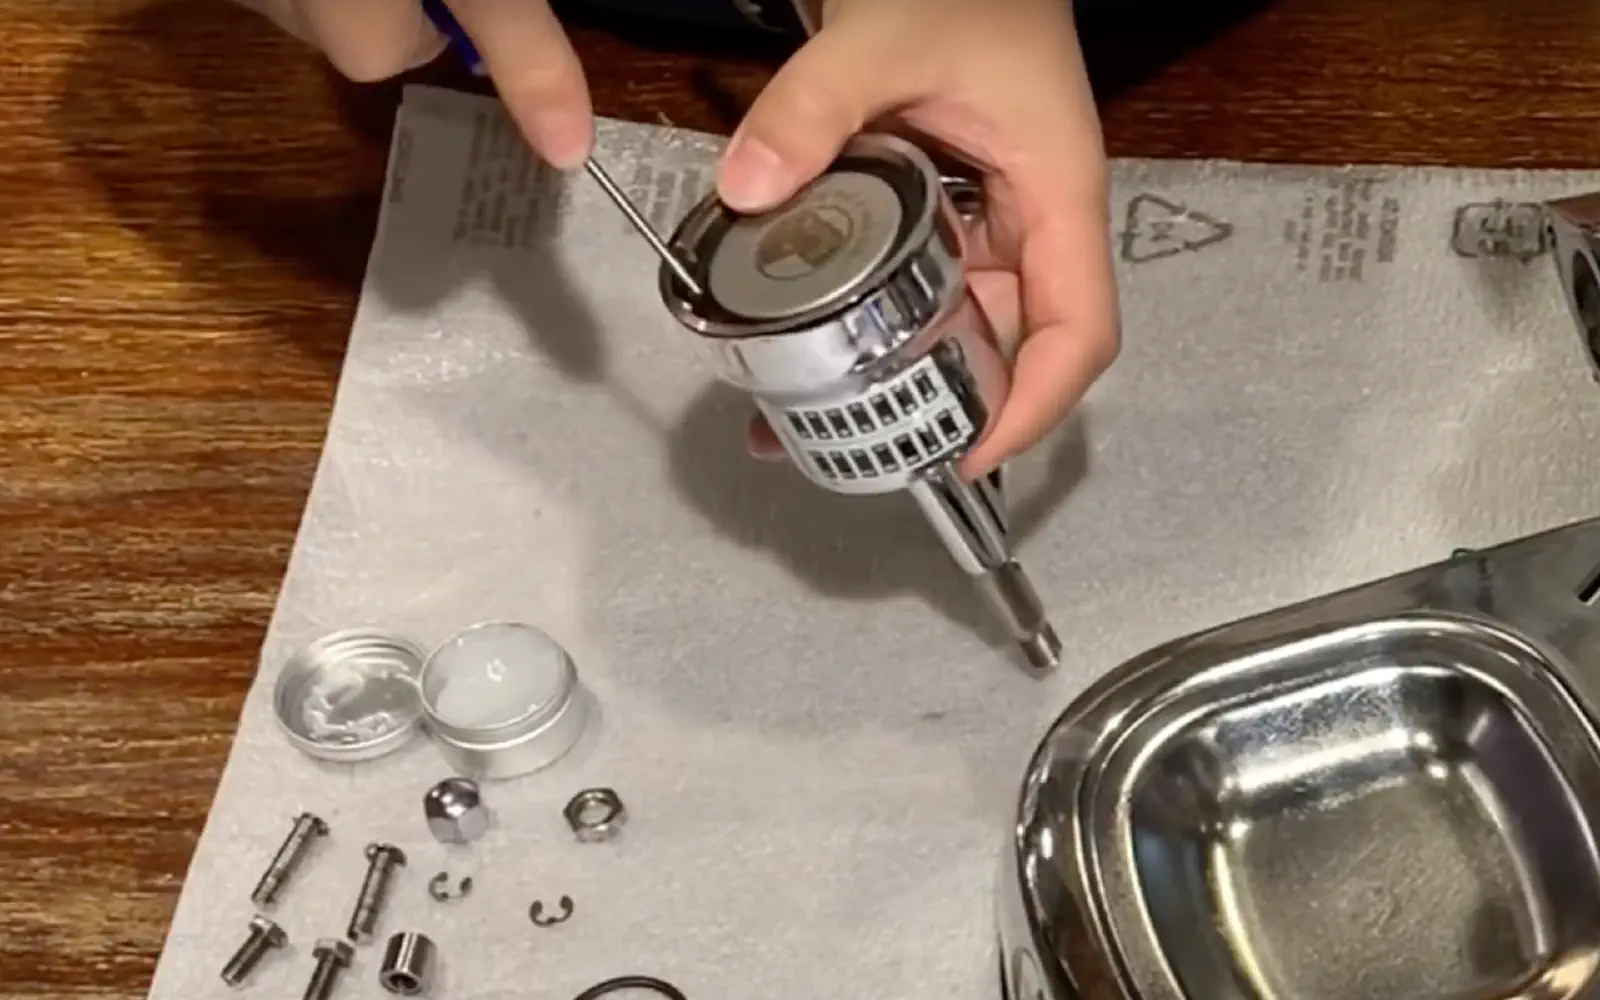
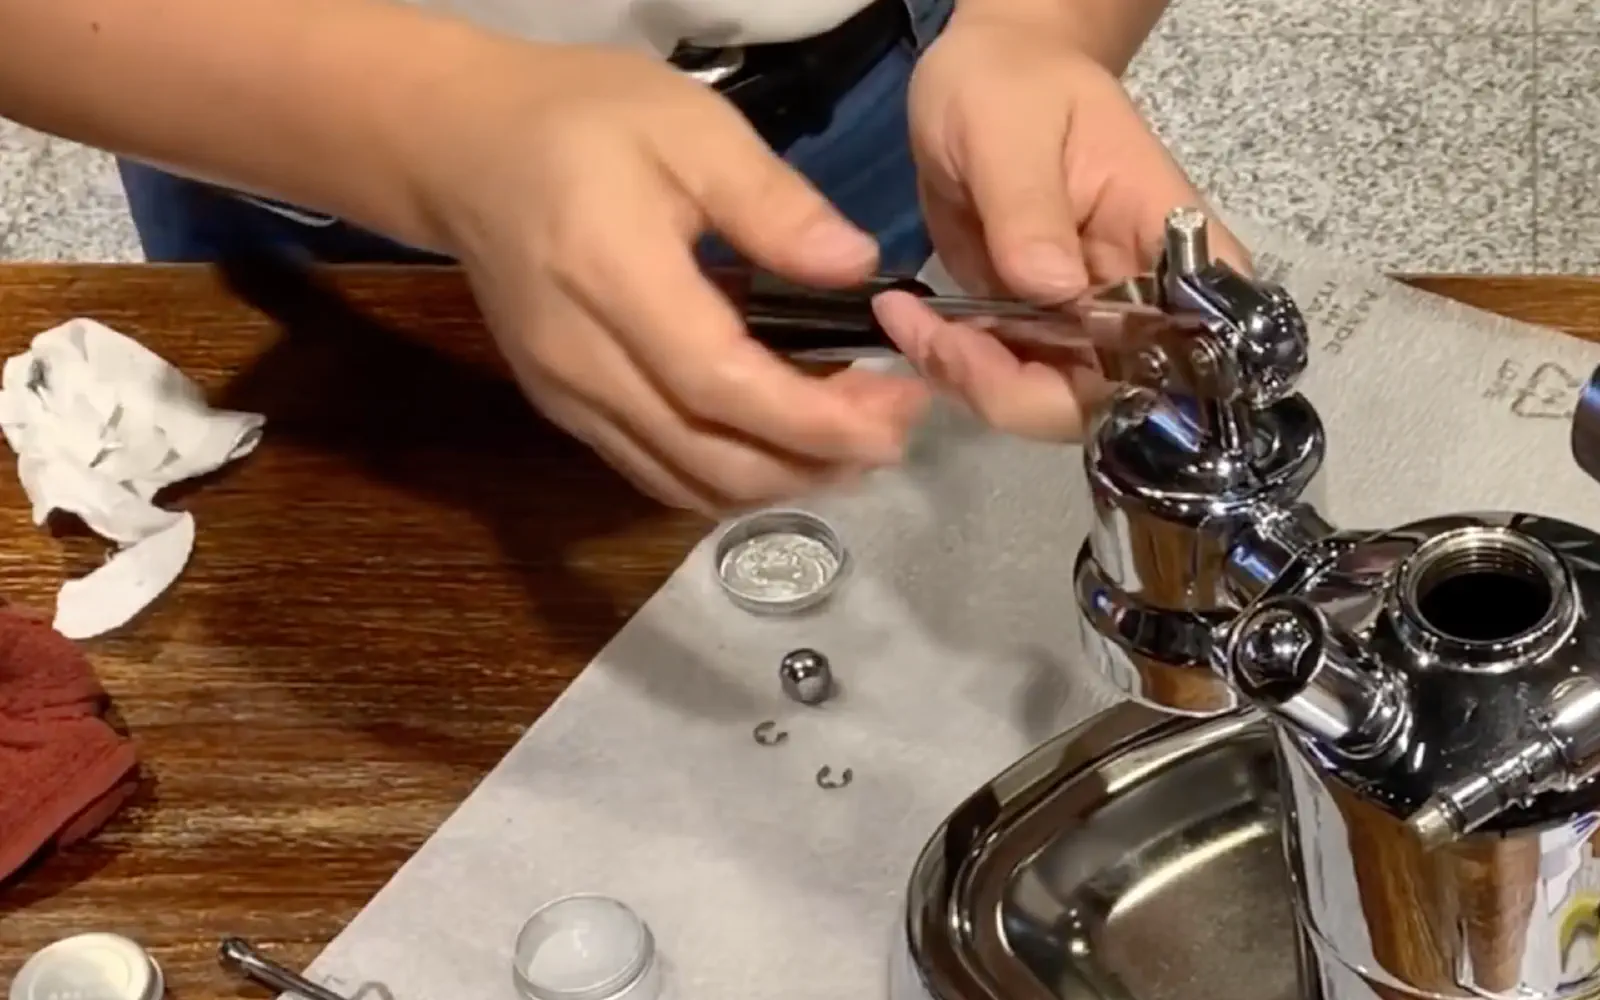
- Reinsert the piston into the piston body.
This is a bit difficult because the seals are very tight. A screwdriver can help. - Properly align the openings for the pins.
- Place the seal around the shower screen.

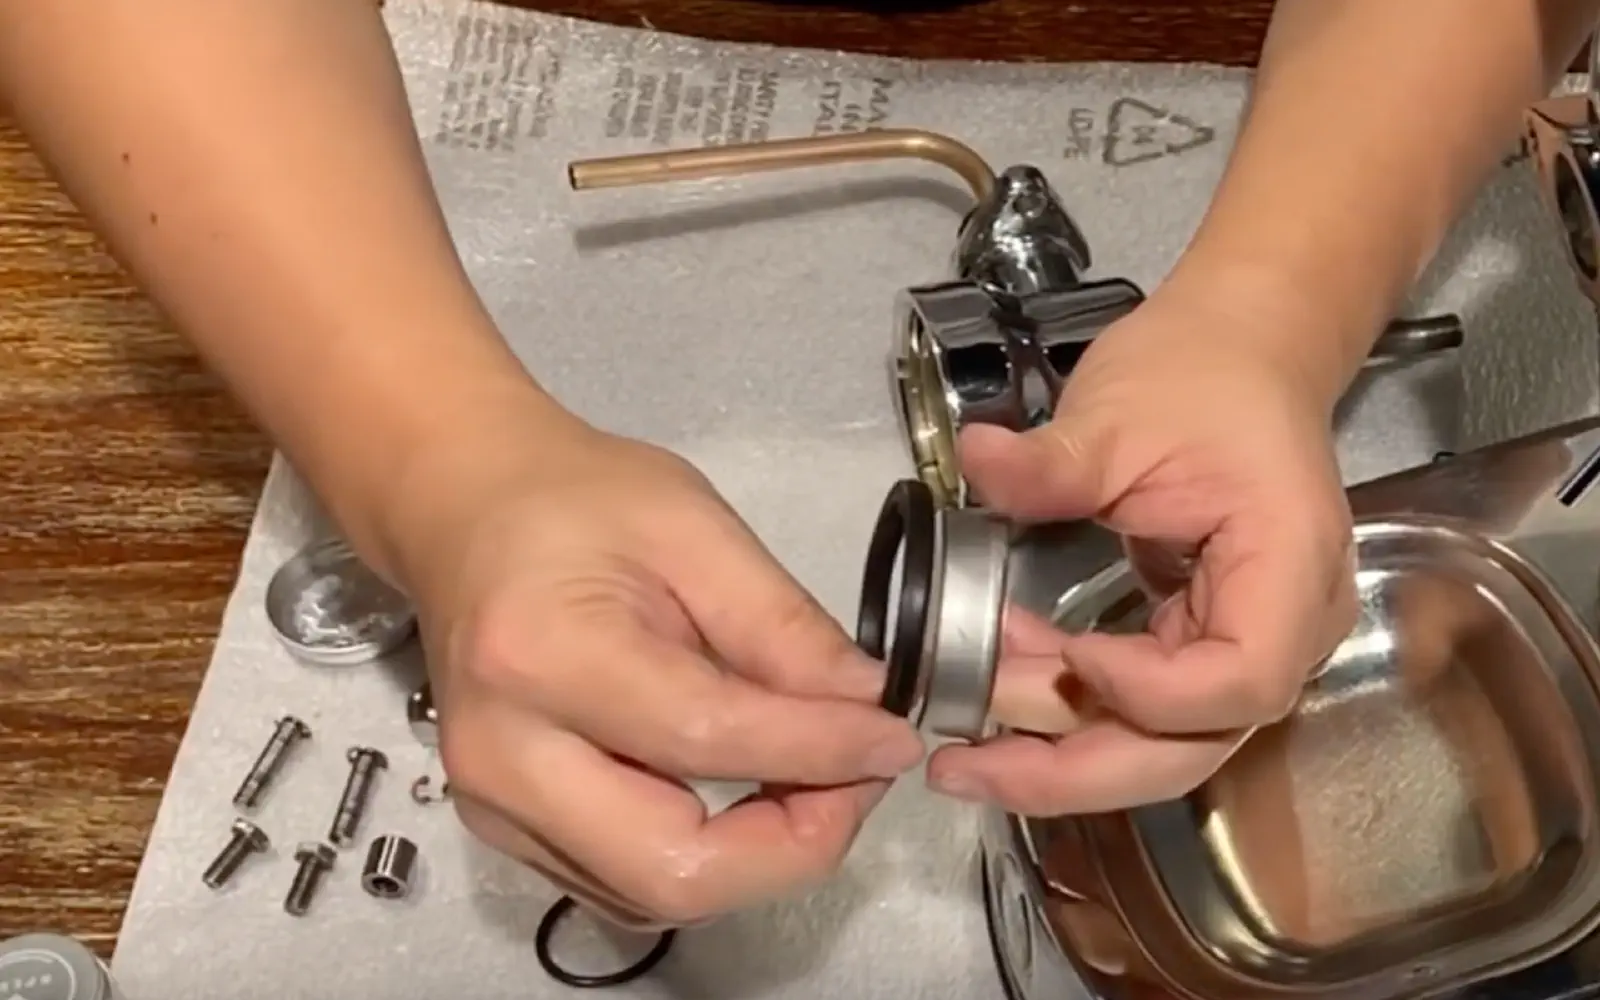
- Insert the shower screen and its gasket into the piston body.
- Push the gasket in firmly (tip: insert the portafilter all the way to position it properly).
- Replace the piston body on the boiler, without forgetting the gasket.
- Tighten the two bolts securely.

- Replace the lever respecting the direction of the holes.
- Reinsert the pins and their fasteners (be careful with the small bearing, don’t forget it).
- Tighten the two nuts on the piston rod with the 14mm wrenches.
- Finally, adjust the lever movement height with the two nuts on the rod.
If the piston descends too low, it risks hitting the shower screen and dislodging it.
It is ready to operate again for many months before the next service.

4 tips to avoid channeling with a bottomless portafilter
Discover effective strategies to avoid channeling when using a bottomless portafilter, and thus prepare espressos of impeccable quality.
Read more...Finally, below you will find the complete tutorial video that served as the basis for this article:
Feel free to comment to ask your questions, share your feedback or add your own tips 🙂
