Opening of the Coffeegeek shop
Dive into my experience creating an innovative WDT tool for coffee, inspired by my favorite coffee grinder, the BPlus Apollo, designed through 3D printing. This article traces the different stages of my creation, the specificities of my design, and the materials chosen to offer an unparalleled coffee experience. Join me on this exciting adventure and discover where to find this accessory on platforms like Le Bon Coin and Etsy.
Those who follow me on my Discord know it, I’ve been looking to create coffee accessories using a 3D printer for quite some time now.
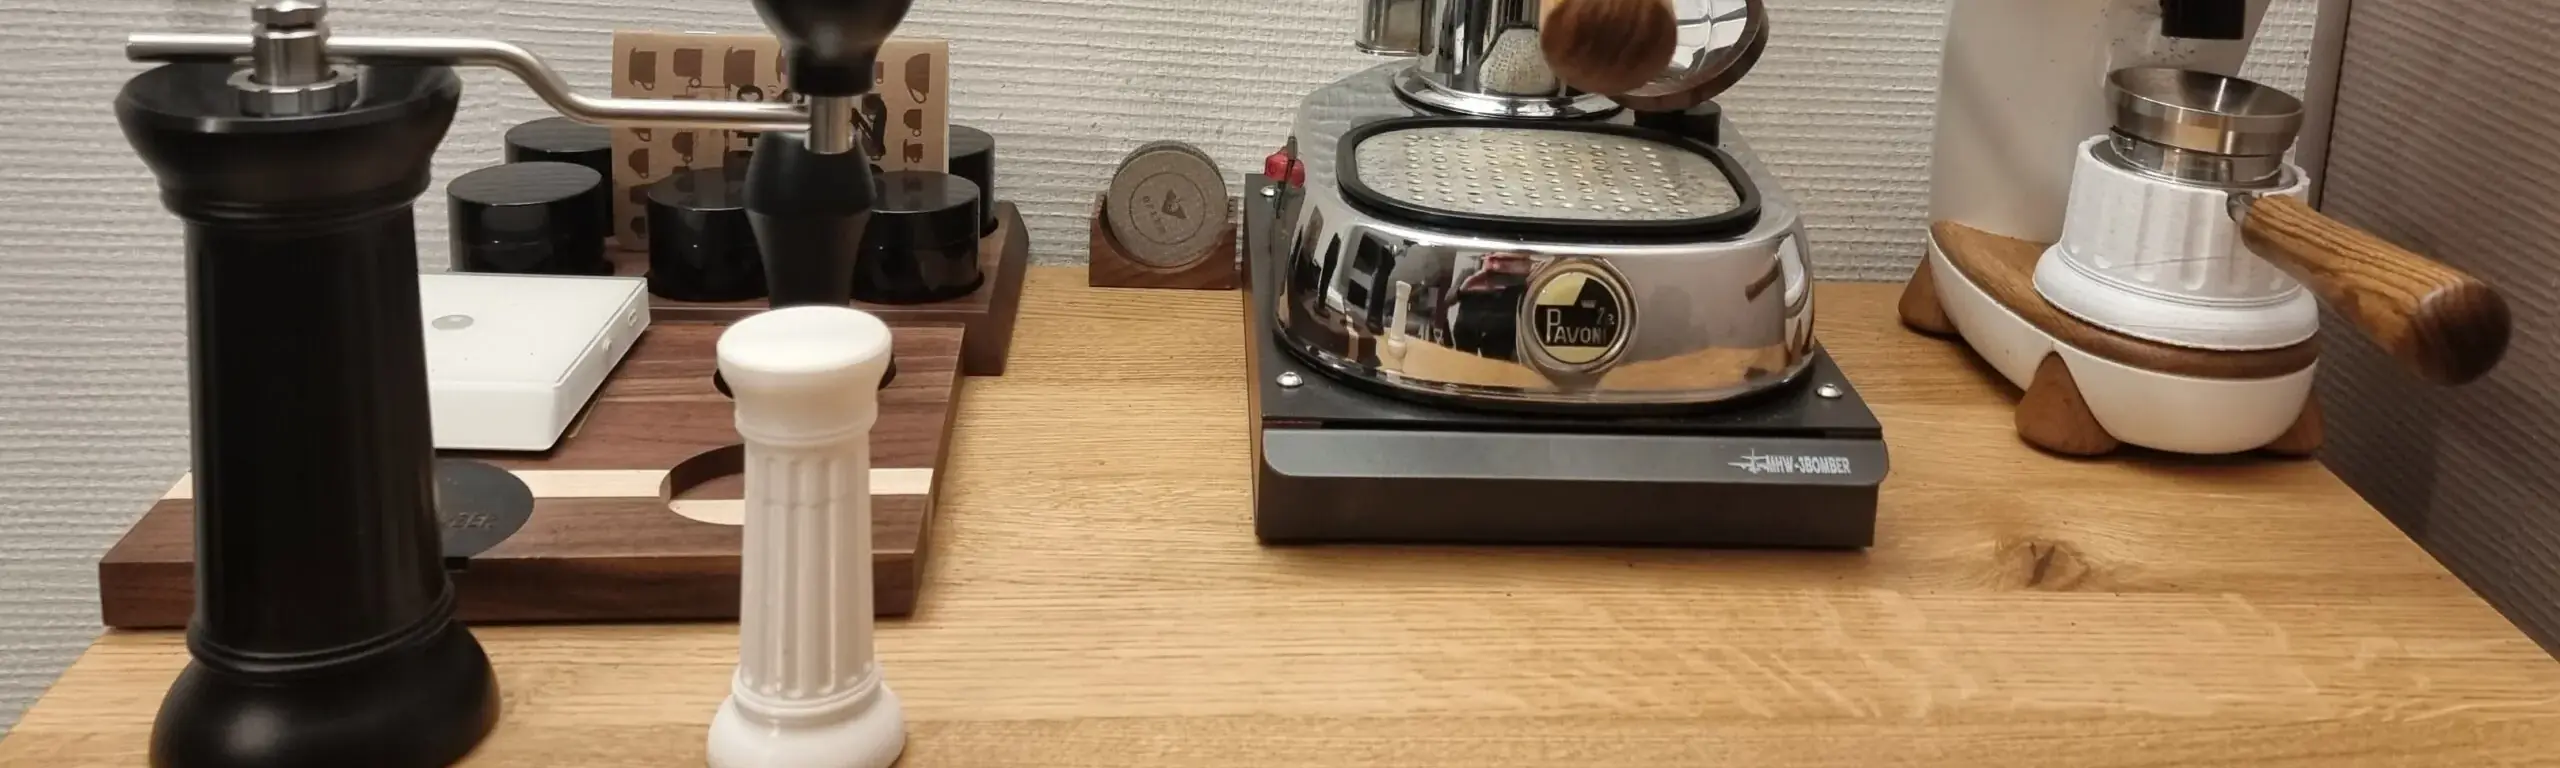
After several prototypes (which I will likely present in a future article), it’s done. My first accessory, a WDT tool has been created. It is directly inspired by the design of my favorite coffee grinder: the BPlus Apollo.
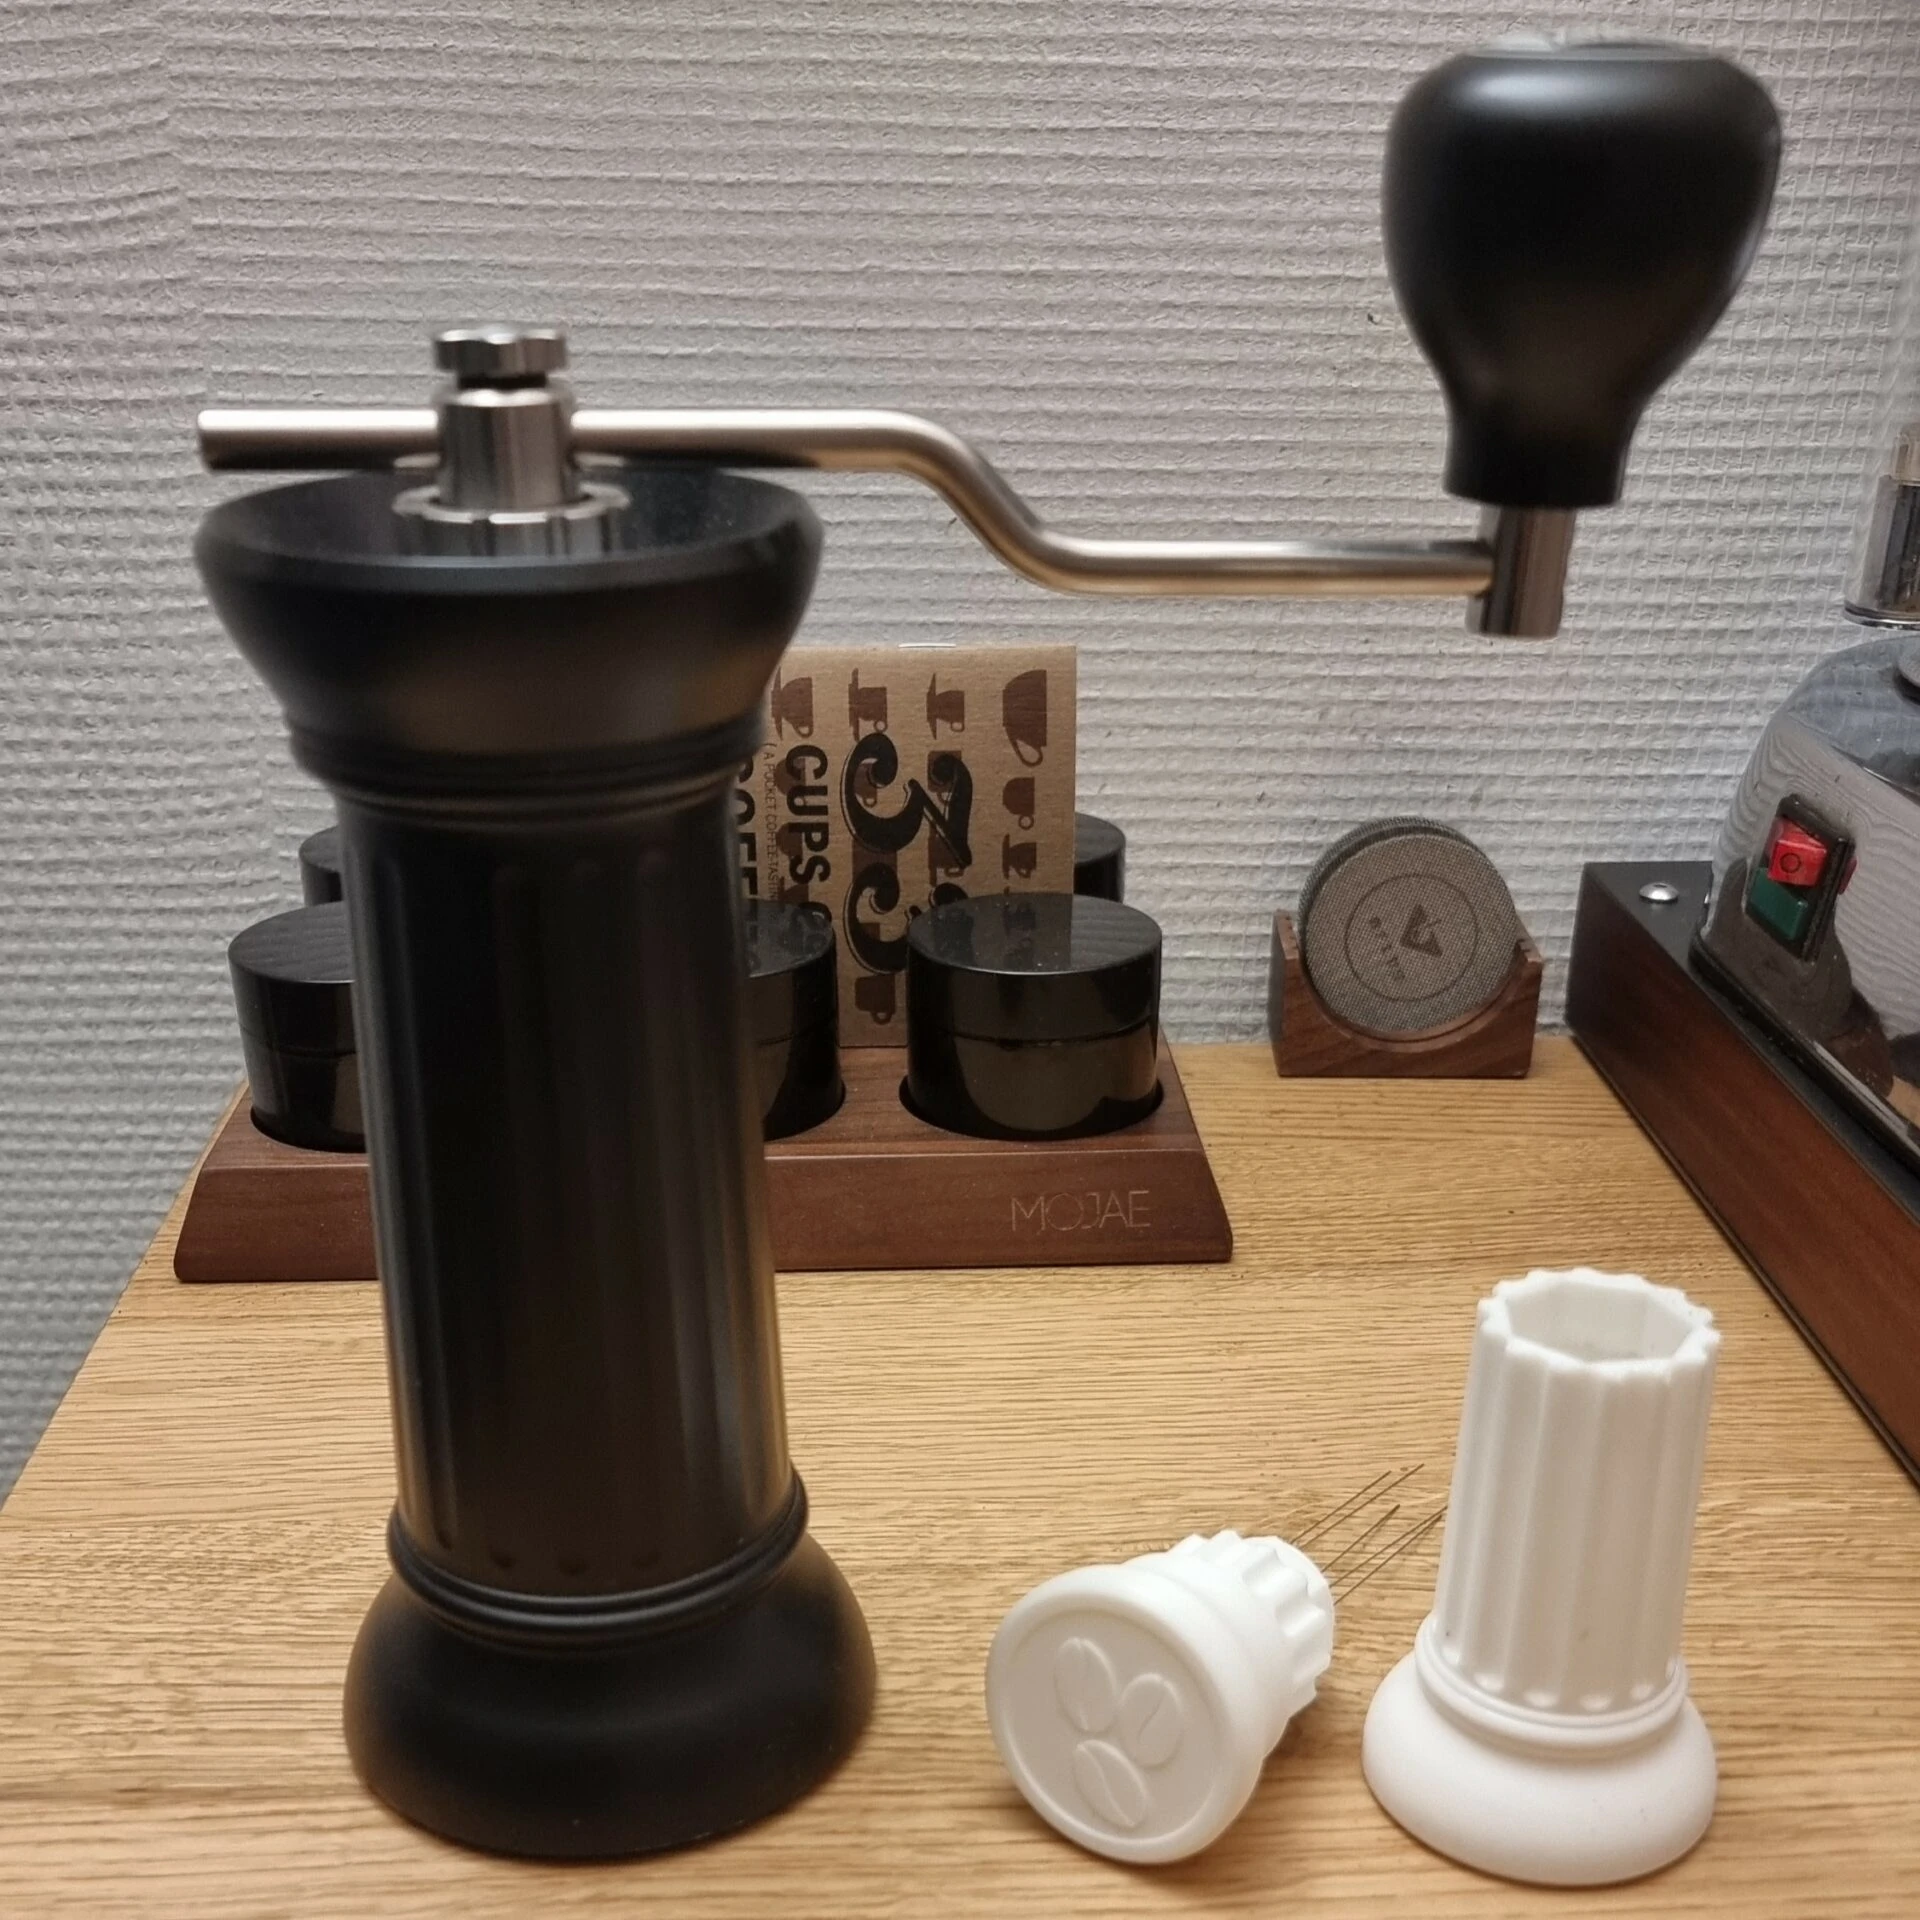
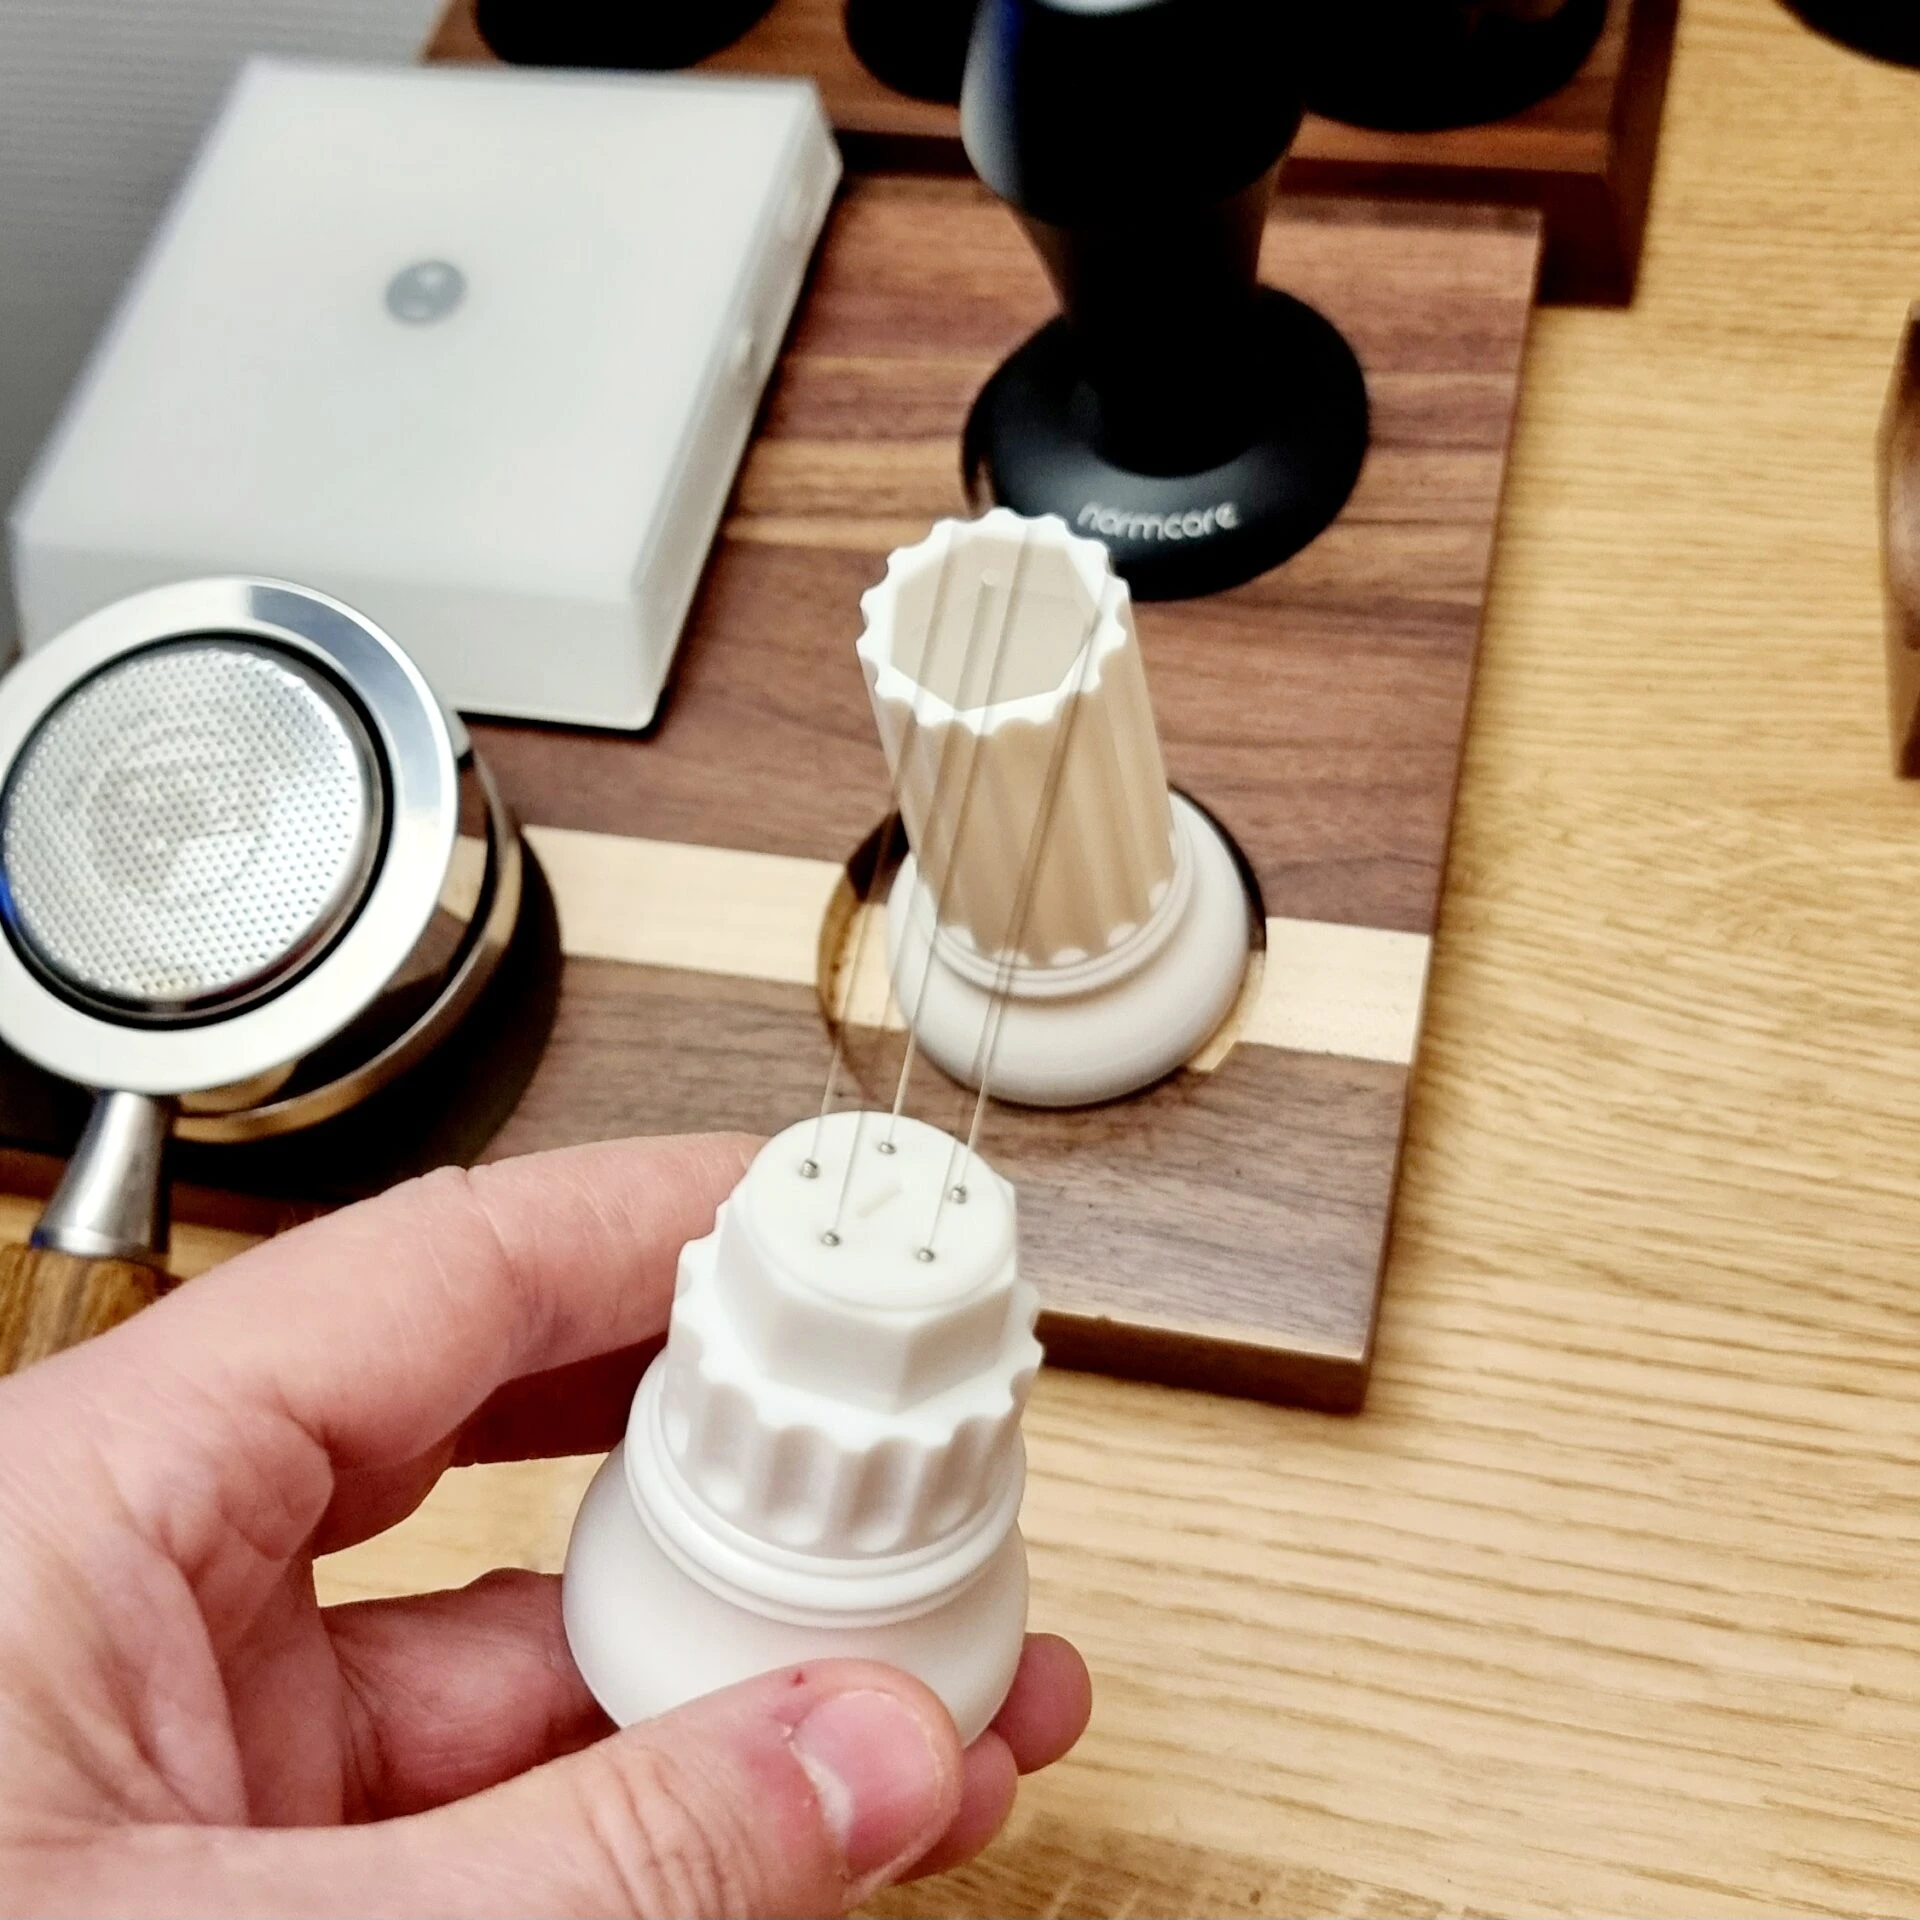
My WDT tool next to the BPlus Apollo coffee grinder.
To create my WDT tool, I remodeled a column to which I added designs:
Three coffee beans on the head. These are subtle and are directly inspired by the site’s logo.
A coat of arms under the base of the accessory. Although not visible when the accessory is placed down, it adds a little hidden detail to the accessory when you lift it up.
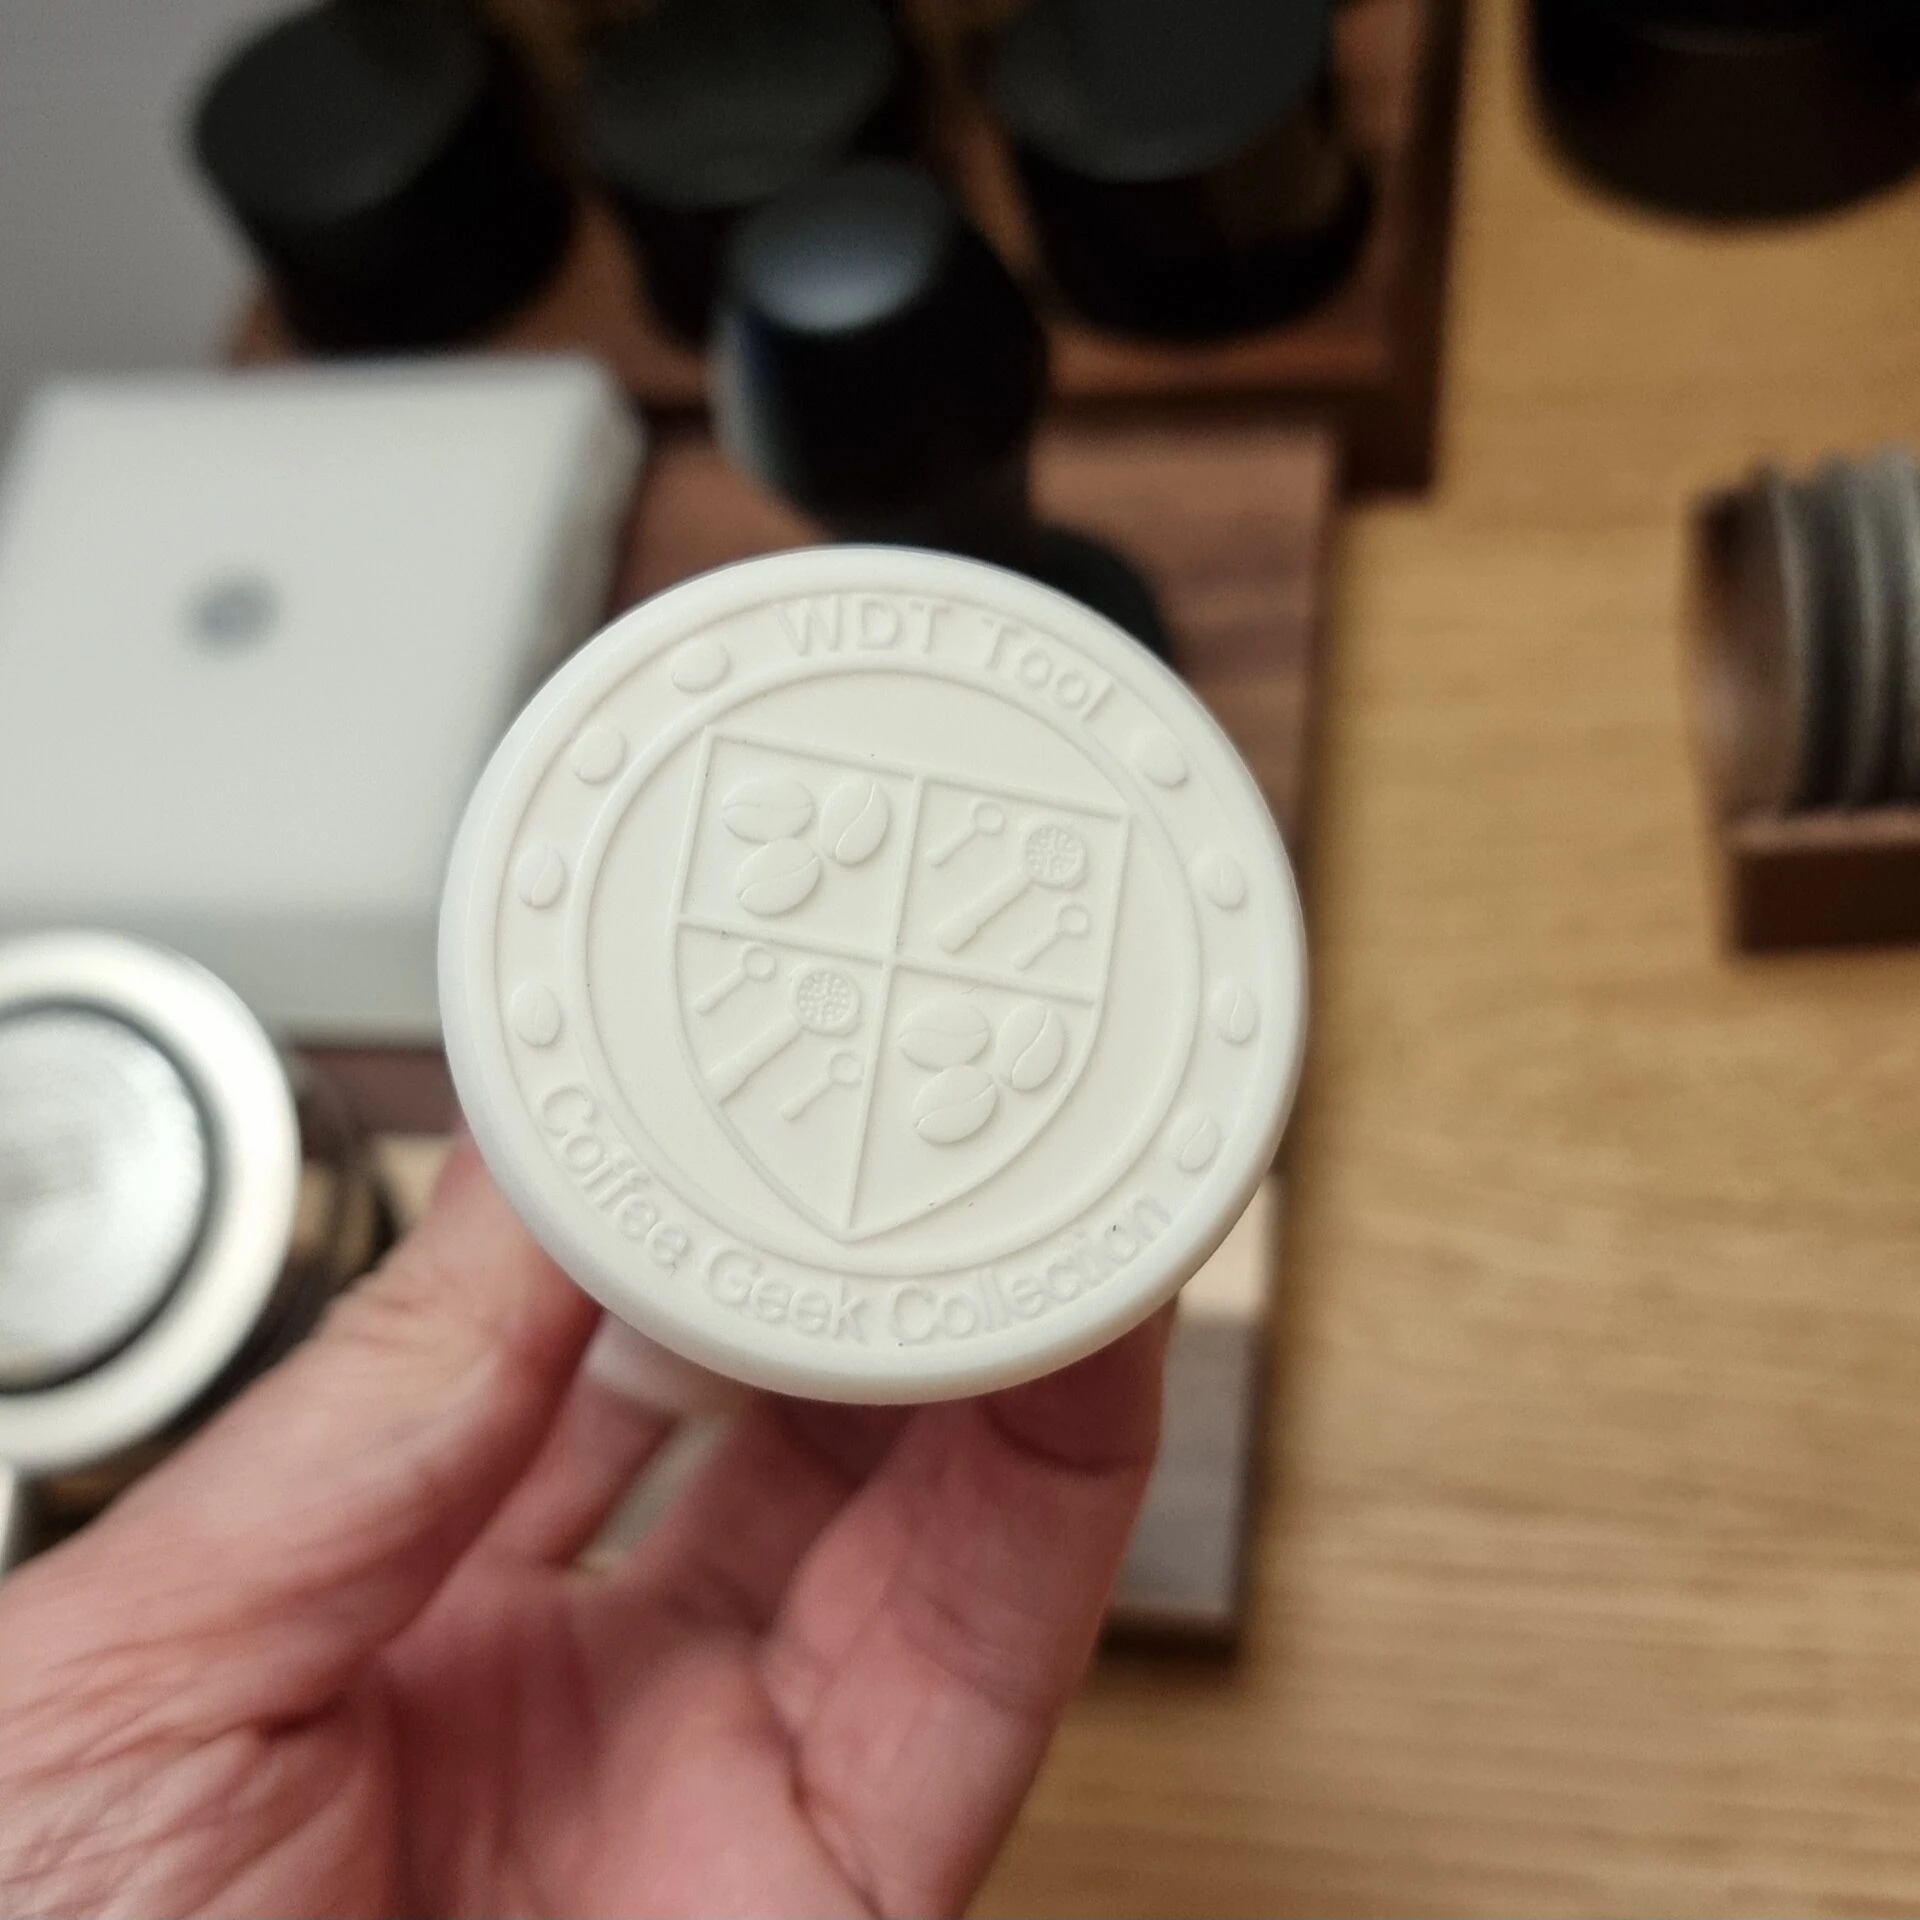
Coat of arms located under the accessory.
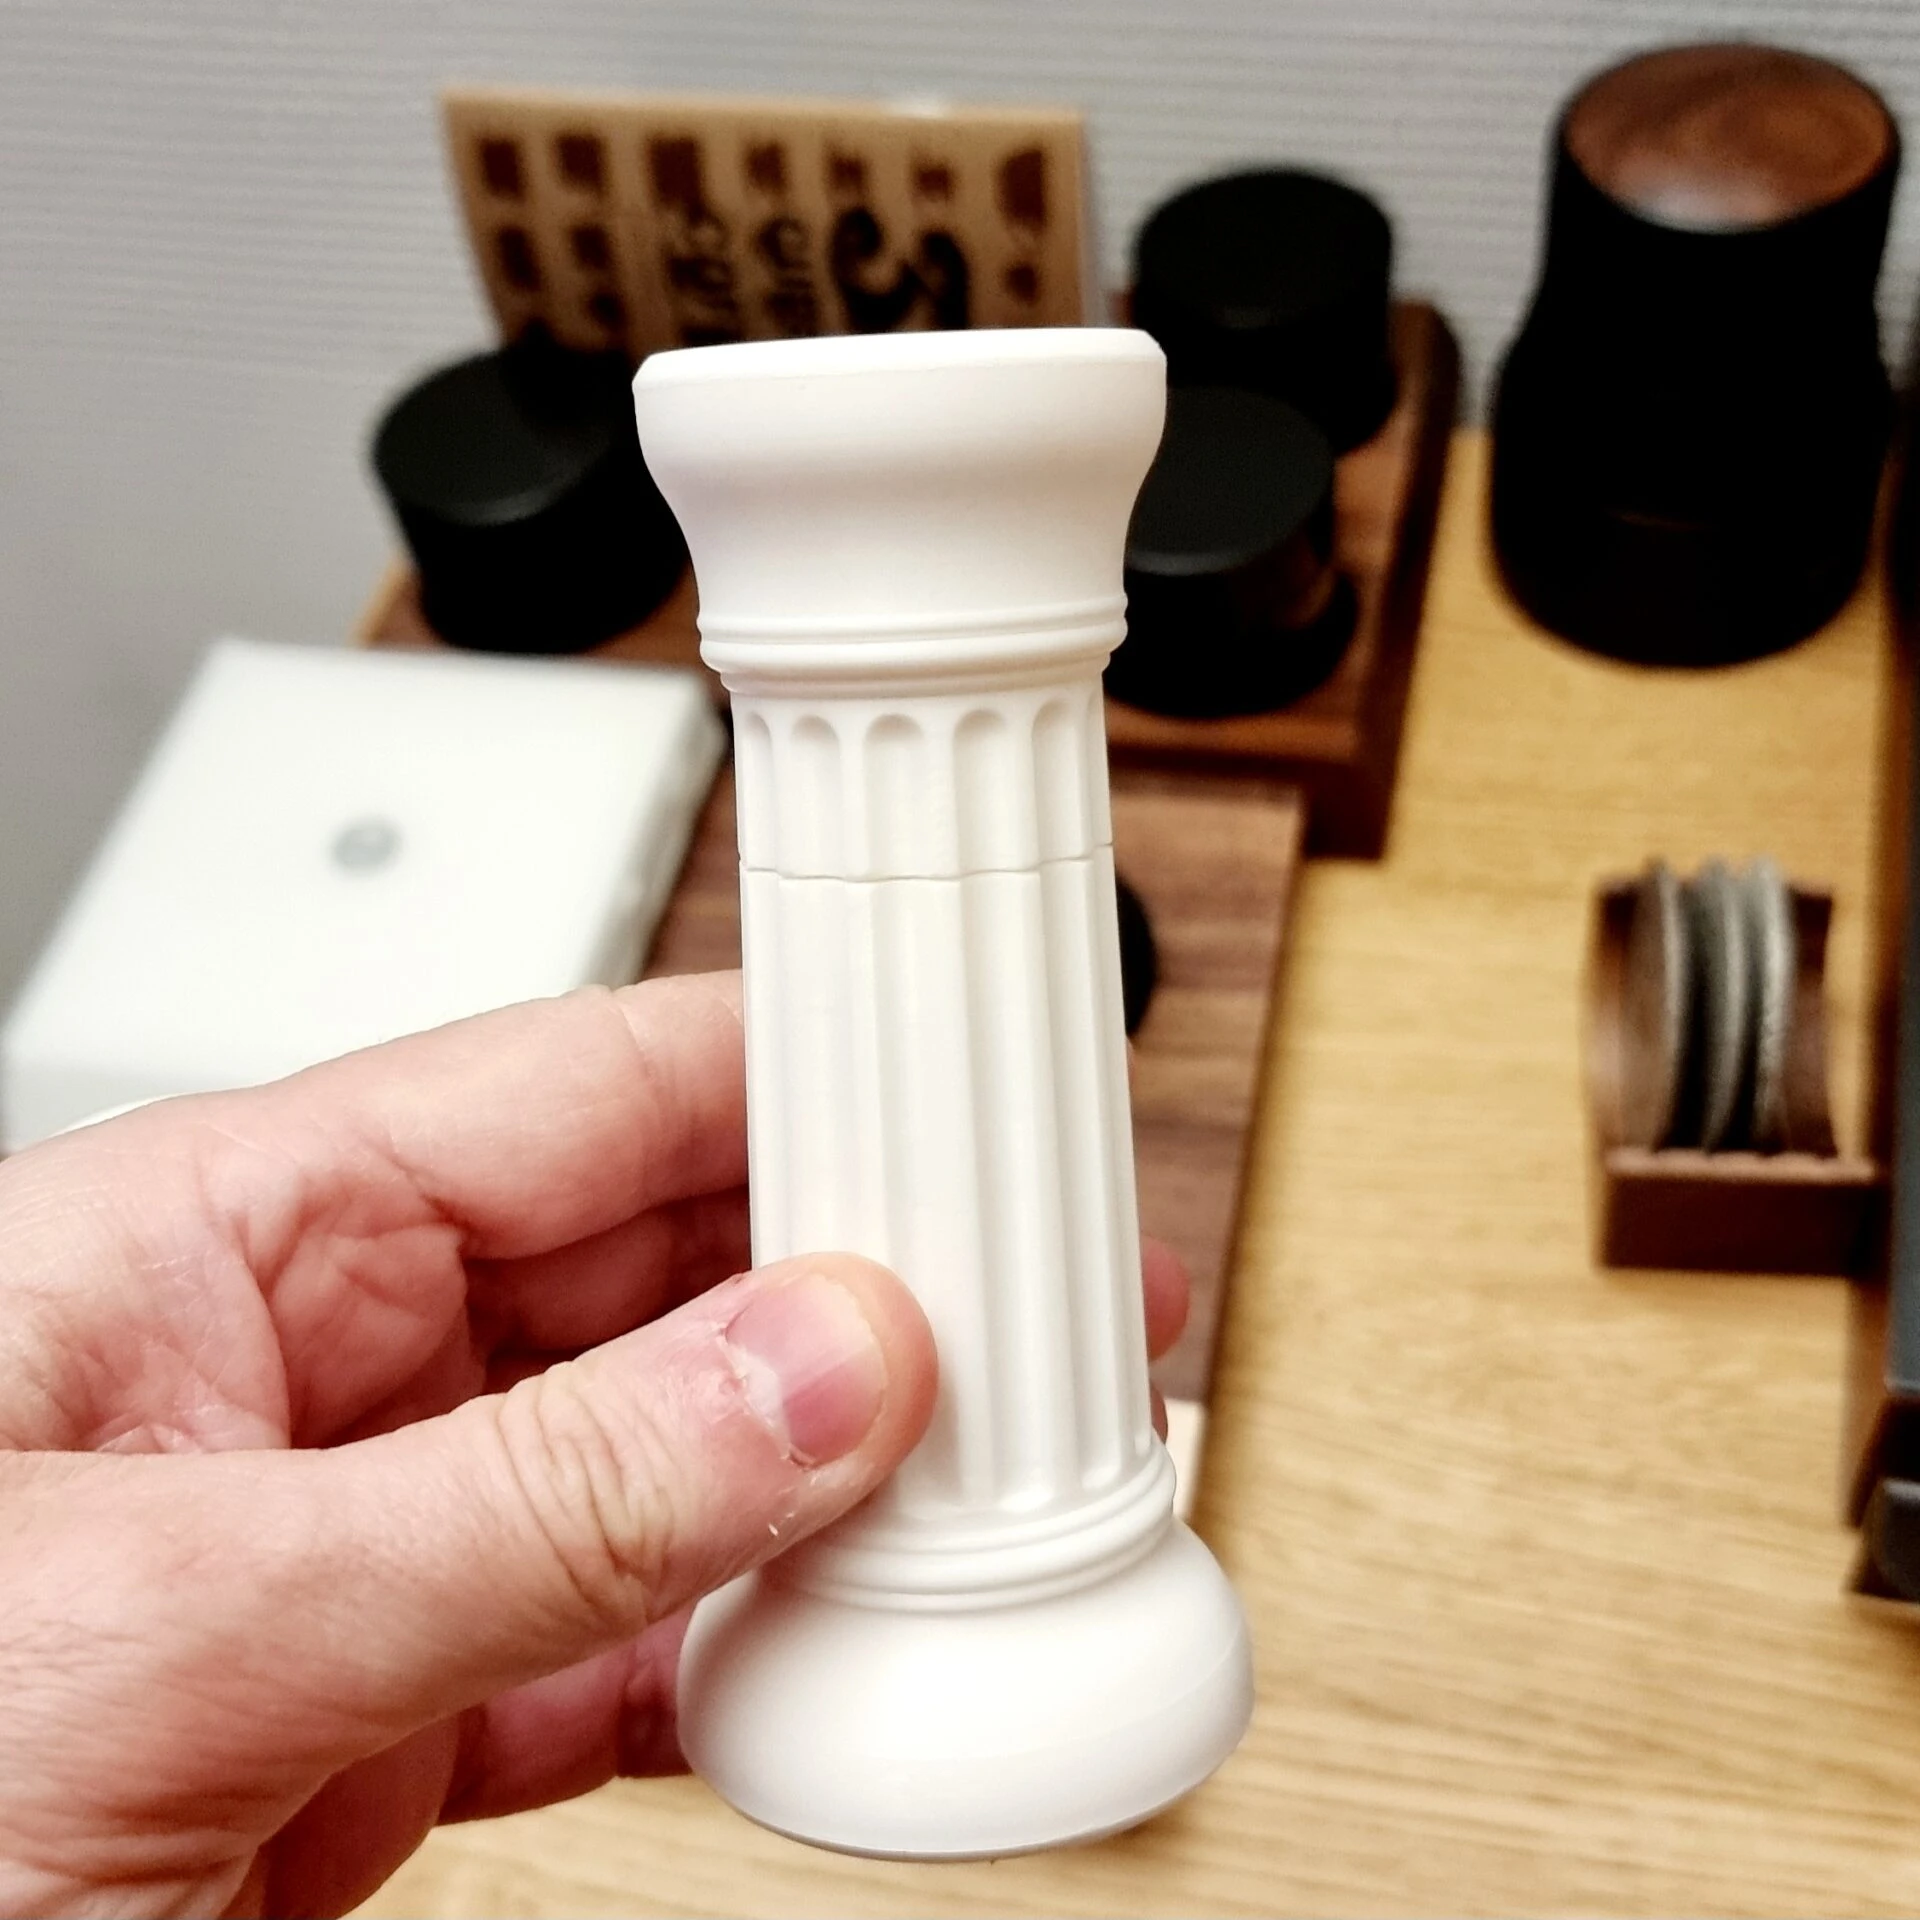
The column shaft
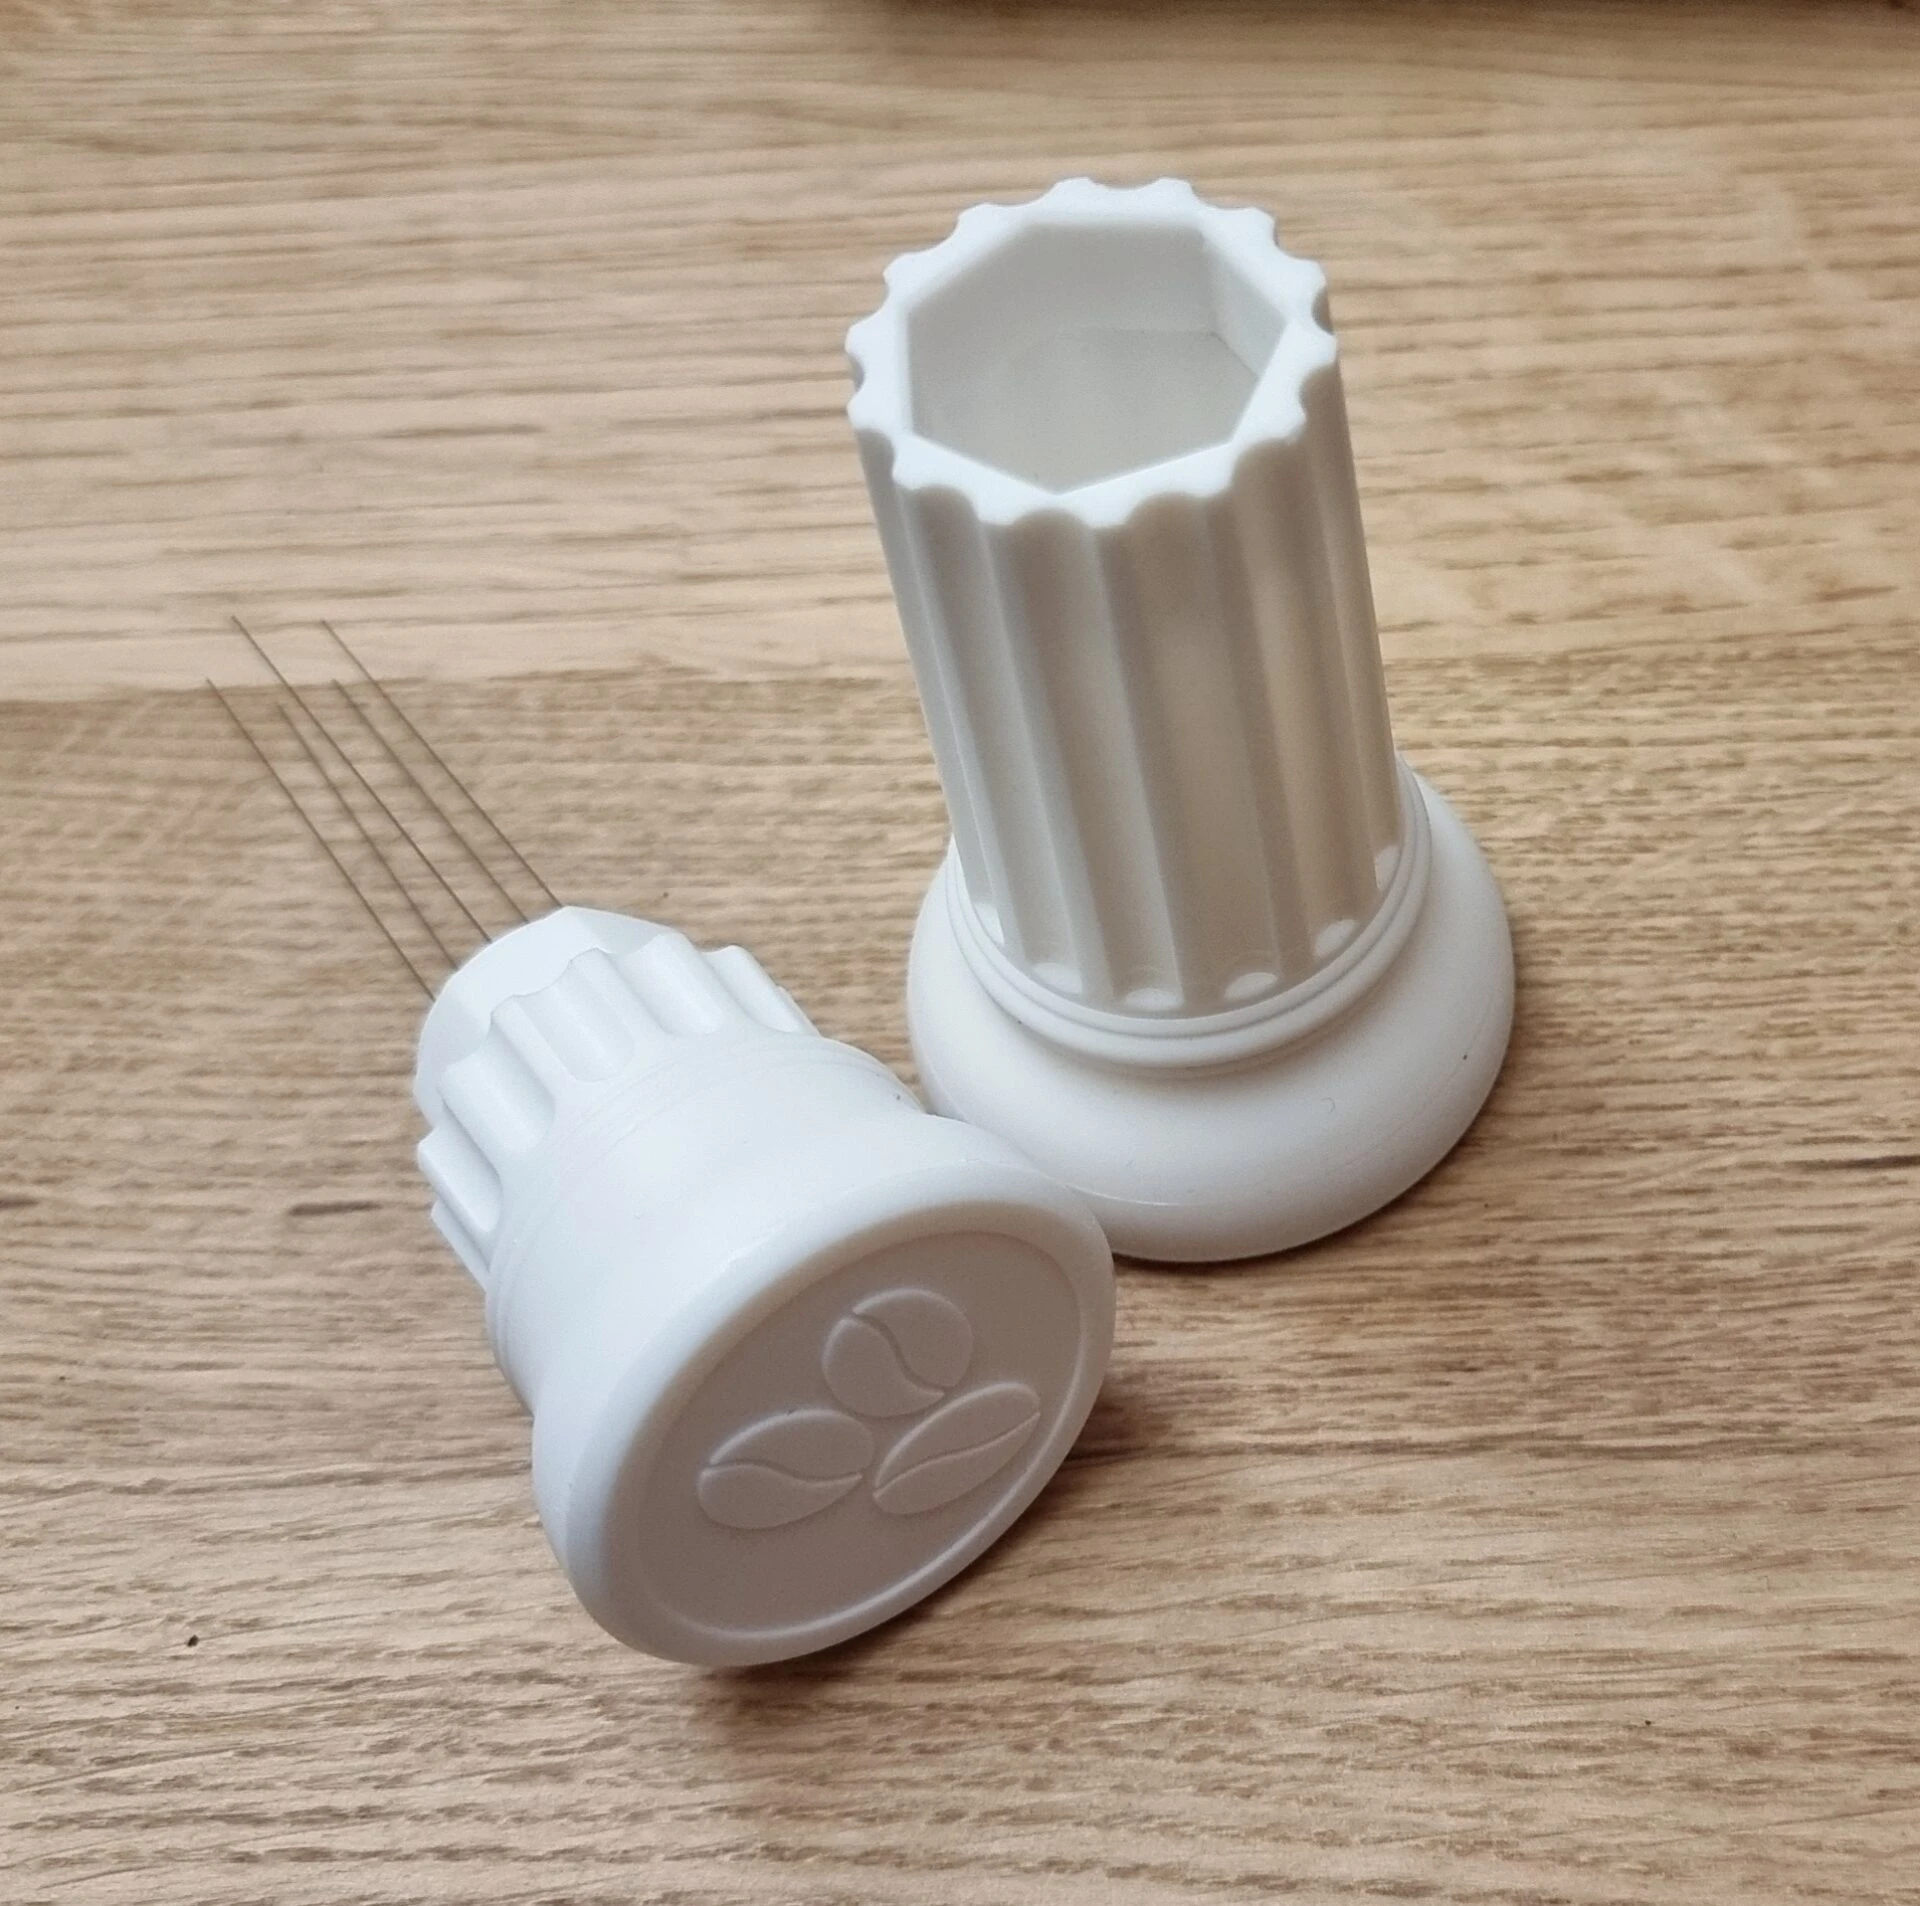
The three coffee beans located on the head.
As for the needles, I purchased several needle samples to test those that seemed most suitable to me. Thus, my WDT has 5 flexible needles with a length of 5.5 cm to 6 cm.
WDT tool of my design
Of course, my WDT is designed so that the grooves on the column shaft line up properly with each other when the head is placed back on its base.
My WDT tool is for sale on Leboncoin and on Etsy. A shop is currently being created on Coffegeek. When it is created, it will appear in this article.
WDT tool of my design
Emblem located under the accessory.
Hoping that you will like my accessory.
